

How to Repair Car Paint: A DIY Fix for Chipped, Scratched and Flaking Car Paint

Our guide will show you how to remove and repair flakes, chips, dents, dings and scratches on your car's finish before the rust sets in.
A guide to car paint repair
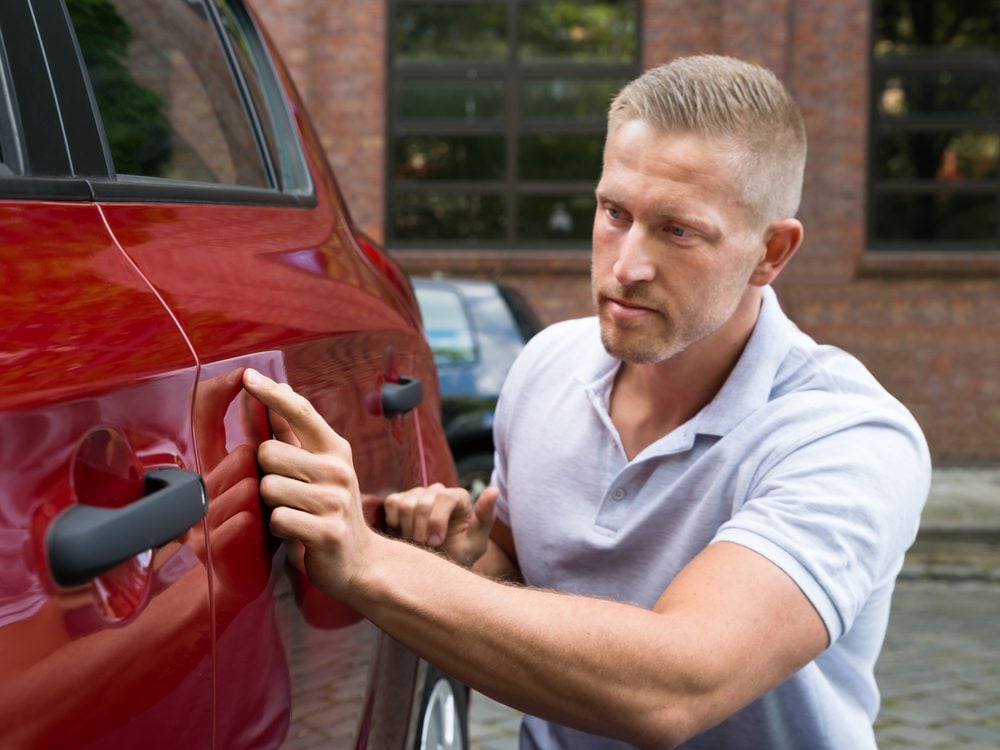
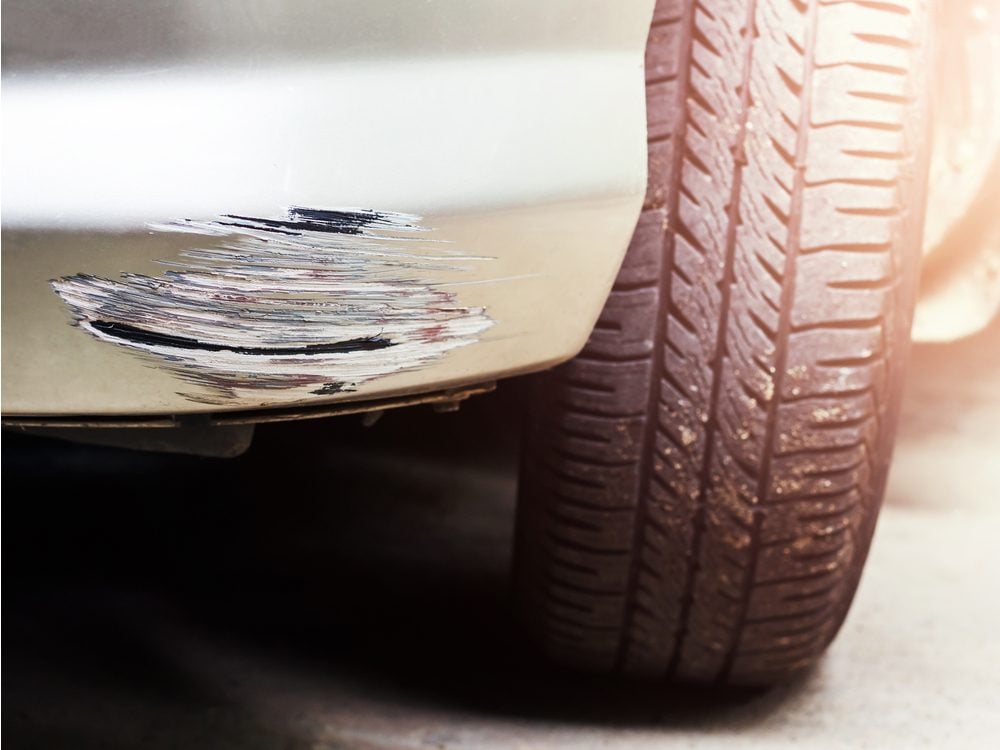
Over the years, you’ve probably acquired your fair share of scratches, dents with flaking paint, and paint chips on “Old Reliable.” And if you’re like most people, you’ve been ignoring them. But all those insults are either already rusting or soon will. By reading our car paint repair guide and investing a little time over several days, you can stop the rust in its tracks, touch up your car’s finish and get your vehicle back into reasonable shape—all for less than $100. (Speaking of which, here’s what you should know about rust-proofing.)
First, we have to caution you not to develop unrealistic expectations—you cannot achieve body shop results in your driveway. But our techniques will make the blemishes less noticeable and delay the onset of rust-through.
Starting your car paint repair project
Start your car paint repair project by getting the proper paint colour. Car dealers usually sell 1/2-oz. vials of touch-up paint and clear coat, but call the parts department first to see if your colour is in stock. It’ll help to have your VIN handy—here’s how to read your VIN and engine code if you don’t already know them. One vial is enough to repair about two dozen small paint chips. If you need more than a few vials, search for a larger bottle on the Internet. Most auto parts sites explain how to find the paint code for your vehicle. Expect to pay $20 to $30 for a 2-oz. bottle of paint.
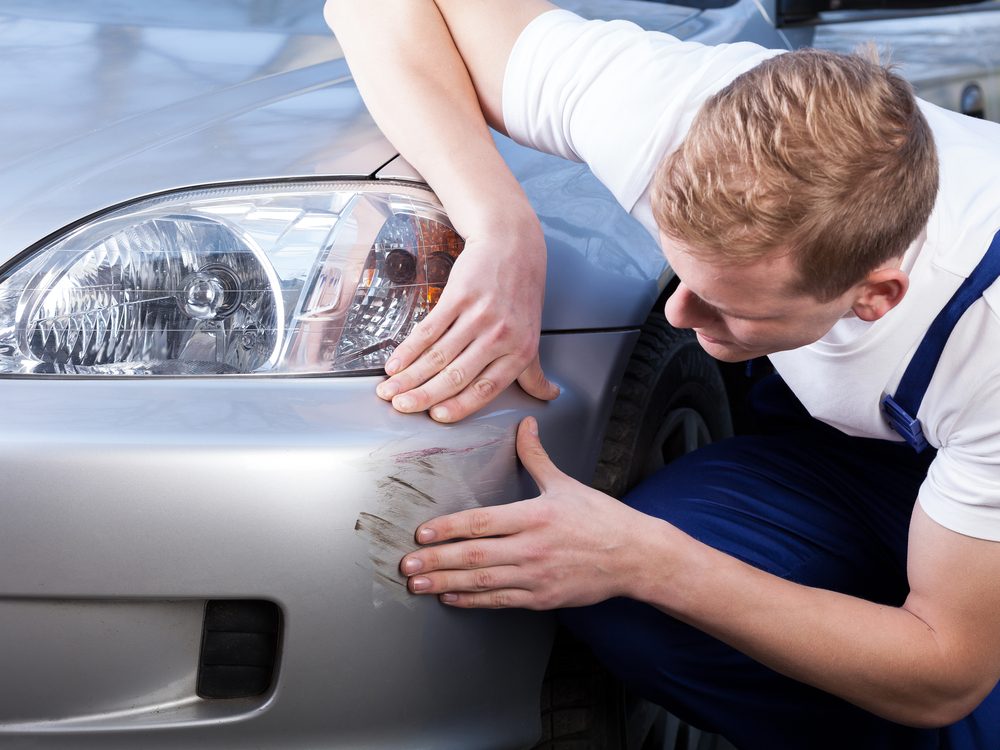
To fix scratches and paint chips, you’ll need a spot-sanding tool and professional micro applicators and paint syringes. The small applicators deliver just the right amount of paint to chips. For scratches, use the paint syringes to apply a continuous coat of paint. For small dents and dings, apply paint with a 1/4-in. artist’s brush ($10 at any art supply store).
At an auto parts store, pick up a can of wax and grease remover, and if you already have rust forming, an assortment of sandpaper grits and a bottle of brush-on rust converter.
Here’s the full list of tools and materials you’ll need to repair chipped, scratched or flaked paint:
- Spot-sanding tool
- Foam brush
- Professional micro applicators
- Paint syringes
- 1/4-in. artist’s brush
- 1/2-oz. vials of touch-up paint and clear coat
- Wax and grease remover
- Assortment of sandpaper grits
- Bottle of brush-on rust converter
Here are more tools every home mechanic should own.
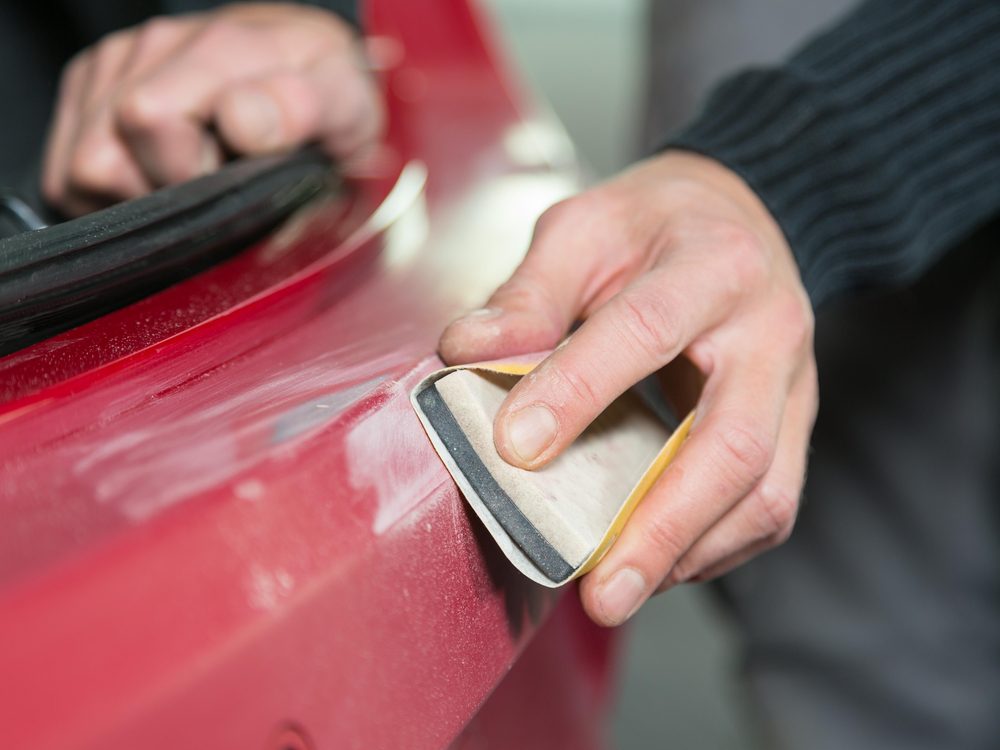
Washing and sanding
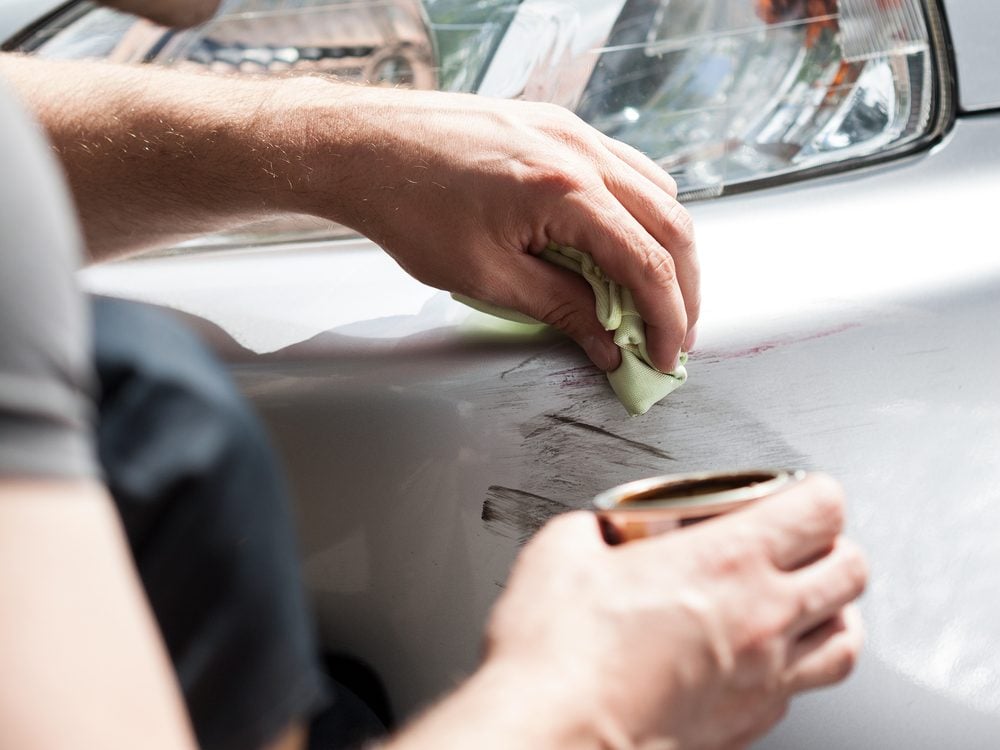
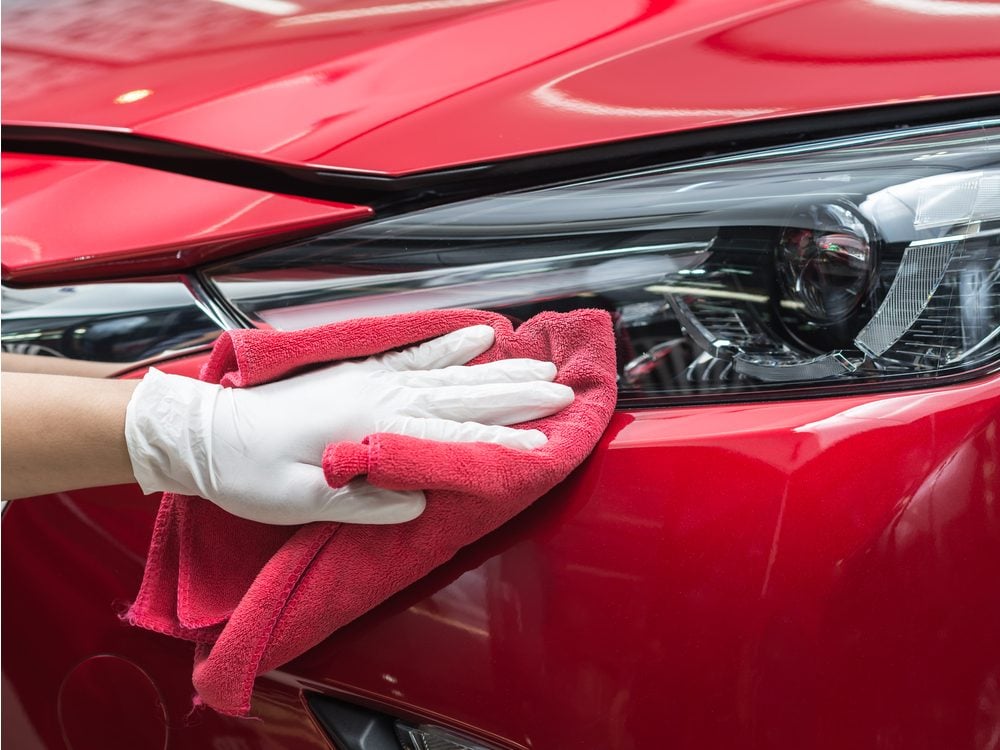
Before touching up the paint on your car, wash your vehicle. Let it dry and apply the wax and grease remover with a clean rag to the areas you’re touching up.
If you have flaking paint with exposed rust, pick away the loose paint with a small screwdriver or putty knife. Then sand off the surface rust with 150-grit sandpaper. Switch to 600-grit sandpaper to feather the painted edges around the spot. Also use the spot-sanding tool to remove rust from scratches and larger paint chips. Apply gentle pressure to prevent enlarging the scratch. Remove the sanding dust with a clean rag.
Want to get your car gleaming—without the professional price tag? Try these car cleaning tricks the pros won’t tell you.
Using rust converter for paint repair
Then follow the instructions on the bottle of rust converter and use a foam brush to apply a thin coating to the area. Apply several light coats of rust converter with a foam brush, allowing proper drying time between coats. Use a new brush for each coat. For scratches, use a paint syringe to apply the converter. Allow it to dry thoroughly. Most rust converters dry to form a primer coat and don’t require additional primer, but double check the directions.
If you don’t have any rust and the factory primer is visible, you can skip those steps and proceed with painting.
Save some money by learning how to repair common car problems yourself.
Using an artist’s brush for paint repair
Shake the paint vial or stir the bottle for the recommended time to ensure the metallic flakes are suspended in the paint. For dents, use the artist’s brush to apply a light coat of paint to the treated area. Use several thin coats rather than a single thick one. Allow the paint to dry between coats. Lightly sand each coat with 600-grit sandpaper after it dries. Follow the manufacturer’s recommendations for drying time between coats. Clean the brush with the recommended solvent between coats.
Here’s the real reason you need to repair a chipped windshield.
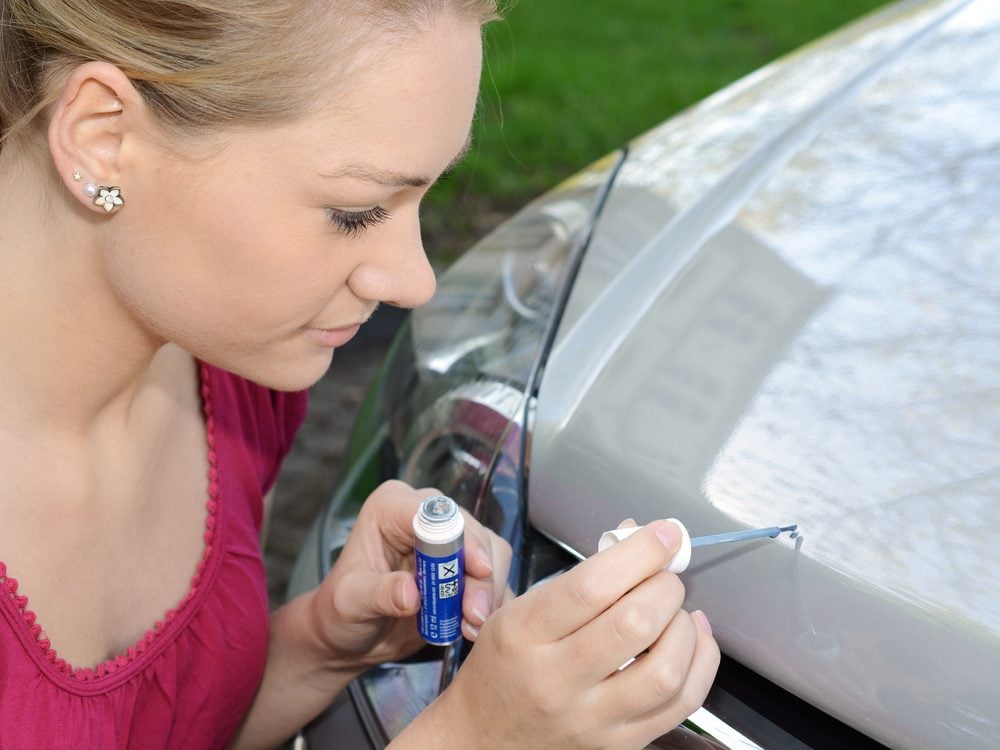
Tips for using a paint syringe
To repair paint chips, select a micro applicator that’s slightly smaller than the chip. Once again, apply several thin coats, rather than a blob of paint. Thick blobs skin over and then sink as they dry, leaving an ugly divot.
To repair scratches, apply the brush head to the syringe and load it with a small amount of paint. Then apply light pressure to the plunger as you guide the brush head all along the scratch. Start at one end and work toward the other.
Next, find out what a clay bar does—and why you need one.