

7 Flower Photography Tips You’ll Wish You Knew Sooner
 Updated: May 15, 2020
Ottawa-based photographer Clive Branson shares expert advice on capturing the vibrant colours of your garden on camera.
Floral Inspiration
Your own garden can present an excellent opportunity to test your skill at flower photography, but of course you can photograph beautiful flowers anywhere. In fact, I believe that flowers are the second most popular subject to photograph—after people.
The obvious reason to want to photograph flowers is for their natural beauty: a tapestry of colours, textures and forms. Since they will never appear the same on any two occasions, the camera provides us with a means of immortalizing their fleeting images. How can you go wrong photographing a flower? But there is more to it than merely approaching an unsuspecting bud, sticking your camera up close and taking a snapshot. You want an image that will reflect your imagination and give the subject matter a new dimension. So, how do you do it? Since the city is awash with tulips, it only makes sense to write about photographing them as a beautiful example. Check out my seven flower photography tips.
Avoid Distractions
Unless you’re taking a close-up shot of a flower, never shoot downwards. No one is interested in looking at the ground. Also, make sure you don’t have any superficial elements in the background of your shot, such as people, cars, wires, litter or signs. If you’re going to shoot more than one flower, make sure they are all in focus. Otherwise, just zoom into one flower and have the others as blurred background. What you choose to leave out of a picture is sometimes just as important as what you put in.
These inexpensive plants will make your garden pop.
Choose Between Vertical and Horizontal
There’s a psychological aspect when choosing between vertical or horizontal shots. Vertical shots convey a sense of intimacy while a horizontal format implies expansiveness and freedom. Horizontal photography reflects how we normally look at things.
Planning this year’s garden? These colourful plants are guaranteed to brighten up your landscaping.
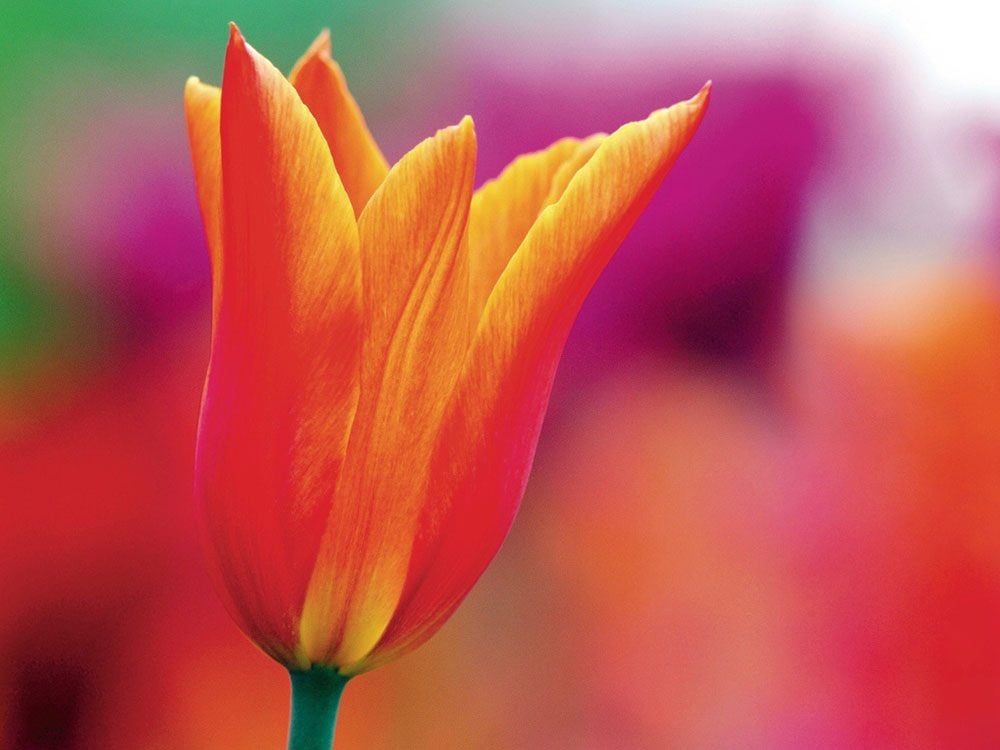
Enhance the Flower
While your flower will be the central subject of your image, the background will play an enormous role in the final result. In any floral image, the background or surroundings will fill a significant portion of the frame. This isn’t just space to be dismissed, but an integral part of the picture, like clothing on a subject. An essential decision will be whether you want to preserve the flower in context, or focus on the flower in isolation. Green leaves can provide a distinct and harmonious background to many flowers, but they need to be sufficiently blurred so as not to detract from the flower itself. Here are three simple tips to try:
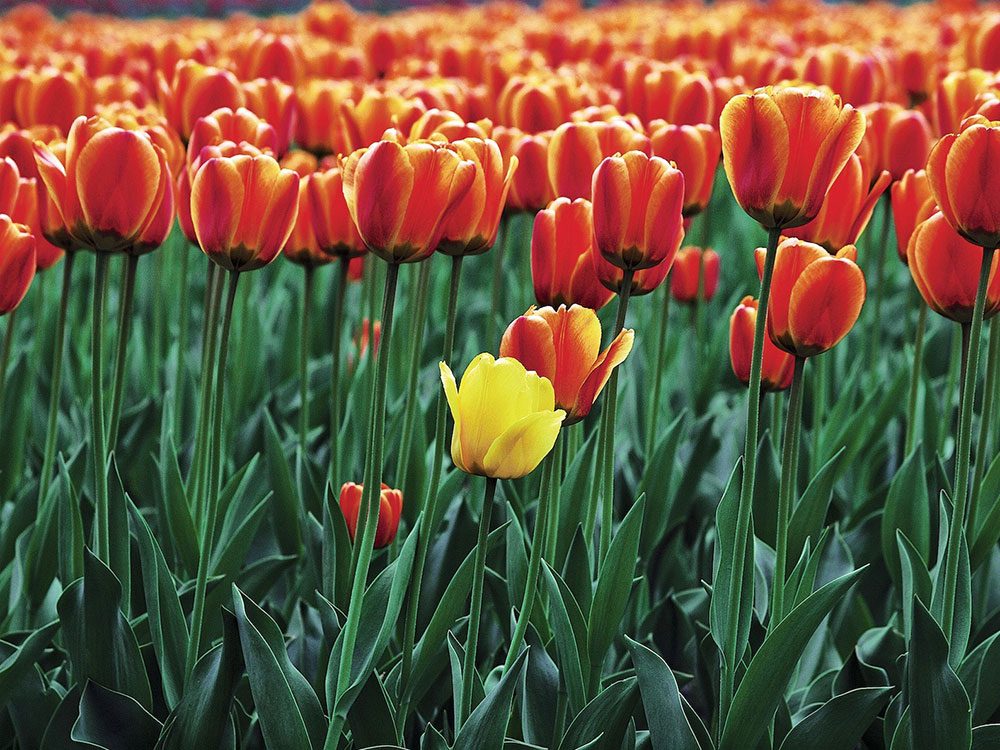
- Use tonal contrast, which refers to the brightness of the flower in comparison to what is around it. You’ll find that nature is rarely consistent in tone, so by moving around the flower, you can almost always find a healthy contrast. A bright colour will always draw the viewer’s eye before any other colour.
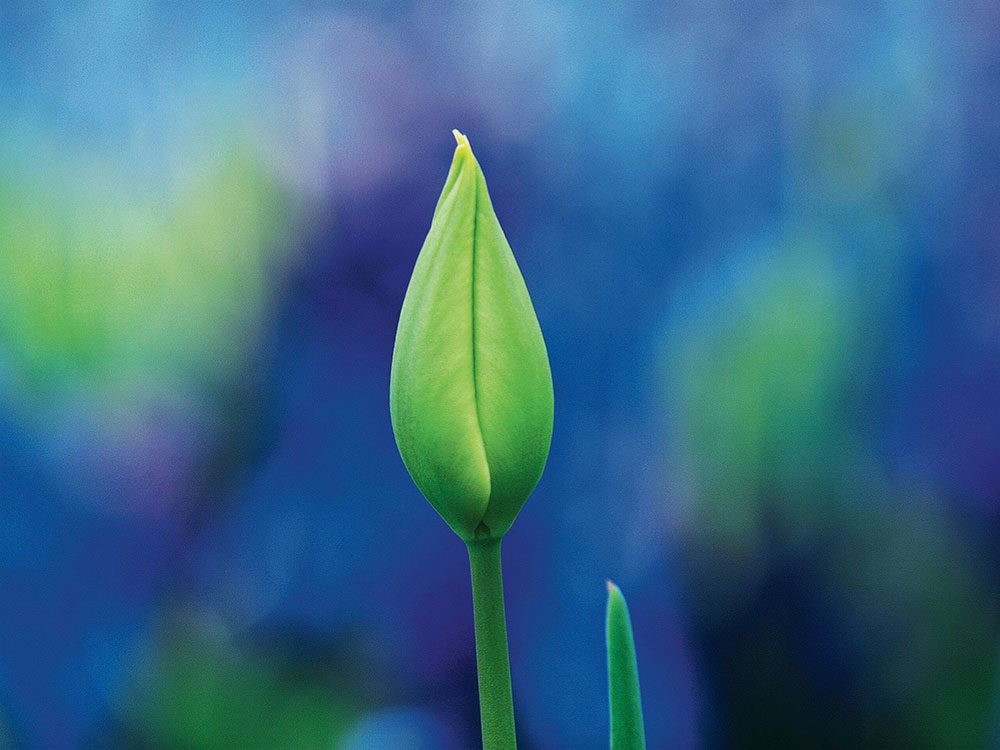
- Try juxtaposing the flower with an opposing background. The challenge occurs when similar flowers are massed together offering no contrast. For example, a white flower will stand out better against dark-green foliage, or a yellow flower against a blue, cloudless sky. You’ll have to look for ways to get around this in your composition, such as a ground-up shot instead of a head-on shot.
- Focus on sharpness. By having your subject stand out as the central focal point, it draws the viewer’s eye to its stark vividness. This method is especially effective if the blurred background of flowers is the same colour as your subject flower.
For some unfathomable reason, there always seems to be a breeze when photographing flowers. Using a good tripod, having a lot of patience and setting your camera to a fast shutter speed helps. I usually bring along a white board, which acts to block the wind but can sometimes be used as a backdrop.
Take inspiration from the winning entries in the Share Your Canada Photo Contest.
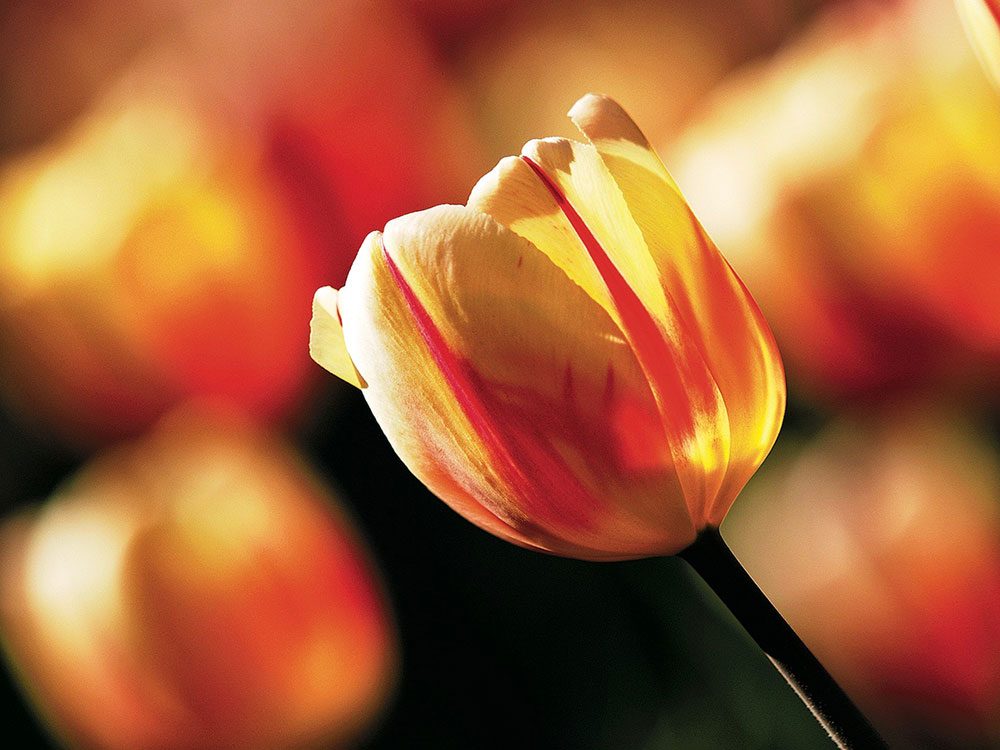
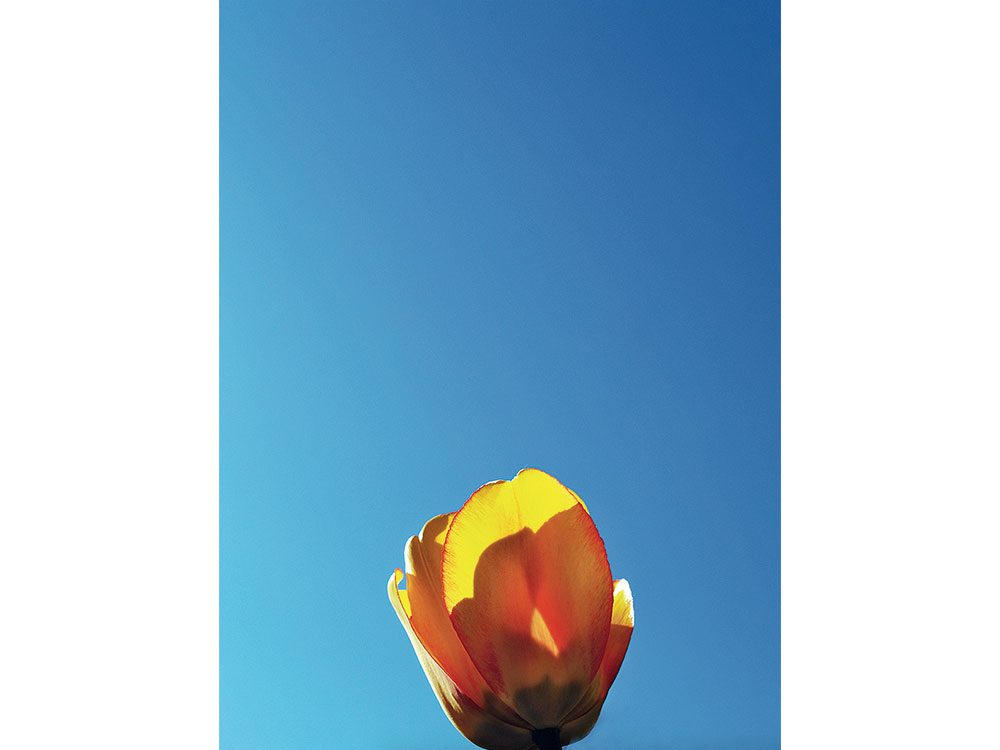
Master the Art of Back Lighting
A flower may look uninteresting with the sunlight directly above it, but it can suddenly be engrossing once the light is behind it. To achieve an ethereal effect, position yourself in front of the flower with the sun behind it. The light filters through the thin skin and highlights the hair-like striations in the petals. Keep the background darker than your subject.
Check out these photography tips for shooting in black and white.
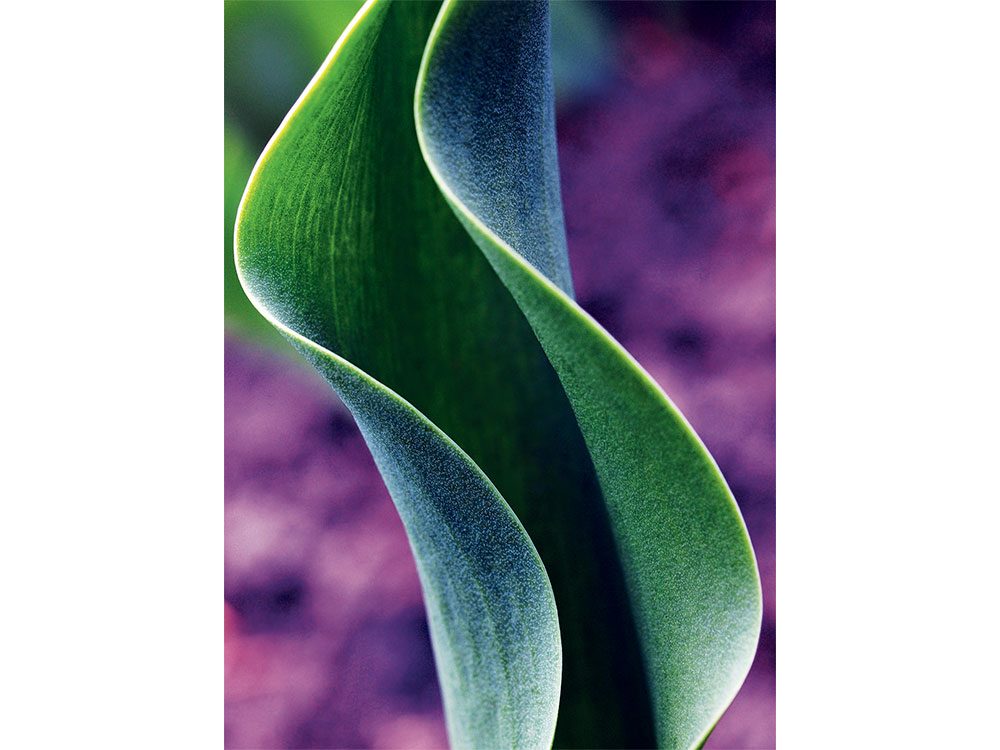
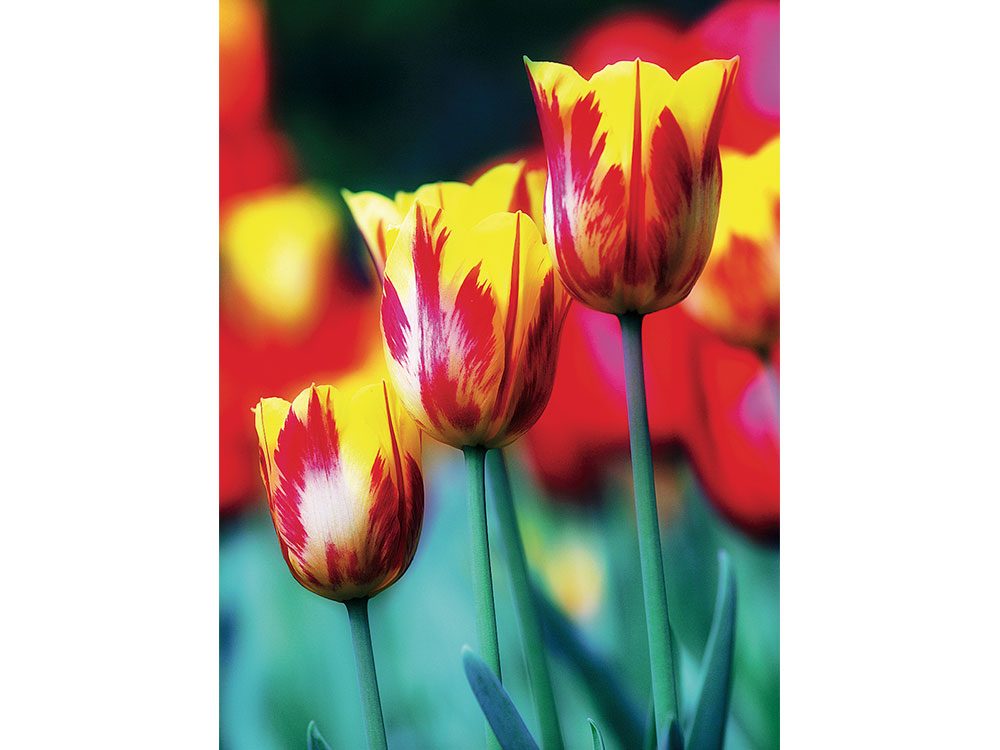
Try Side Lighting for Contrast
To get more textural detail on your flower, move so that the light hits your subject from a side angle. You will get more interesting, though uneven, results. Side lighting is most dramatic when the subject is set against a dark or contrasting background. Morning or early evening sunlight usually provides the best time for side lighting opportunities.
Find out what it’s like photographing wildlife in the dead of winter.
Beware of Front Lighting
The only time I recommend front lighting is for shots taken at dawn or dusk to capture that unique golden hue cast on the flower.
Don’t miss these pro tips on how take stunning silhouette photos in the wild.
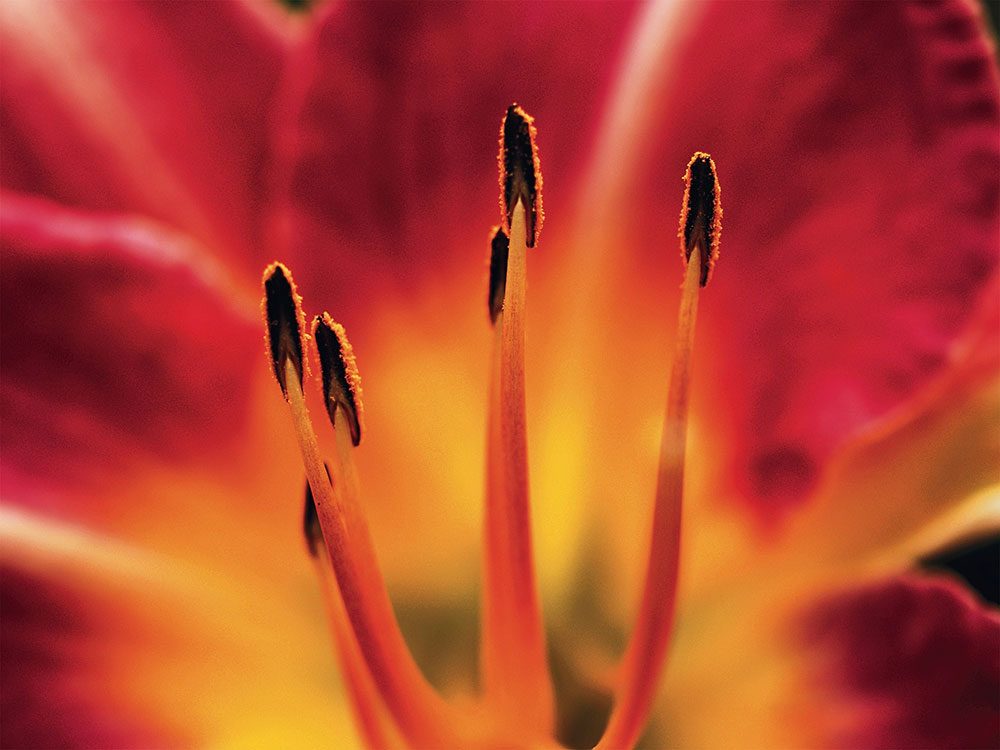
Photographing Flowers in Close-Up is Harder Than You Think
One of the pleasures in taking shots at close proximity is to examine the intricacies of floral structures. Just as you can use strong lines to direct a viewer’s eye toward a point of interest, you can maintain a constant fluidity within the frame that gives a sense of sensuality to the photograph. Follow the lines into the flower and then out again. However, when you shoot with macro, focus on what you consider is vital, as this is where problems reign. Your plane of focus is very shallow, just a fraction of an inch, so you have to make another decision: What part of the flower do you want to be in sharp detail? The pistil, stamen, fine-haired cilia or the petals?
Now that you’ve got these flower photography tips under your belt, check out these beautiful photos of Canada in bloom.