How to Protect Your Food from Freezer Burn

Learn how to stop freezer burn in its tracks.
The idea behind freezing food is saving time and saving money. Time, because you’ll have ingredients (or fully cooked meals) on hand for when you need them. Money, because you get a better deal by buying in bulk.
Believe me, cooking one of our freezer meal recipes is always a smart choice. How frustrating, then, to open your freezer to find your conveniently stored meal dried out, ice-encrusted and far from appetizing. You’ve been hit by the dreaded freezer burn.
What Is Freezer Burn?
We associate freezer burn with the layer of ice on the surface of the food, but the ice is only a symptom of the problem. The ice crystals come from the food itself; if there’s warmer air next to the food, moisture escapes and then freezes at the surface. Unfortunately, this also dries out the food itself. Though food with freezer burn may be safe to eat, your frozen chicken dinner may not turn out too tasty.
How to Prevent It
The key to preventing freezer burn is to prevent the moisture from escaping in the first place. For this to happen, you’ll want to keep two things in mind: keep temperatures consistently cold and keep the air out. This helps freeze the food fast and keep that icky freezer burn from forming. Keep the following tips handy the next time you plan on tossing together an easy freezer meals.
1. Set your freezer to the right temperature.
Use a thermometer to ensure that your freezer temperature is at or below freezing. Depending on your make of freezer, this could be “Cold,” “Low,” or an actual temperature. (Here’s the best temperature to set everything in your home.)
2. Chill your food before freezing it.
Putting hot food directly in the freezer brings the temperature of the freezer up almost as fast as it brings the temperature of the food down. Not only that, it will affect any food close to the hot food, making a warm place on the surface for freezer burn to strike. Put your food in the fridge for one to two hours before putting it in the freezer for long-term storage.
3. Freeze your food in small batches.
Filling the freezer with food all at once will bring up the temperature, and it will take much longer to get down below freezing point. Instead, put in just a few items at a time. (Try this freezer sweet corn recipe for fresh corn any time of the year.)
4. Don’t overfill—or underfill—your freezer.
Already frozen food acts like ice in a cooler, and helps chill other food. But an overstuffed freezer prevents the even circulation of cold air, creating warmer pockets. Ideally, your freezer should be about three-quarters full. If you have the room, use freezer shelves to give your food a couple inches of air beneath it, too.
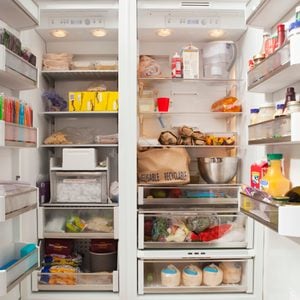
5. Clean out and organize your freezer regularly.
Know what’s in it and how to find it quickly, without a lot of open-door time. Follow these tips on how to clean a freezer (and how often you should be doing it!)
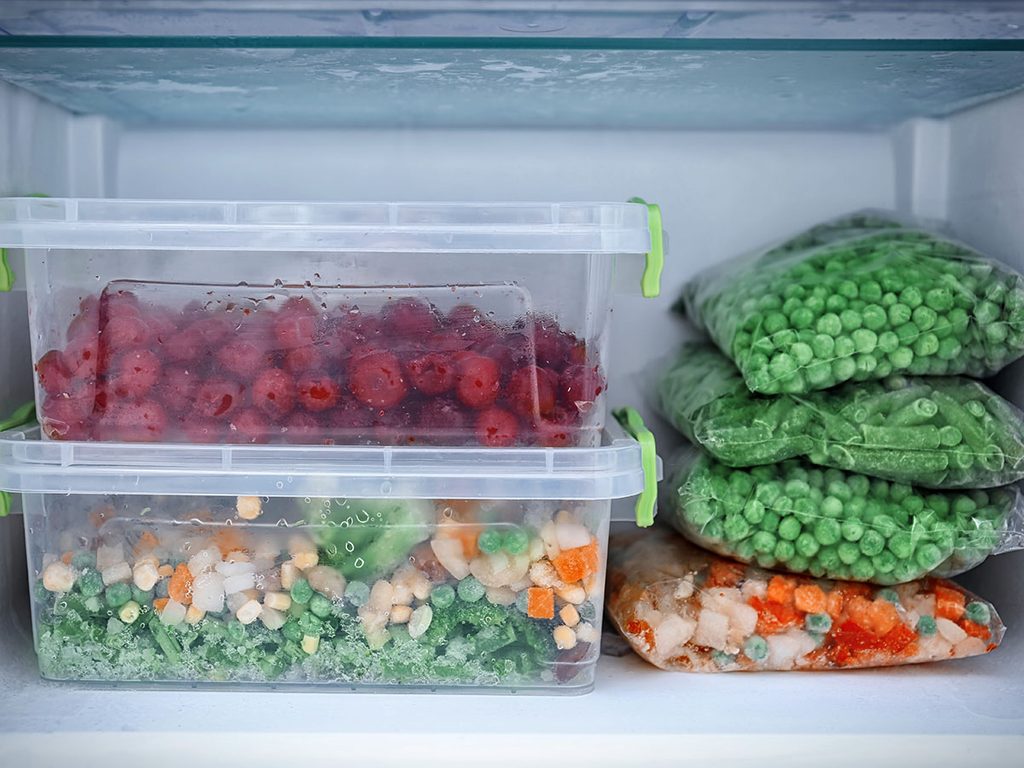
6. Use freezer-safe containers to store your food.
Plastic containers, glass containers or jars, or freezer bags all work great. Be sure you have freezer bags instead of “storage bags”; storage bags use a thinner plastic, and aren’t designed for the freezer. (These are the 15 food storage guidelines you didn’t know.)
7. Give your food an extra layer of protection.
You can do this by wrapping it in plastic wrap or aluminum foil before putting it in your container or freezer bag. Only use plastic wrap, waxed paper and aluminum foil if you are also using a container or freezer bag. None of these, on their own, will keep enough air out to prevent freezer burn. If you’re storing a liquid, like freezing soup, for example—pour it into the container, leaving about ½ in. of headroom (the liquid will expand when it freezes). Cover the surface of the liquid with plastic wrap, smooth the plastic so that it makes contact over the surface of the food, then put the lid on the container. (This is how long you can really freeze food for.)
8. Squeeze out the air.
When using freezer bags, press out as much air as possible from the bag before freezing the food. If you have a vacuum storage system, this is the best possible solution.
9. Know when to toss it.
Finally, it may go without saying, but don’t keep food for too long. No matter how well wrapped and protected, food will hit its expiry date after about 9 months in the freezer. So make sure you record the date on the food you freeze, and that you use or discard it after 9 months.
Next, here’s 13 foods you should never eat past the expiration date.