

These Magical Photos of Frozen Bubbles Will Take Your Breath Away
 Updated: Dec. 01, 2021
Creating beautiful bubbles of ice and capturing them in photographs makes for a magical winter pastime.
Photographing Frozen Bubbles
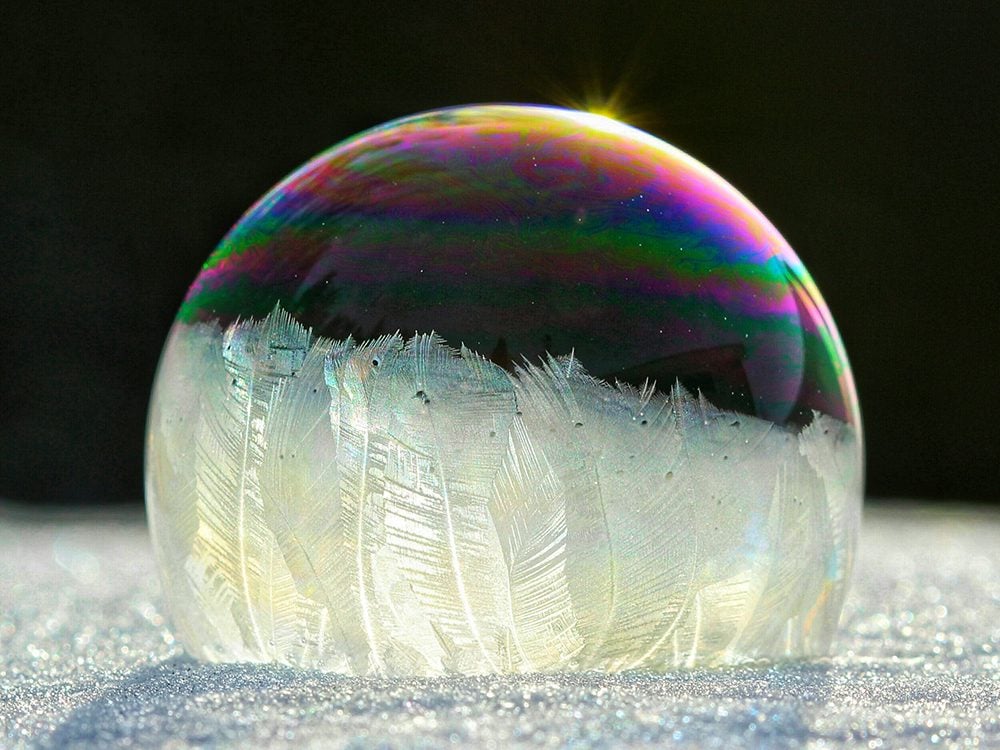
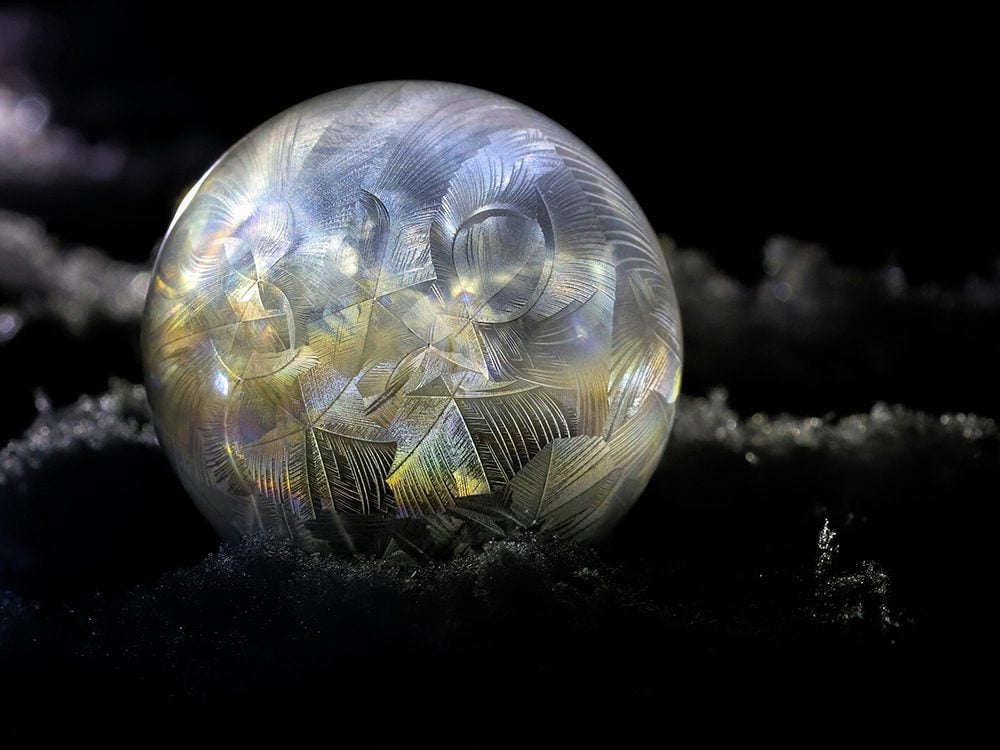
Living in a small, rural community just outside Petitcodiac, New Brunswick, the winter days can sometimes be long and quiet. So, for about four years now, I have combined two of my favourite things, photography and blowing bubbles. I love bubbles and am fascinated by the swirling colours and reflections inside them. I wanted to try photographing them while they were in the process of freezing. As they freeze, you see designs start to form immediately as they swirl and dance around. This is caused by a thin layer of water between two layers of soapy water. It is the middle layer that freezes, so it turns to ice inside the soapy layers. The bubbles only last for about 40 seconds or so before bursting.
How to Photograph Frozen Bubbles
I start the process by making my bubble mixture using water, dish soap and corn syrup. The corn syrup is added to give the bubbles extra stability. I don’t have an exact recipe, I just add some of each into a container and find it works best if made a day or two in advance. I wonder if that’s why I get such a variation in my bubbles, as my mixture is different every time.
I wait for a day with a temperature of at least -10°C, but I find that -15°C to -20°C works best for me. Varying temperatures make a difference in the designs you will achieve.
Here’s what it’s like photographing wildlife in the dead of winter.
Tips for Photographing Frozen Bubbles
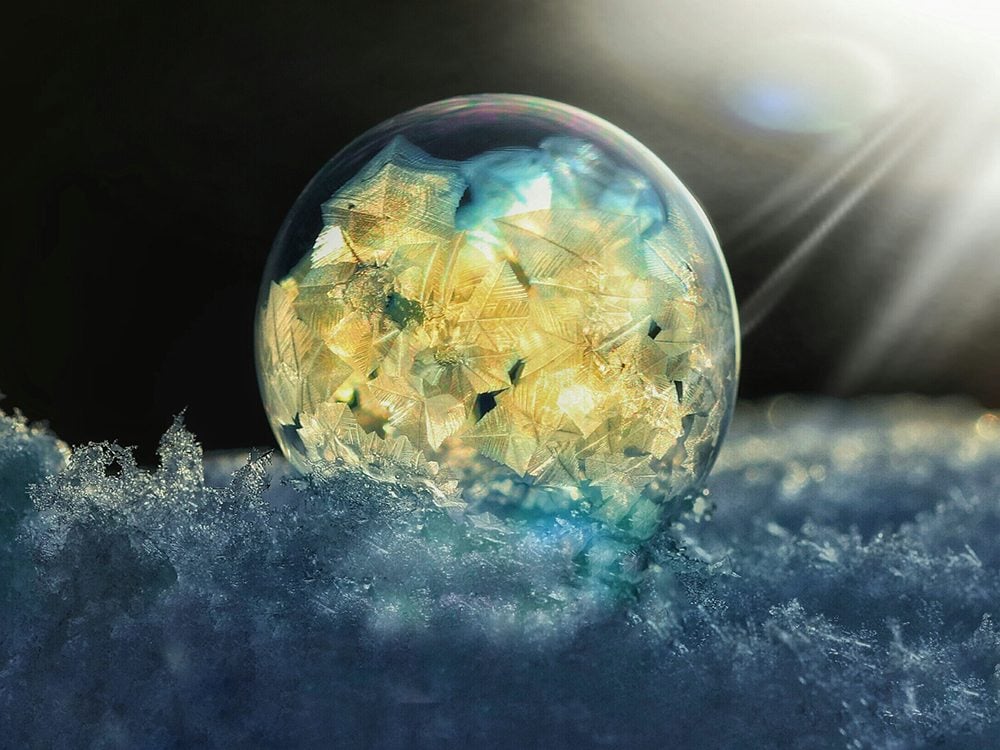
Once the perfect winter day arrives, equipped with my bubble solution, camera, macro lens and a plastic drinking straw—or multiple straws held together with an elastic band for blowing several bubbles at once—out into the cold I go. I usually take photos just holding my camera, as opposed to using a tripod, which gives me the flexibility to get the angles I desire. Because the bubbles don’t last long, and the designs change very quickly, you have to take multiple shots in order to get the ones you like during the different stages of freezing. Taking your straw, you dip it in the solution and blow a bubble in the location you want it; it can be on the snow or on a tree branch, or maybe you want the sunset behind it for a beautiful orange glow. The bubbles can be placed pretty much anywhere; I have even used a real flower. Your imagination is the only limit.
Don’t miss this gallery of stunning sunset pictures from across Canada.
Discovering Nighttime Photography
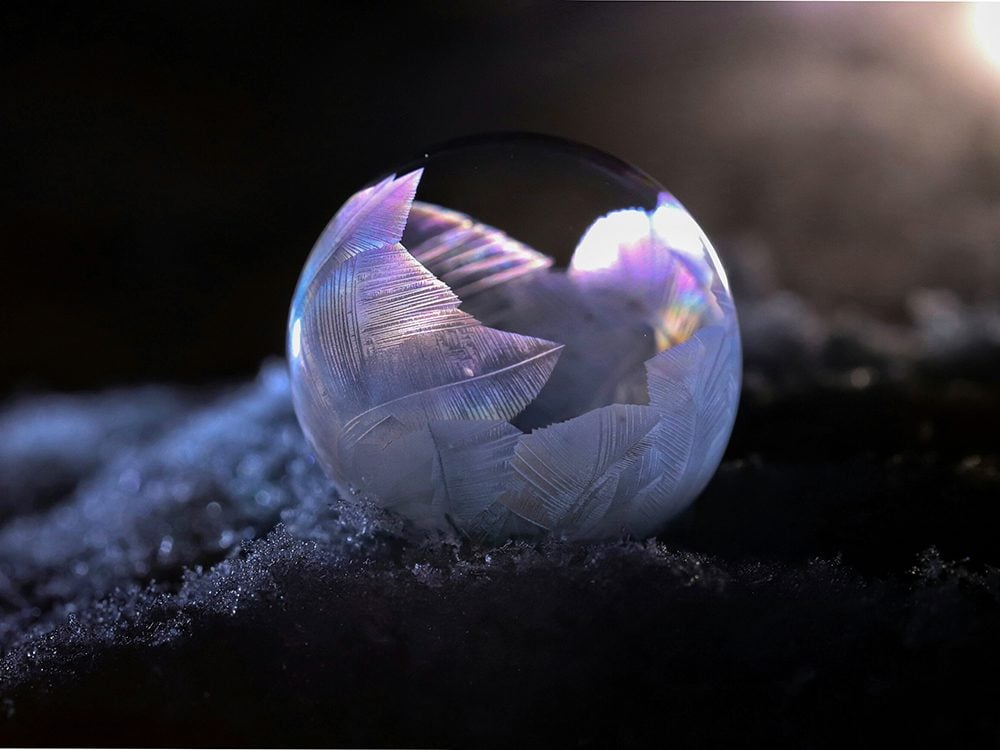
For a couple of years, I only created my frozen bubbles during the day. I was delighted with my fantastic creations of magical bubbles of ice but wanted more. So, with the help of multiple flashlights, coloured filters and bubble solution, I ventured out into the darkness of night to see what I could create. I had to take breaks to go inside to get warm between takes! Eventually, patience combined with practising using different angles with my camera and flashlights resulted in the effect I wanted. I noticed that the blackness behind the bubbles really made them pop off the screen. I was so excited to be getting images I truly loved.
This is something that anyone can do. Just dress warmly, head outside on those cold, frigid days, blow bubbles and watch the magic happen—but be warned, it can be very addictive!
Here are more photos that showcase the beauty of the Canadian winter.