

The Filthiest Items in Your Home (and How to Clean Them!)

Areas that are tough to clean—whether it's because they're tricky to reach or take too much elbow-grease—are often the most in need of a scrub.
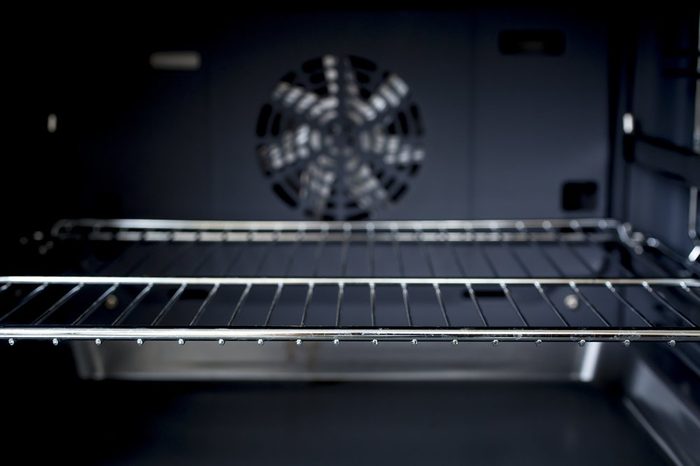
Oven
You probably use your oven daily, so it’s essential to keep it tidy—especially since it’s easy for food to spill over the edge and bake onto the bottom and generate a lot of smoke, explains Sean Parry, founder of Neat Services. “If the spillage isn’t cleaned after cooking, repeated use of the oven will further bake on the burnt food, making the problem worse and worse,” he says.
Here’s how to clean your oven: Remove the racks and then mix two to three tablespoons of water with baking soda until you get a paste; coat the inside of your oven and let it sit for a bit (even overnight), and then wipe it down. Finish the job by spraying on some vinegar (it will foam a bit where it comes into contact with baking soda) and scrubbing the stubborn spots. And don’t forget to clean the racks, too!
Find out how to clean the glass inside your oven door.
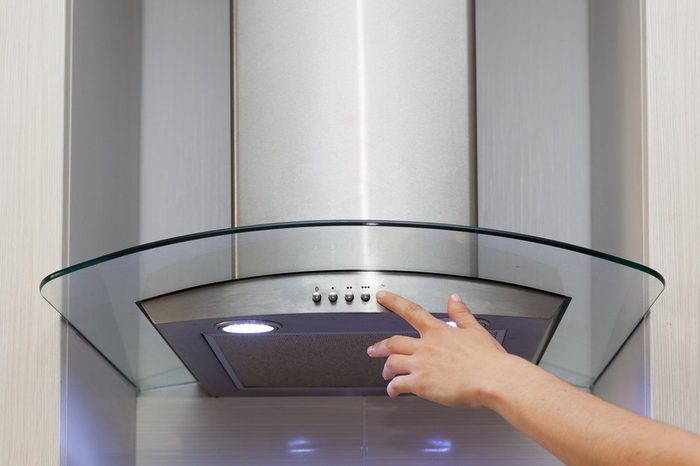
Oven hood
For the hood and screens, Debra Johnson, Merry Maids‘ home-cleaning expert, suggests placing the screens in a pan or sink of hot, soapy water. “Lift the filter up and down under the water to work the suds through and let it sit while you tackle the inside and outside of the hood,” she says. “Hot, soapy water and a non-scratch scrubby sponge will do the trick or you can use a multi-purpose cleaning spray if you prefer.”
Here’s how to clean absolutely everything in your kitchen, according to Charles the Butler of CTV’s The Marilyn Denis Show.
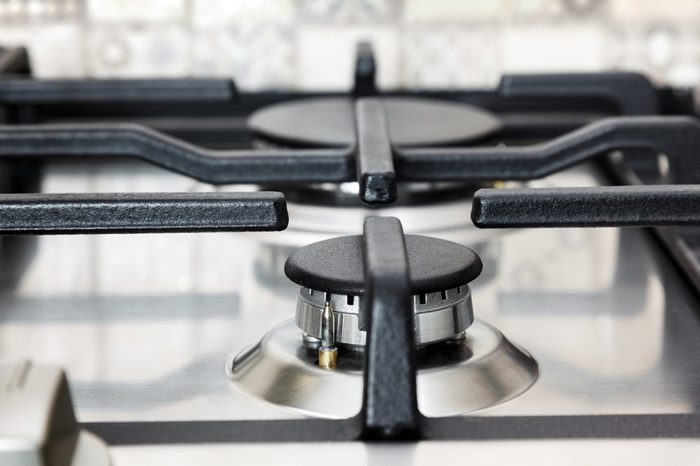
Stovetop
Your stovetop gets even more action than your oven—all the more reason to keep it clean. As with your oven, the high temperatures can bake on food or liquids, and the problem gets worse the longer you leave it, explains Parry. If you have a glass stove top, says Jennifer Rodriguez, Chief Hygiene Officer at Pro Housekeepers, try using a mix of one part white vinegar to two parts water in a spray bottle.
“Spray the vinegar solution on your glass stovetop and let it sit for 10 minutes then wipe away,” she says. Here’s how to clean non-glass stovetops: She suggests using hydrogen peroxide and baking soda. “Sprinkle the entire stove top with baking soda and add enough hydrogen peroxide until you notice the gunk fizzling,” she says. “Finally, rinse and dry.”
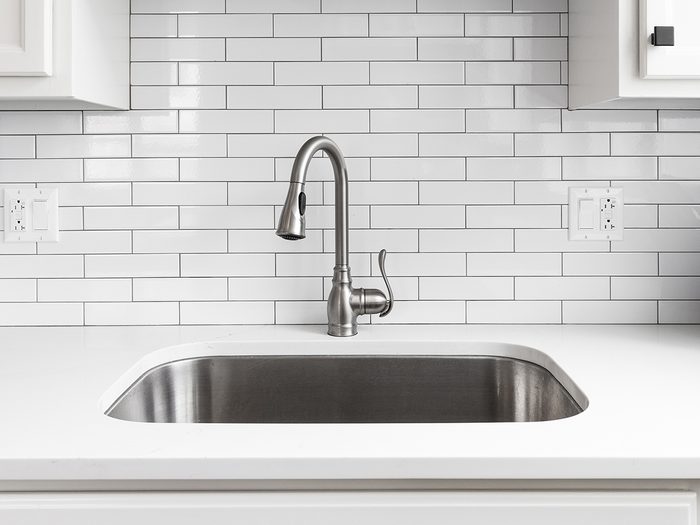
Kitchen sink
Another pain-in-the-neck area to clean that gets a ton of action is your kitchen sink. Your first course of action should be to avoid leaving gunk sitting in the sink overnight. Toss the big chunks in the garbage or grind them up in the garbage disposal right after dinner. Using a sponge, start getting rid of the food stains, water spots, rust and soap deposits.
If you’re having a hard time, Rodriguez recommends using baking soda. “Sanitize the sink by plugging the drain, filling the sink up with warm water then adding a little bleach,” she says. “Use a sponge to wipe up in and around the sink including handles and let it sit for five to 10 minutes before allowing it to drain.”
Find out more brilliant uses for baking soda all around the house.

Showerhead
In homes that have hard water, Parry warns that limescale can build up quickly, leaving white deposits around taps, showerheads and bath taps. “If these aren’t cleaned off regularly, the limescale becomes increasingly difficult to remove and the unsightly white marks get more and more pronounced,” he says. “If your showerhead is fixed to a ceiling or wall, you won’t be able to do much about this aside from wiping down the showerhead with a limescale cleaning product. However, if the showerhead is removable or attached to a hose for example, then we highly recommended putting the shower in a bucket of hot water with white wine vinegar added every so often.” The vinegar, he explains, helps break down the limescale deposits and improves the water flow to your shower.
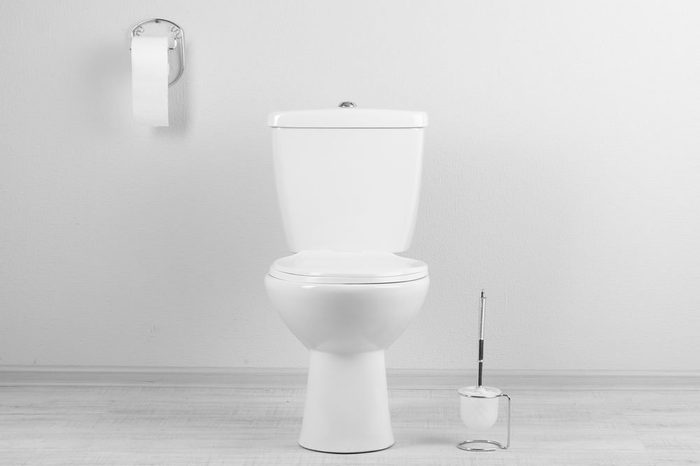
Toilet
No need to explain why and how this area of your home needs extra attention. Parry explains that, in addition to the obvious ways your toilet gets filthy, it can get limescale buildup (just like your showerhead). “Dark marks at the bottom of the toilet bowl are usually due to limescale trapping dirt particles—and, if a toilet isn’t used regularly or if you’ve been away for a while, you’ll see that these dark marks become more pronounced over time,” he says.
“Usually, if you use a specialized toilet product every few days, this will be more than sufficient to keep on top of any problems.” He recommends applying the product, letting it sit for half an hour (or overnight if the problem is worse), and then using a toilet brush to break up the limescale.
Discover 10 time-saving bathroom cleaning tricks.
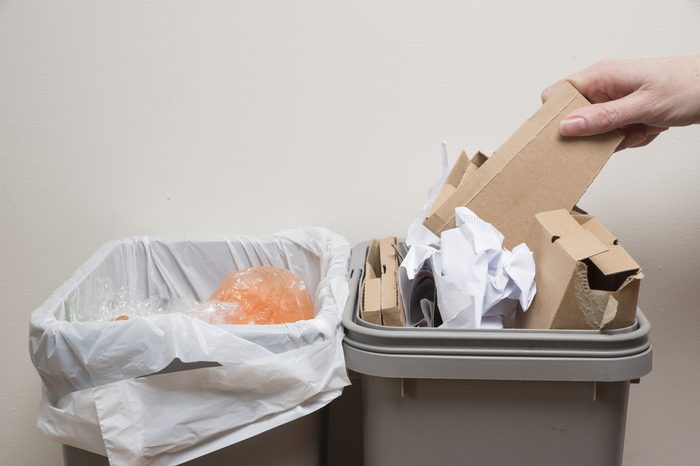
Garbage can
Most of the time, simply taking out your trash will get rid of any unpleasant odours; but occasionally you’ll have to wipe out the garbage can itself. In fact, Parry recommends doing this every week or so. “Food can spill out of the bin bag and into the bin itself,” he says. “Although this is a job most people hate doing, cleaning out any food and wiping the bin out regularly will leave your home smelling fresh and clean!”
Find out why you should drill holes in your garbage can.
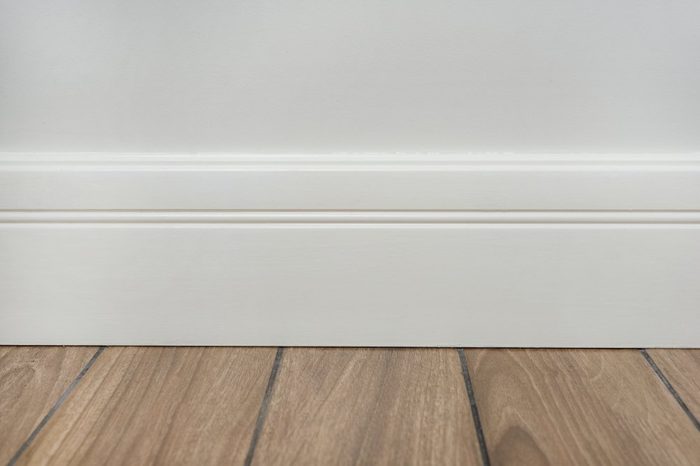
Baseboards
Dust build-up can be a source of allergies, yet people often forget to dust the baseboards, according to Johnson. To remove dust, she says, try wiping down baseboards with a dry microfibre cloth. “Microfibre cloths are the best material for picking up dust since the fibres in the cloth are split with open hooks on the end to pick up and hold the dust or soil,” she says. “Always use a dry microfibre first to remove dust and, if needed use a wet microfibre to remove spills and stains.” This will ensure no residue is left on the baseboard.
Discover 35 nearly-forgotten house cleaning tips from the past.
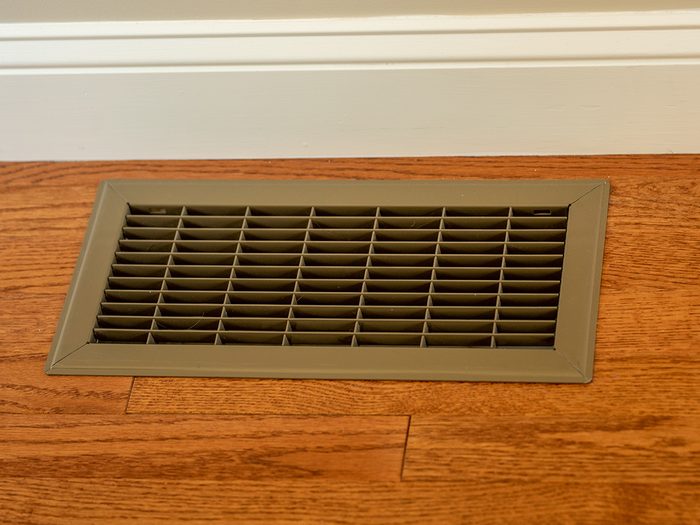
Air ducts and AC units
Clean air ducts are key to maintaining the indoor air quality of your home and the efficiency of your system, says George Hernandez, VP of Operations at PuroClean. He says they should be cleaned at least once a year by a certified professional. “As a homeowner, you can help in between cleanings by changing your air filter on a monthly basis and making sure the drain line is not clogged,” he says. “When you change your filter, you can pour diluted bleach down the drain line to eliminate microbial growth.” In addition to professionally cleaning your air ducts, he recommends that your AC unit be serviced once a year to ensure that the coils are cleaned; that will allow air to flow through more easily.

Dishwasher
Since the dishwasher’s main function is to clean, many people forget that it—like any other appliance—also requires a good cleaning every once in a while. “Though it might seem counterintuitive, think of all the dirty particles that go in and out of it on a daily basis—it’s no surprise your dishwasher can smell!” says Johnson.
Find out the surprising ways you’re shortening the life of your dishwasher.
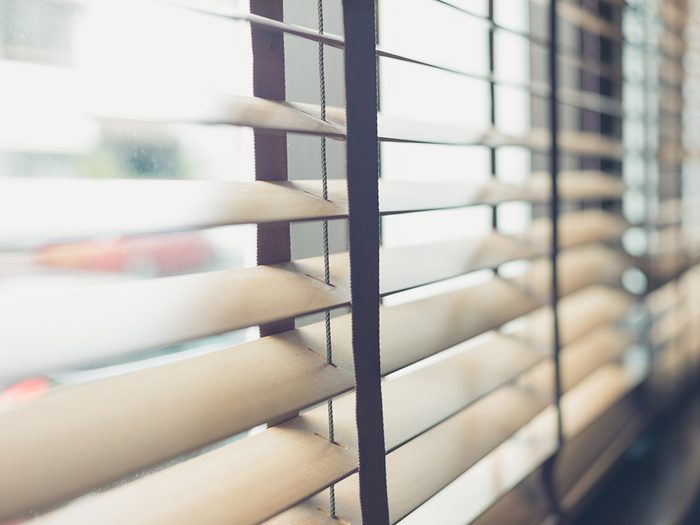
Blinds
Those slats may seem like a hassle to clean, but they don’t have to be, according to Rodriguez. Close the blinds and then dust them by holding the bottom with one hand and wiping the slats with a microfibre cloth. “Use a vacuum with a soft dusting brush attachment and set it to low-suction to remove even more dust; then repeat on the other side,” she says. For heavily soiled blinds, she recommends using a damp microfibre towel with warm water; for wood blinds, be careful not to soak them. “If you’re having a hard time removing grease or old dust stains, try using some soap and water,” she adds. “The last step is to let the blinds air dry and then vacuum any remaining dust that has fallen onto the window sill area or floors.”
Check out 40 spring cleaning tips you’ll wish you knew sooner.
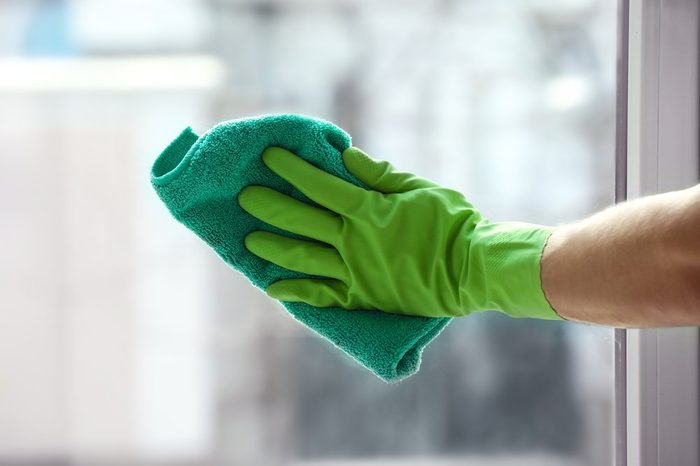
Windows
For your windows to function as intended—offering you a view on the world—they must be clean. Johnson recommends dipping a microfibre cloth into a mixture that consists of one part water and one part white vinegar. “Spray the liquid lightly on your windows making sure not to over-spray,” she says. “This can add time to the cleaning process since you have to wipe up the excess product before the cleaning can begin.”
Using a dry microfibre cloth, wipe off the solution. “The cloth won’t leave any residue.” For your windowsill, use a small dustpan or vacuum attachment to get rid of dust, soot, cobwebs, and insects, says Brian Sansoni of the American Cleaning Institute (ACI). “You can use cleaning wipes on plastic and vinyl window frames,” he added. “If you’re using a spray product, put it on the cloth and only use it for the sills, not the glass.” Without the microfibre cloths, it is easy to smudge your windows during the cleaning process.
Here are 13 cleaning mistakes everyone makes (and how to fix them).
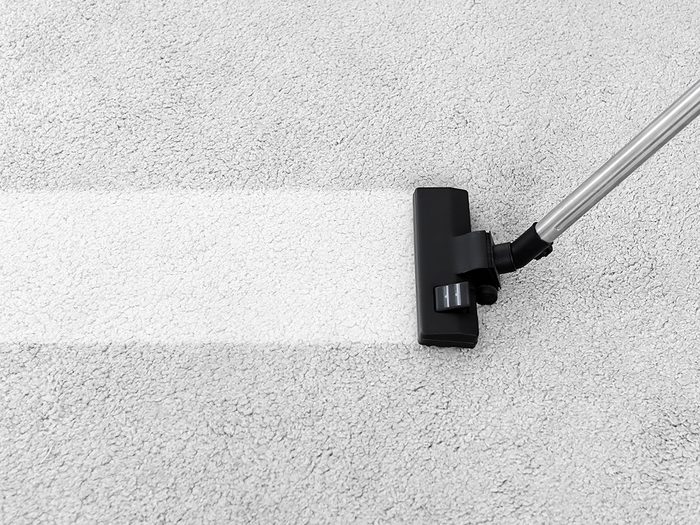
Carpets
Hernandez recommends having your carpets cleaned once a year by a certified professional—ideally with hot-water extraction. You should do it even more frequently if you own pets since carpets will collect loads of debris, dander, and dirt. “By maintaining your surfaces, you help improve the air quality within your home,” he says. “Maintenance should include vacuuming with a carpet beater and brush to help loosen up surface dirt.” On a weekly basis, he suggests vacuuming and following the manufacturer recommendations for care based on the type of carpet you have.
Find out 12 things you should never vacuum.
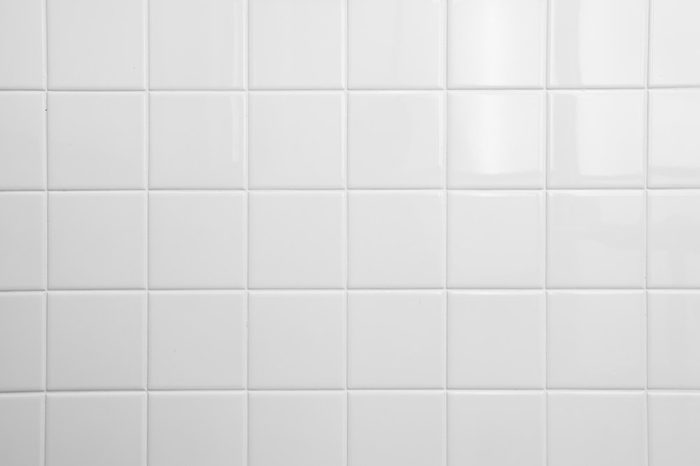
Bathroom tile
Bathroom tile—and especially grout—tends to attract growth and scum that not only makes it look gross and dirty, but make it harder to clean over time. (Here’s what that pink slime really is—ick!) Prenter says your best bet is to get down on your knees and employ some elbow grease. “Baking soda, when mixed with warm water and bleach, forms a potent cleaning formula that can scrub away stains and dirt while simultaneously sanitizing your kitchen and bathroom tiles,” he says.
To make the mixture, he recommends combining four parts baking soda, one part bleach, and one part water. “The result will be a paste which you can put on the grout using a sponge or rubber gloves,” he says. “Leave the mixture for 10 minutes and then take a tough sponge, or a brush if necessary, and scrub the paste into the grout until it returns to its original colour.” When finished, you can remove the remaining paste and dirt using a damp cloth.

Keyboards
Most of us use computers on a daily basis—and sometimes all day long. It’s essential to keep keyboards clean so you aren’t swapping germs with spouses, kids, and co-workers. Darla DeMorrow, professional organizer, founder of HeartWork Organizing and author of Sort and Succeed, suggests turning your keyboard over and shaking gently. “Keep a small spray bottle of rubbing alcohol mixed with regular water at your desk; lightly spray it on those ubiquitous microfibre cloths and wipe your keyboard, mouse, screen, and phone each day (or at least weekly),” she says. “The bonus is that you’ll stop struggling to see your screen through the fingerprint and makeup smudges.”
Have an accident with your morning cup of coffee? Here’s how to save a laptop after a spill.
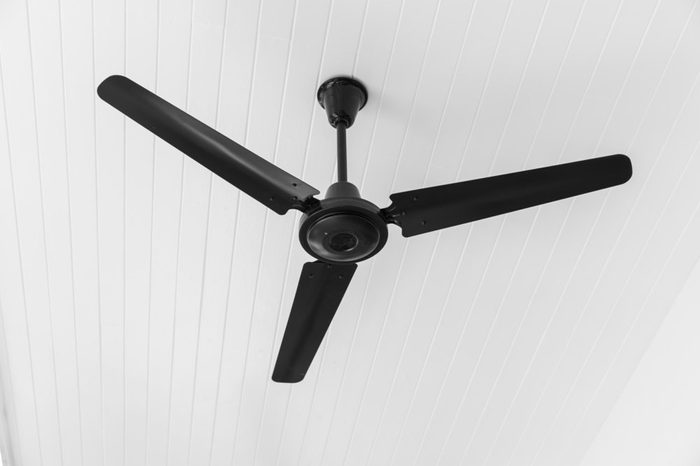
Ceiling fans
Although you might not be able to see it, ceiling fan blades attract a great deal of dust, dirt, and grime. To clean your ceiling fans, you’ll need a ladder, a dust brush, a bucket of hot water, and a microfibre cloth. (An old pillowcase can also come in handy!) “Brush the top of each fan blade first to remove loose dust, dip the cloth in the hot water, and then wipe the blade from the centre to the edge,” says Donna Smallin Kuper, a certified House Cleaning Technician, best-selling author, and established organizing expert. “Alternatively, you might want to invest in an extendable microfibre duster that can’t be adjusted to a 90-degree angle, allowing you to clean ceiling fan blades without the need for a ladder.”
Next, check out 13 cleaning hacks that take the hassle out of housekeeping.