

How to Replace Your Vehicle’s Air Filter
 Updated: Mar. 20, 2019
The air filter and positive crankcase ventilation (PCV) valve are important parts of your vehicle’s fuel system. Armed with these expert tips, you’ll be able to replace your air filter in a matter of minutes.
Air Filter Replacement: Step-by-Step Instructions
If you’re unsure about when to replace your car’s air filter, a basic rule of thumb is once every 12 months or 20,000 kilometres, or sooner if the vehicle is operated in dusty conditions. Replace the filter when it appears dirty or clogged; change the crankcase breather filter at the same time if it’s dirty. Check the PCV valve whenever you check or replace the air filter. It’s also a good idea to check the fuel filter, spark plugs, points, condenser, cap, rotor and wires.
To replace your air filter, you will need:
- Pliers
- Screwdrivers
- Assorted wrenches
Before you begin:
- Have a first-aid kit handy
- Follow the manufacturer’s instructions for all products
- Use safety stands under the frame or drive-on ramps
Plus: 6 Things Every Car Owner Should Look Out For When Checking Brakes
Removing the Old Air Filter
- Raise the hood and find the air cleaner assembly. It’s located on top of the carburetor.
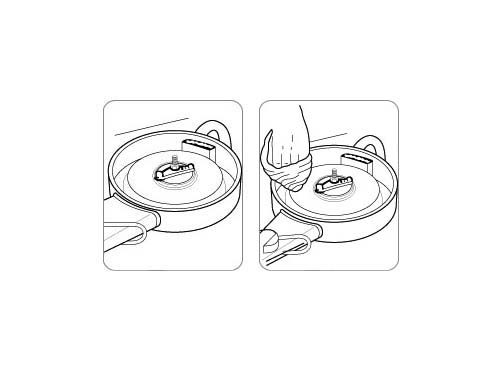
- Remove the wing nut or retaining clips located on top of the can.
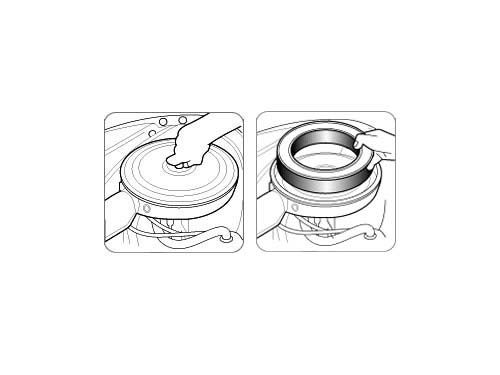
- Lift off the top pan and set aside. If you have to disconnect any hoses, make sure to label and reattach them in their original positions.
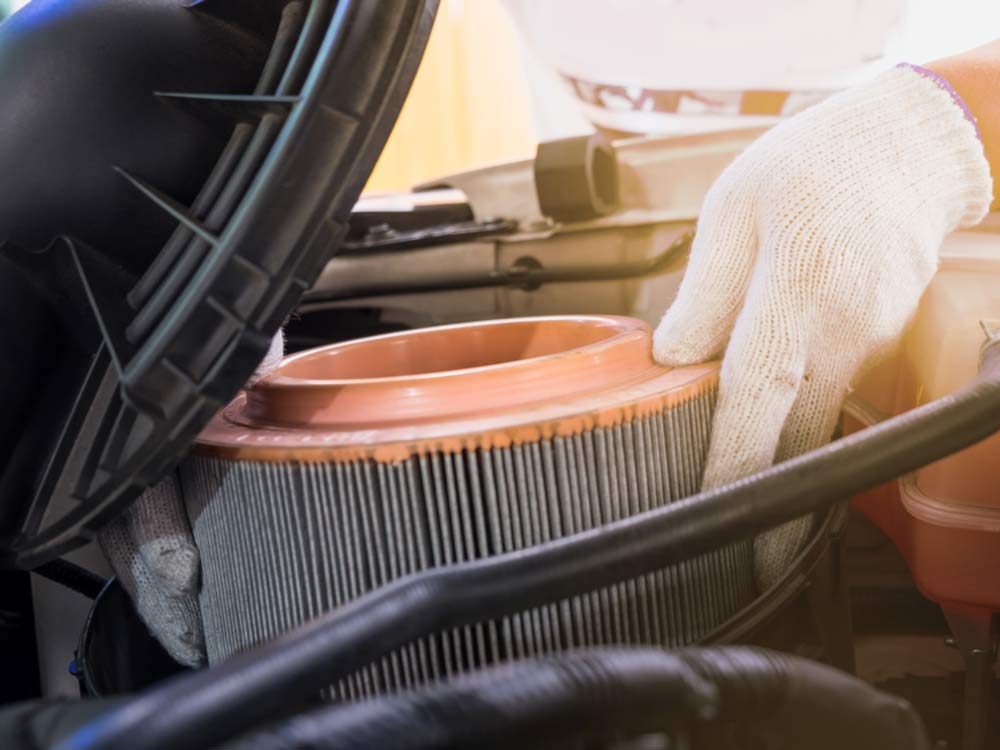
- Remove the old air filter cartridge and dispose of it properly.
Checking the Crankcase Breather Filter
- The crankcase breather filter is located around the edge of the air cleaner can.
- Remove the filter. Some breather filters are held in place by a clip.
- Inspect the filter. If it’s dirty, dispose of it properly.
- Wipe the inside of the air cleaner can with a clean rag.
- If necessary, replace the crankcase breather filter.
Installing the Filter and Replacing the PCV Valve
- Drop the new filter into place in the air cleaner can.
- Replace the lid and tighten the wing nut so it’s snug or snap the retaining clips around the edge of the can back into place.
- Make sure any hoses you remove are replaced in their original positions.
- The PCV valve is usually located at the end of a hose running from the air cleaner to the engine valve cover. Diesel engines do not have a PCV valve.
- Pull the valve from the grommet.
- A PCV valve that is functioning properly will usually rattle when shaken.
- If the valve is held in place with a hose clamp, squeeze the hose clamp apart with pliers. Remove the valve from the end of the hose.
- Check to be sure that the hose is not clogged or brittled. If it is, it should be replaced.
- Insert a new PCV valve into the end of the hose.
- Reinstall the hose clamp.
- Push the PCV valve back into the grommet. Make sure the other end of the hose is connected.
Plus: How to Replace a Coolant Hose in 10 Steps
For more great tips on how to maintain your car and to find the parts you need, visit NAPA Canada.