How to Dry Out a Cellphone, Step By Step
 Updated: Jul. 27, 2022
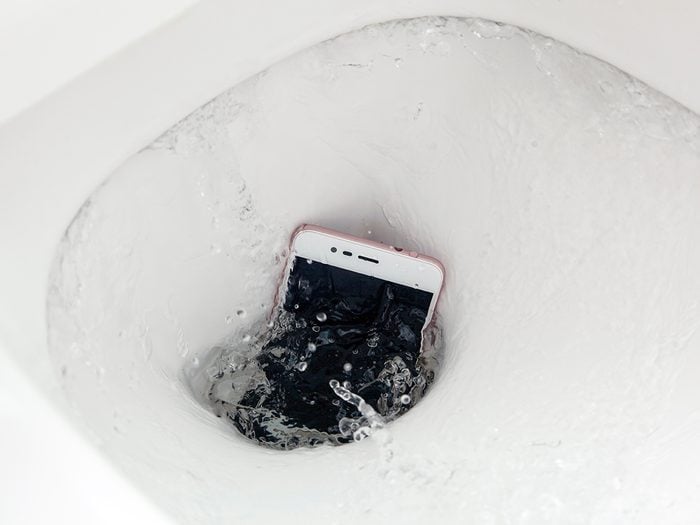
Here’s exactly what to do after your phone falls in the toilet. (Because you know it’s going to happen at some point.)
It’s easy to forget how dependent we are on our phones—until we can’t access them, that is. There are few things more sickening than hearing a splash as you lean over to turn off the tap of a filling tub, or even worse, fumble with your beach bag on the dock. Provided you can salvage your phone from the watery depths, all is not lost. Follow these step-by-step instructions on how to dry out a cellphone and you should be back in business in no time.
Step One: Remove the Battery
Seriously, remove the battery. “I know it’s tempting, but resist the urge to power up your phone to see if it works—just turning it on can short out the circuits,” says Joel Johnson of popularmechanics.com. Take out the SIM card, too—it may retain data, such as contacts, even if the phone itself is fried.
Step Two: Shorten the Drying Time
If the phone stays wet for too long, it will start to corrode. Skip the hair dryer; it’s too hot for this purpose and the air could force moisture deeper into the phone. A better choice is a can of compressed air or a wet-dry vacuum, if you have one.
Step Three: Sop Up Remaining Moisture
Submerge the phone in uncooked white rice for at least 12 hours. If you don’t have rice handy, place the phone on paper towels, then put it in the freezer for 15 to 20 minutes. Replace the battery and turn it on. If nothing happens, remove the battery and stick the mobile back in the freezer for another five to 10 minutes. There’s a good chance you’ll be back in communication after a couple of tries.
Now that you know how to dry out a cellphone, find out how to save your laptop after a spill.