

11 Vegetables You Can Regrow with Kitchen Scraps
 Updated: May 18, 2021
All it takes to regrow veggie scraps into new produce is water, soil and a bit of patience.
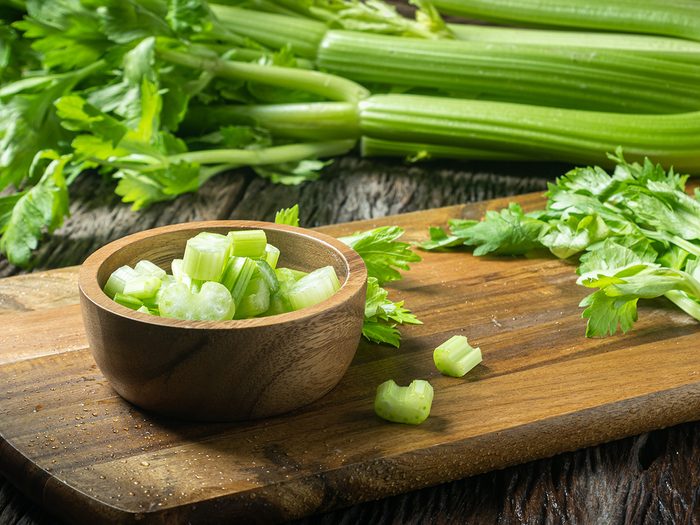
Celery
Cut two inches from the stalk’s bottom and discard that two-inch portion. Then place the remaining stalk in a container with one inch of water. Change out the water every day. Transplant the stalk to a soil-filled container or the ground once it sprouts a good amount of new leaves, in about one week. (Don’t plant outside when it’s hot—celery is a cool-weather crop.) Submerge the stalk in soil to its centre leaf tips and then watch it grow.
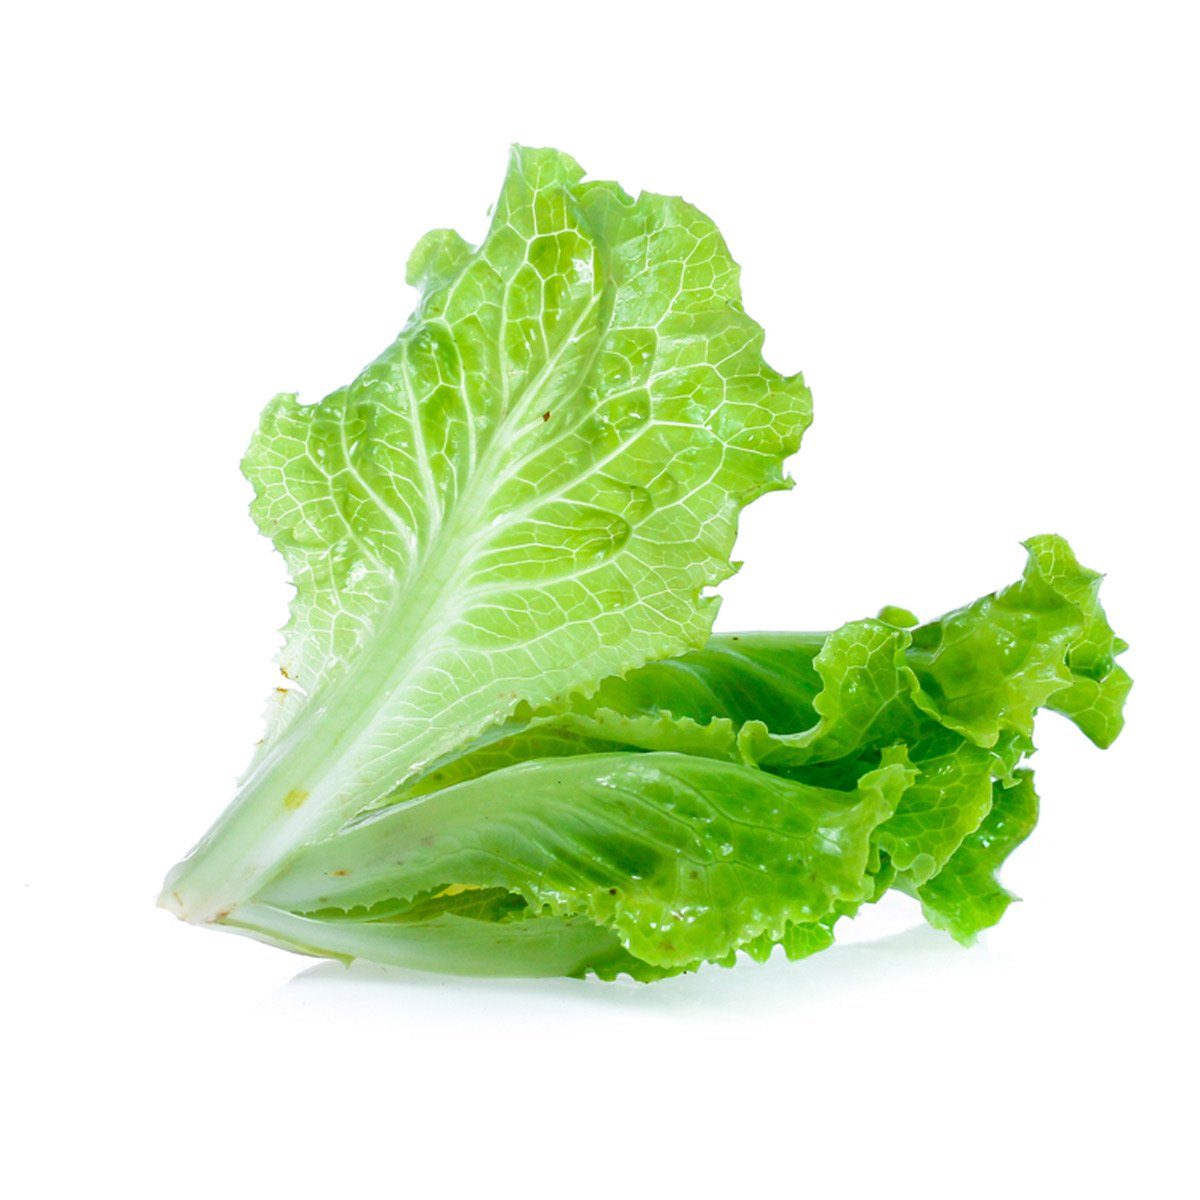
Lettuce
Any lettuce that grows in heads, such as romaine, butterhead and iceberg, regrows easily. Simply cut off the base of the head so you’re left with a piece about one inch tall. Place it in a small container with 1/2 inch of water you change daily. In about three to four days, it should be sprouting roots and new shoots. Then plant in the ground or a larger container.
Check out the new IKEA cookbook that’s all about putting kitchen scraps to good use.
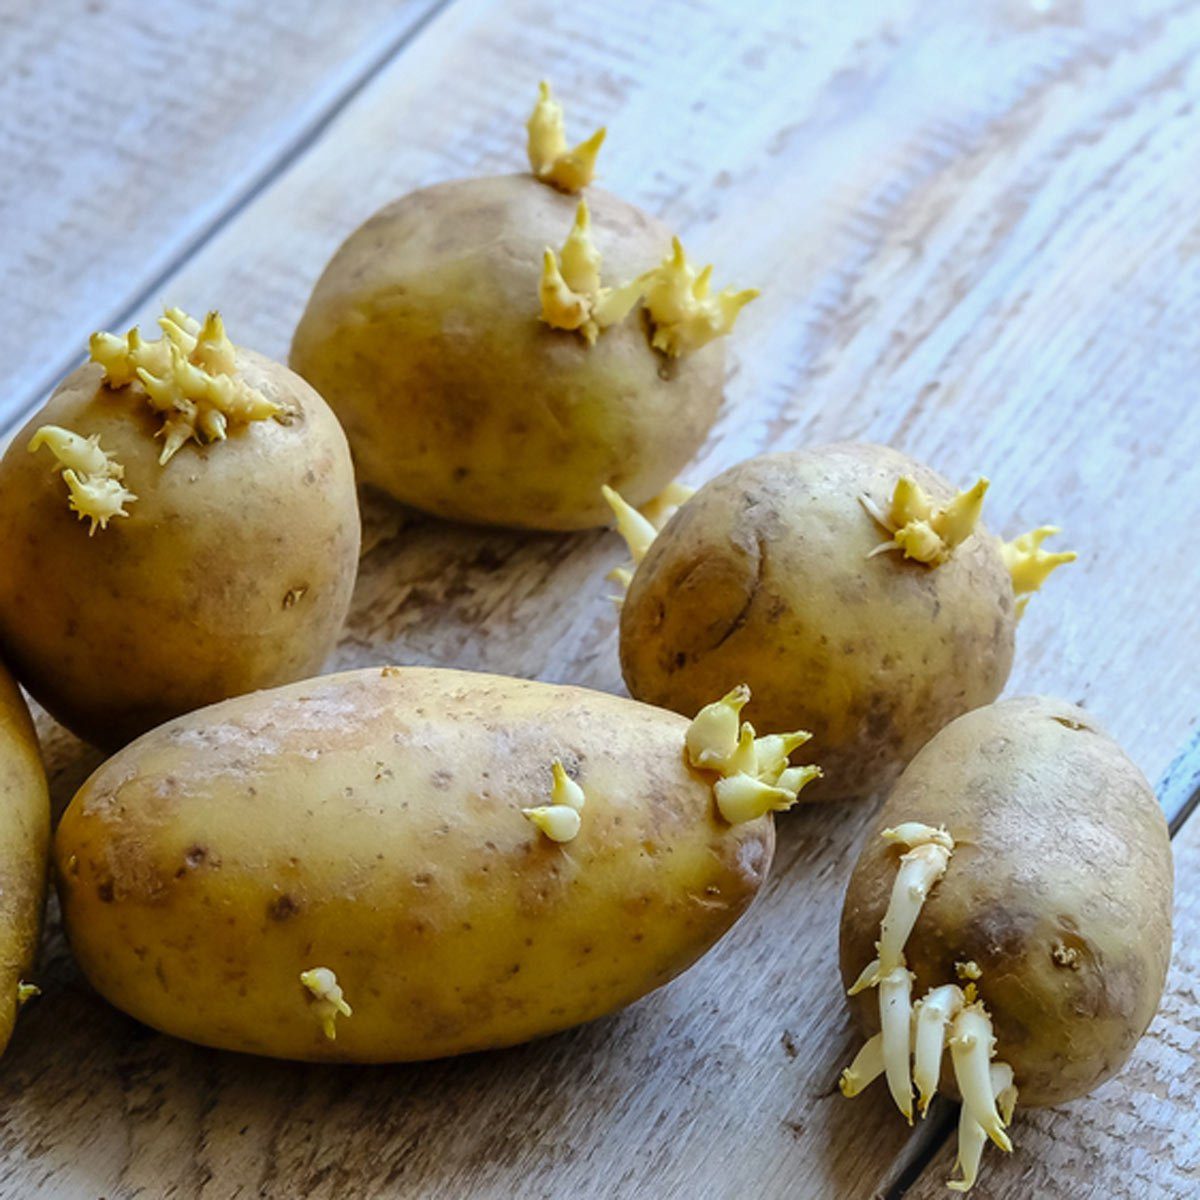
Potatoes
Take a potato with visible sprouts (i.e., eyes) and slice it in half. Stick a few toothpicks through the top of one end and submerge the potato, cut side down, in water. Make sure the toothpicks hold the potato securely in the water. If placed in sunlight, it should sprout from its top in about four days. Once the new sprouts are about four inches long, twist them off and place them in shallow water. You can plant those sprouts once their roots measure one inch.
Don’t have a green thumb? These hacks can revive almost any dead plant.
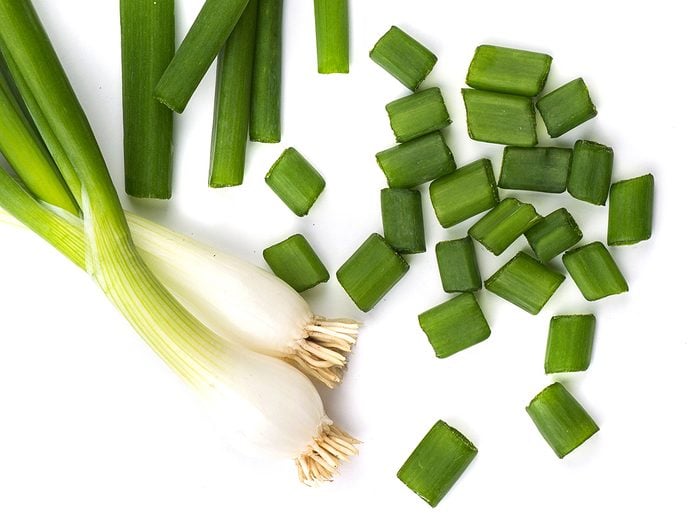
Scallions
Scallions, a.k.a. green onions, are super simple to grow. Start by snipping off the green part as well as an inch off the root. You should be left with the white base, which you can then place (not submerge) in water. Use a container narrow enough to keep the cut stubs upright. Green onions will start to grow within days when placed in a sunny window. You can let them grow as is or plant in soil.
Here’s how to grow a vegetable garden—absolutely anywhere!
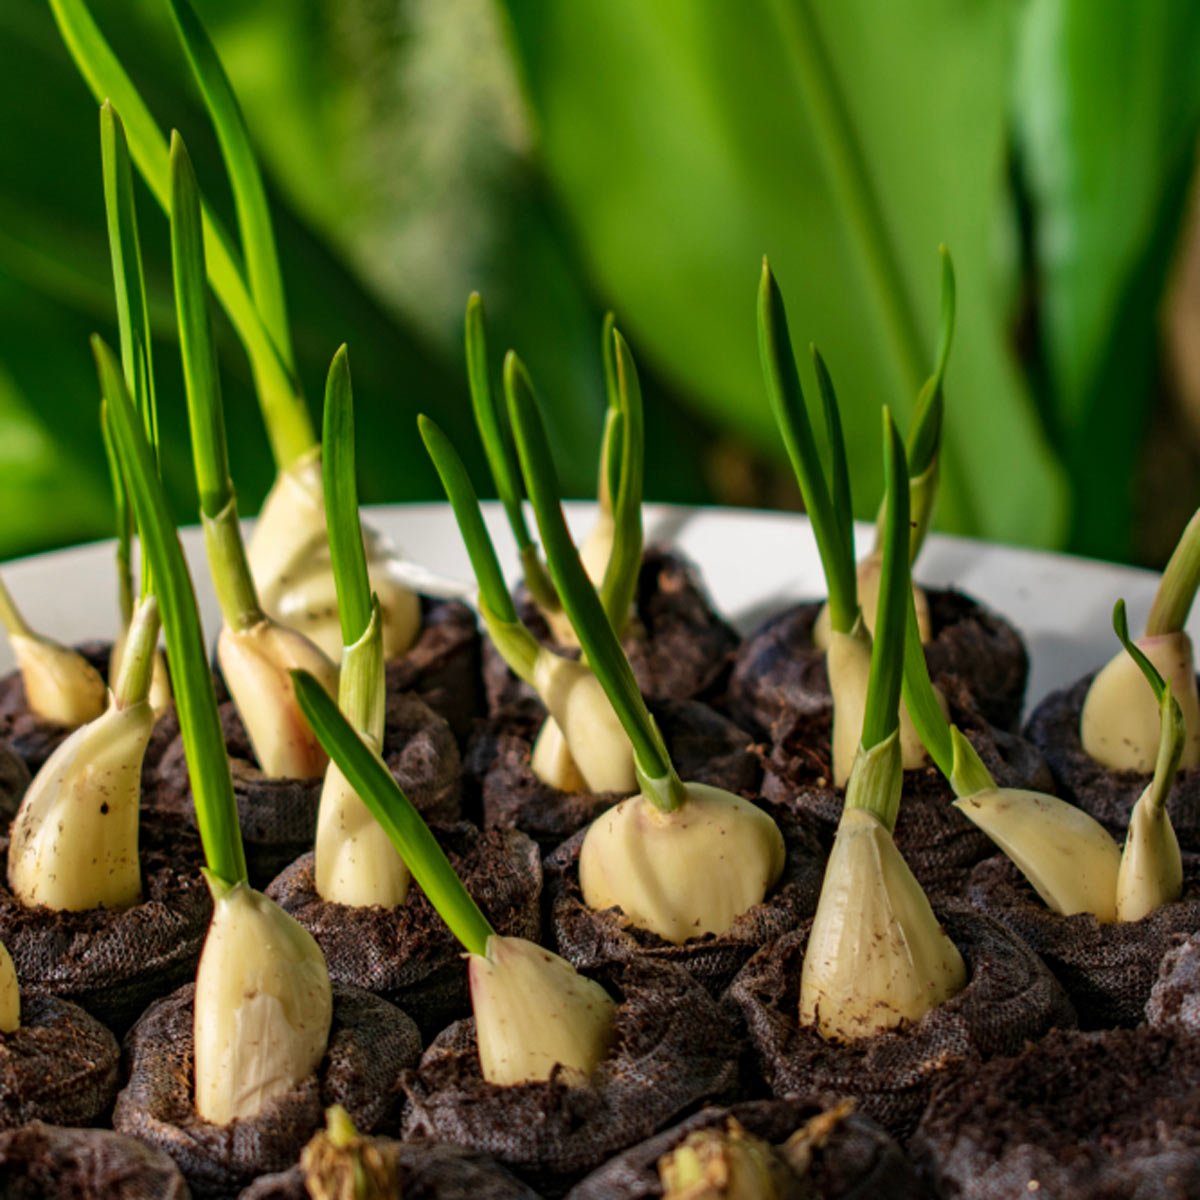
Garlic
The easiest way to regrow garlic is to plant a clove, root side down, in a container with potting soil. Do so in the fall about eight weeks before the first frost hits and you’ll have bulbs the next summer. Always space bulbs at least four inches apart when planting. Once you see tall stalks, you can harvest your bulbs. (Also considering sautéing and enjoying those stalks!)
Tight on growing space? Don’t miss this genius hanging herb garden hack.
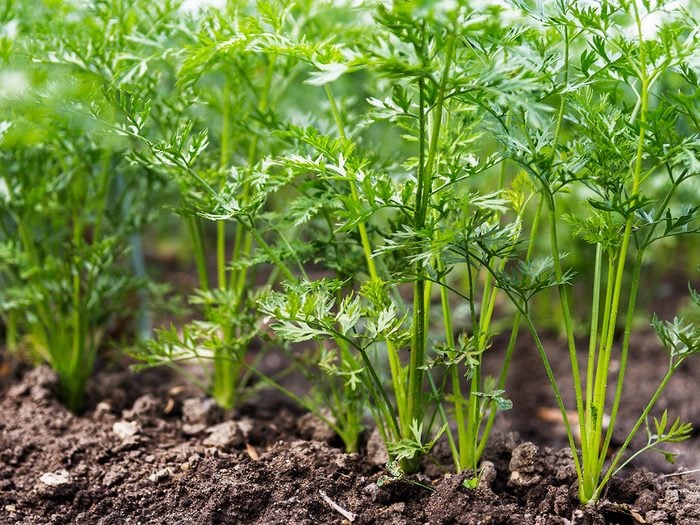
Carrot Greens
Carrot greens are a delicious and healthy addition to salads, sautéed veggie blends, soups and more. You can regrow the green tops (not the carrot) by placing a one-inch carrot top in a dish with one inch of water. Place the dish in a sunny spot and change out the water daily. In about four weeks, the tops should be bushy and there should be roots on the cut end. You can then transplant into a container or the ground to enjoy continuous fresh greens.
Check out all of the vegetables you can start growing indoors.
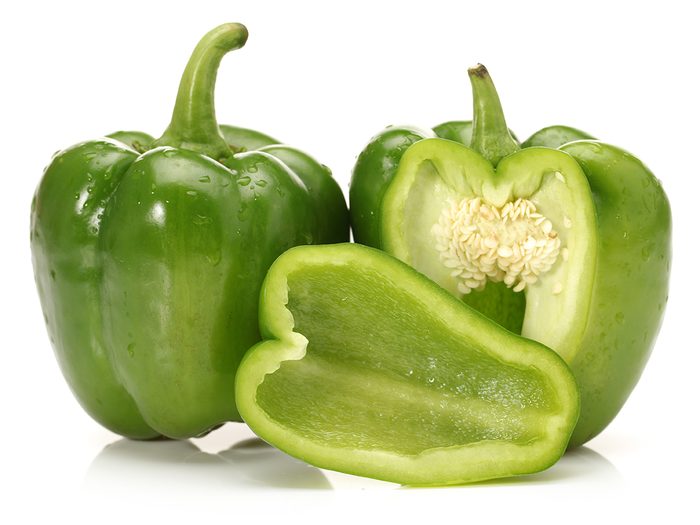
Peppers
Save a few seeds from your favourite variety of pepper and lay them out to dry in the sun for an hour. Plant them in late spring or early summer. If that timeline is far out, place the seeds in a jar in a cool location like your refrigerator. Depending on the pepper, once planted it can take from 60 to 150 days to mature.
No backyard? No problem! Use these urban gardening tips to add greenery to even the smallest porch, patio or balcony.
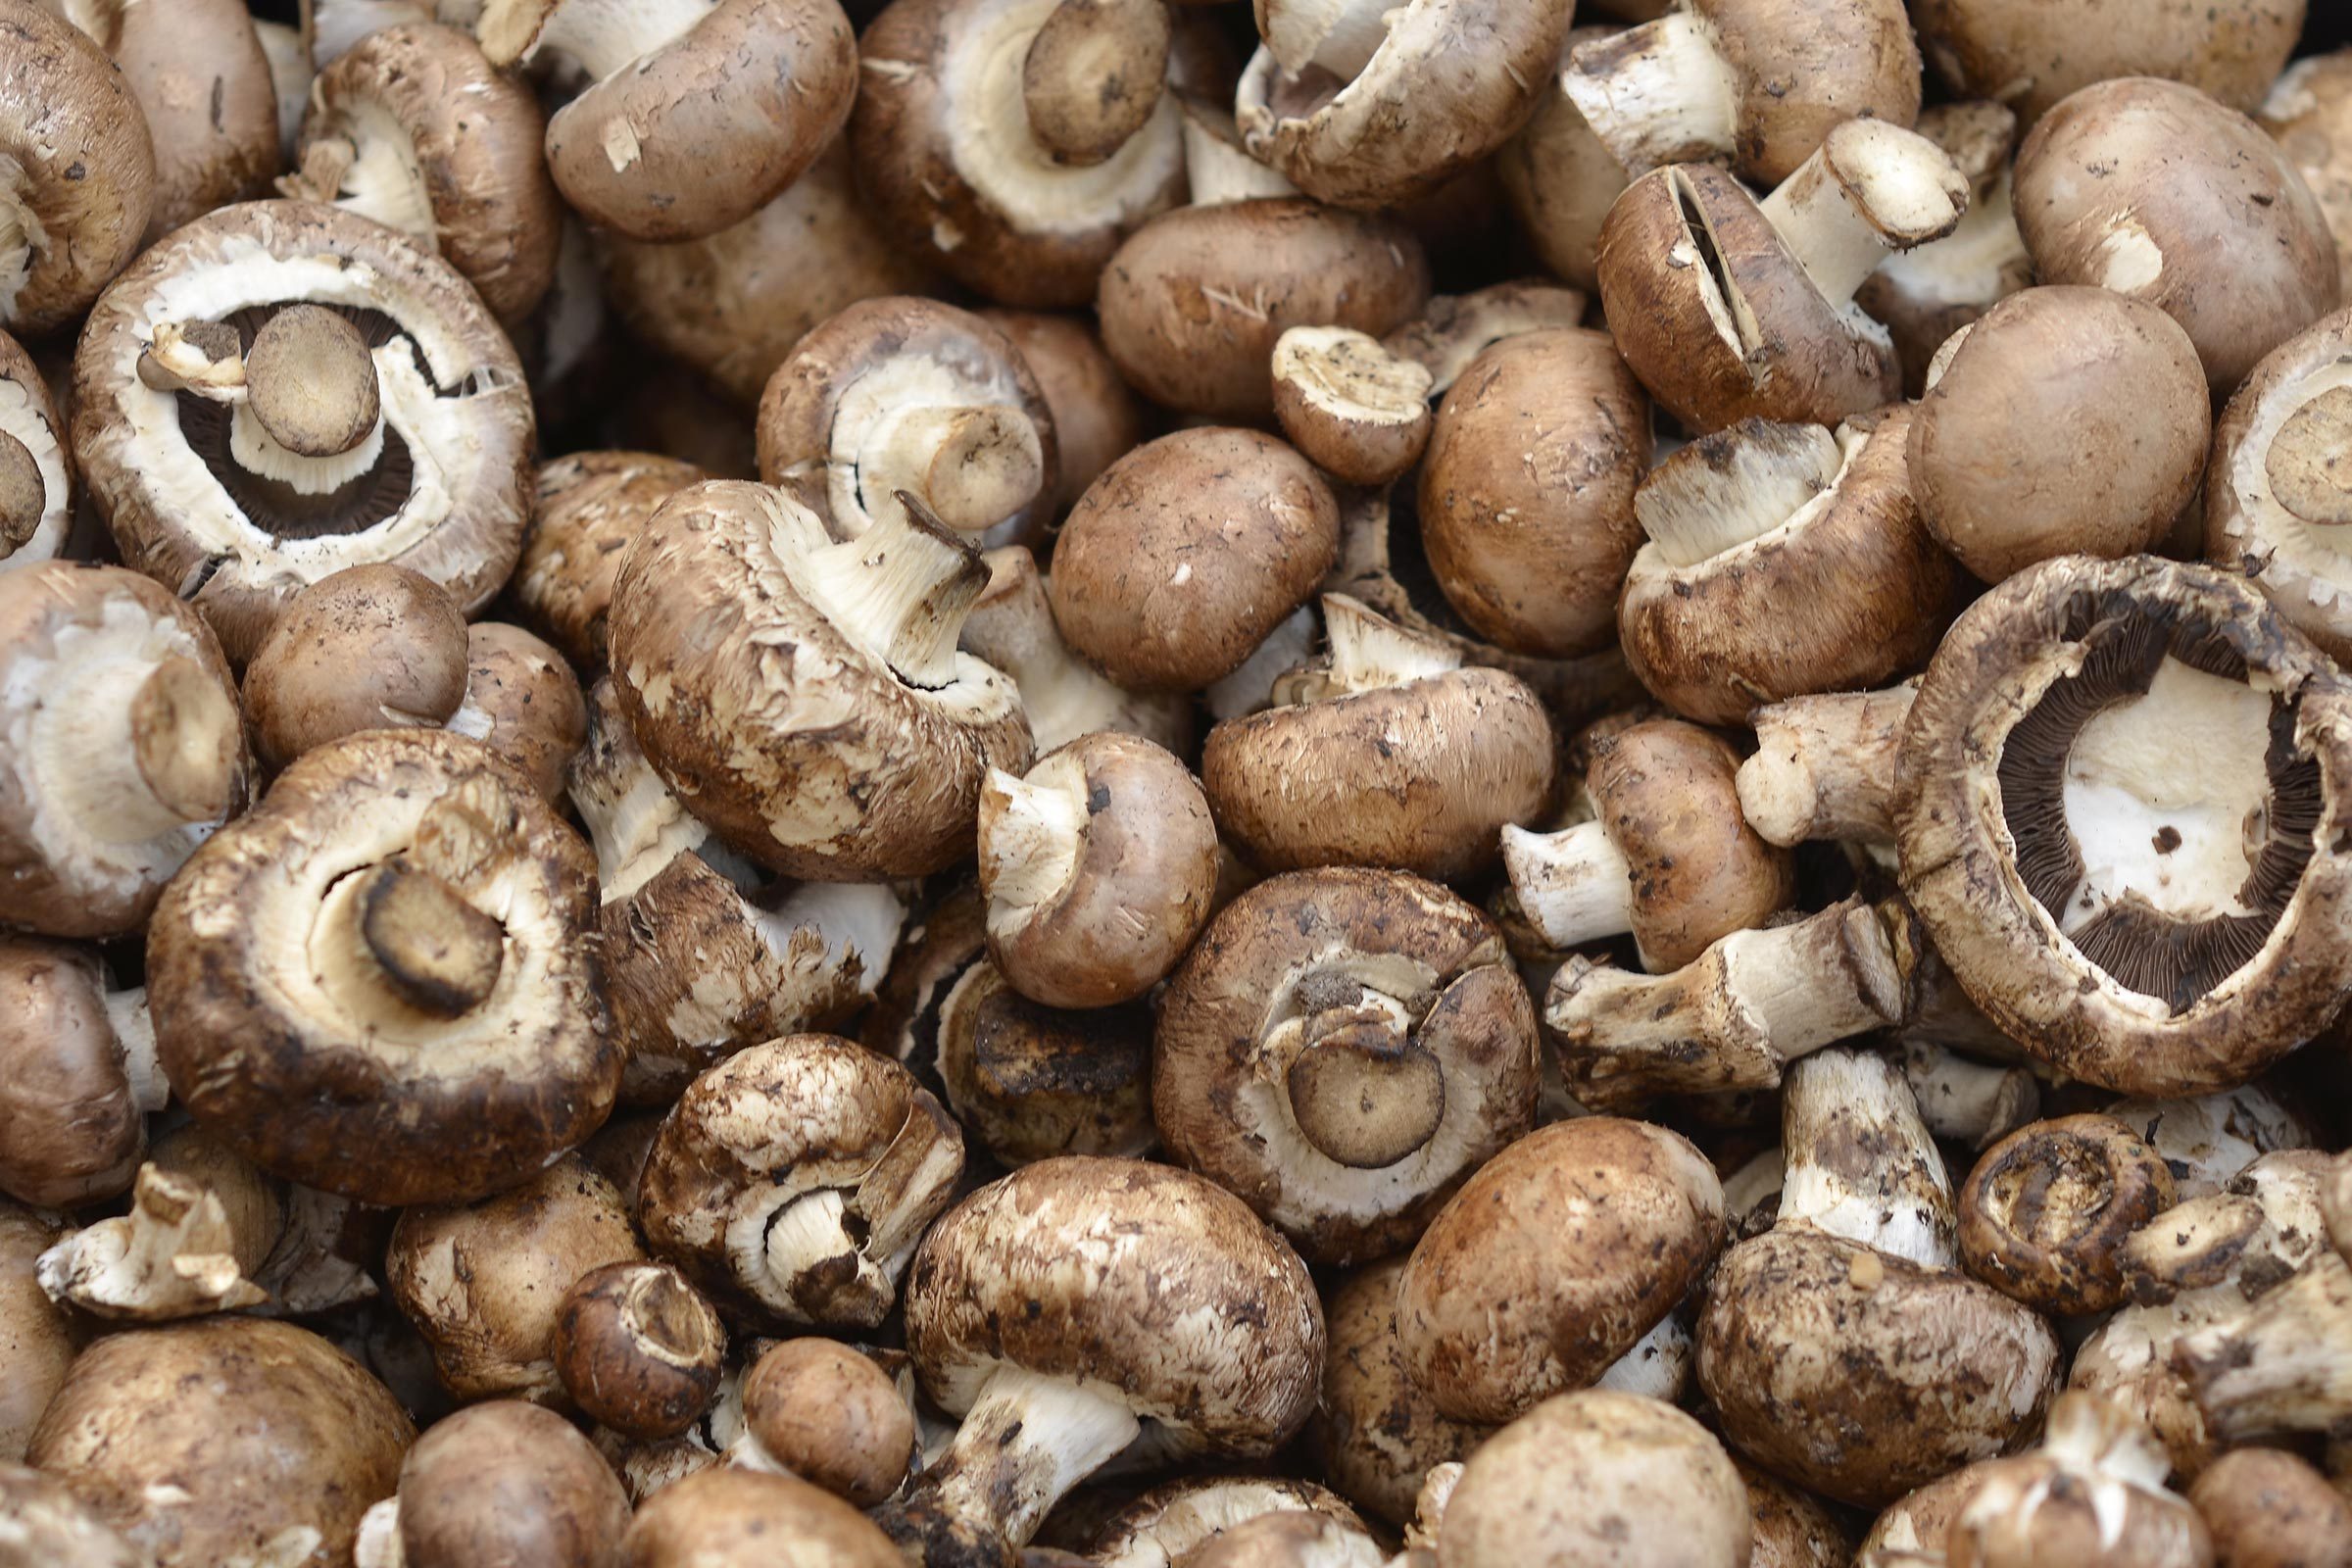
Mushrooms
Remove the cap from a mushroom so you’re left with 1/4 inch of the stalk. Prepare a container by placing straw at its bottom before adding potting soil — mushrooms thrive in cool, damp environments and the straw will keep things moist. Place the mushroom stalk in soil so that only the top of the stalk is visible. Place a layer of plastic, with holes poked in the top, over the container and mist the soil whenever it looks dry. Expect new mushrooms to develop in about two to four weeks.
Read up on the mushrooms that are being touted as the next big superfood.
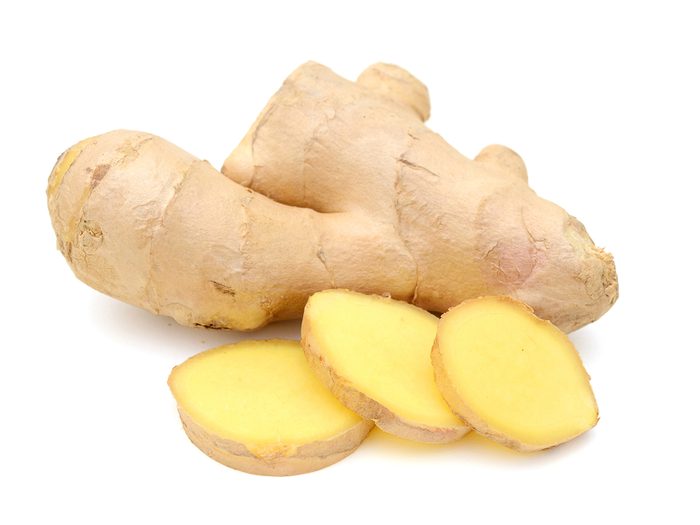
Ginger
Regrow zesty ginger (which really is a vegetable!) by soaking a root in warm water overnight. Ginger grows horizontally, so use a wide, shallow pot with potting soil. Place the ginger, eye bud pointing up, in an inch or two of soil. Water it lightly and don’t let it get too much sunlight. While shoots will appear in two to three weeks, your ginger won’t be ready to harvest for at least a few months. Cut what you need from the stem before replacing the soil to let it keep growing.
Want to grow your own healing garden? Here are eight medicinal plants to grow at home.
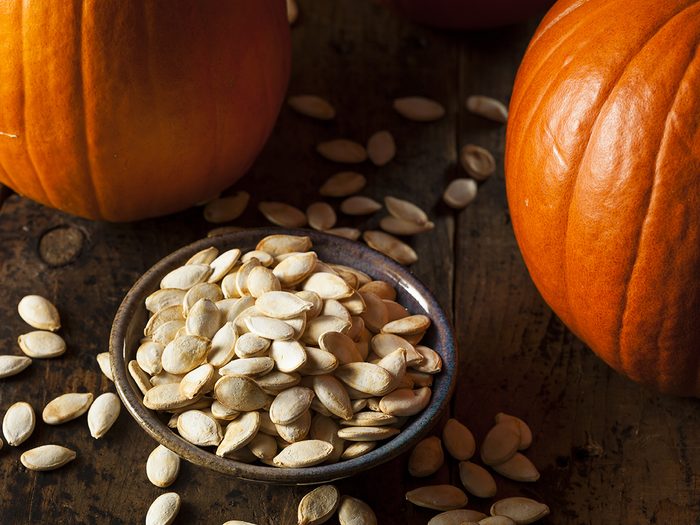
Pumpkins
Pumpkin seeds are great snacks, but reserve a few to regrow your pumpkins. Start by removing the seeds from the pulp. Place the seeds in a strainer and rinse them, taking care to remove residual pulp. Place the biggest seeds on a towel to dry for about a week. The best time to plant pumpkin seeds is late May to early July. If you missed that window, store the seeds in a cool, dry place like the fridge until ready to plant.
Save time and money with these brilliant gardening shortcuts.

Tomatoes
Fill a one gallon container with soil. Cut three or four 1/4-inch slices off your favourite tomato. Lay the slices, cut side down, in a circle shape in the pot. Cover with soil and water. You’ll see sprouts from several dozen seedlings within a week or two. Decide which ones look the strongest and transplant them in groups of four to another pot. You can then choose the strongest from that batch and again repot or plant the tomatoes outdoors.
Find out more easy foods to grow at home during the pandemic.