

6 Tips for Starting a Windowsill Garden
 Updated: Mar. 20, 2019
Dust off your green thumb and try your hand at winter gardening with these fun and easy windowsill planting tips.
1. Let the Sunshine In
Locate your brightest window and add a set of grow lights, if needed.
(Photo courtesy of Thinkstock)

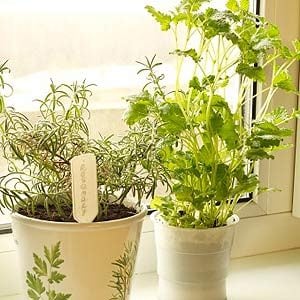
2. Make a Flat Plan
Whether you use flowerpots, a seed-starting box or repurposed grocery-store containers, make sure there are holes in the bottom for drainage and a liner underneath to catch excess water.
(Photo courtesy of Thinkstock)

3. Get Dirty
Fill your chosen receptacle three quarters of the way with organic potting soil. Sprinkle a handful of seeds on top and cover with a light patting of earth.
(Photo courtesy of Thinkstock)

4. Dampen, Don’t Drown
Use a spray bottle instead of a watering can to hydrate the soil until germination.
(Photo courtesy of Thinkstock)

5. Trim Regularly
To ensure a long yield and maximum bushiness, give greens a regular haircut even when you’re not cooking with them. You can dry and store excess herbs for later use.
(Photo courtesy of Thinkstock)

6. Care for the Air
To prevent plants from drying out, keep air flowing with an oscillating fan and use a humidifier to counteract winter’s drying effect.
(Photo courtesy of Thinkstock)