

8 Spring Cleaning Tips That Will Make Life Easier
 Updated: Oct. 04, 2018
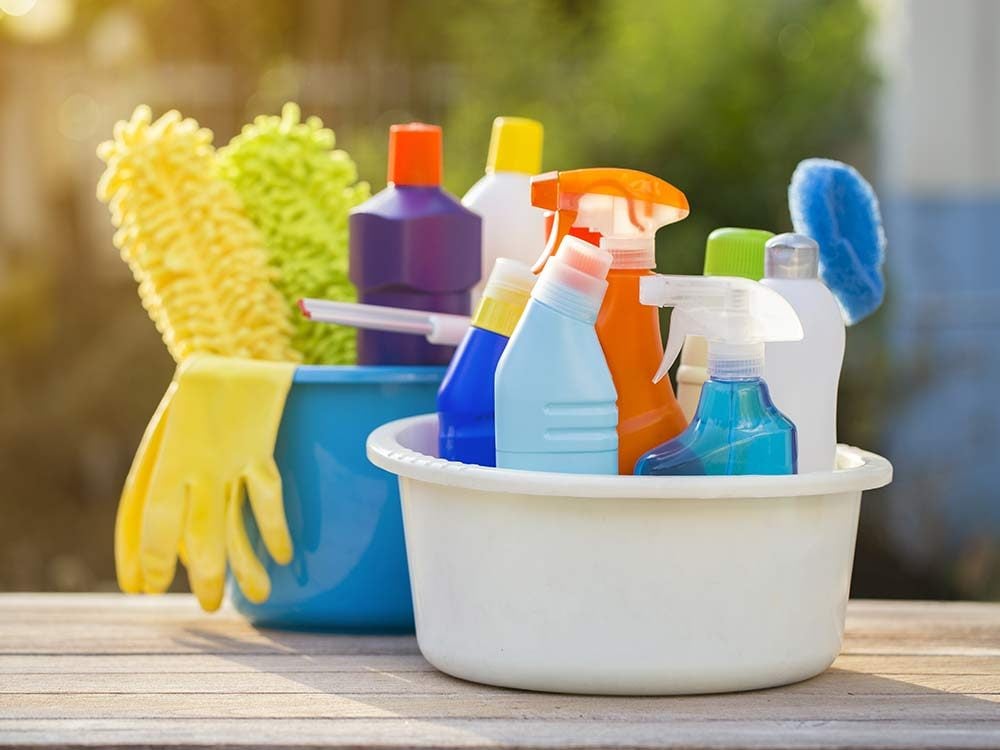
Ready to give your home a top-to-bottom buffing? Once you’ve covered these major tasks, you’ll have your home spring-cleaned in no time.
Wash the walls and floor
The walls may not look as if they need a bath – after all, dust and soot fall to the floor, right? Most of it does, but just enough clings to vertical surfaces to warrant a seasonal or pre-holiday bath. Use a sponge and hand dishwashing detergent, washing the surface in sections. A sponge mop makes it easier to reach higher spots. Use two buckets: one for dishwashing detergent solution and another for wringing your sponge. Dry the walls and woodwork with a clean cloth.

Make your doormats welcoming
Shake ’em, wash ’em, swat ’em with a broom. Give them the toughest cleaning they can take. They’re your front line against tracked-in dirt – so keep them clean enough to function at peak efficiency.

Clean carpets and upholstery
Fabrics that have absorbed a winter’s worth of dirt, body oil, and germs will need a deep cleaning to get them ready for another year of wear – and for that close inspection by your relaxing guests.
When you’re shampooing carpets or cleaning or cleaning upholstery with a rented carpet cleaner, practice first in an unobtrusive area to make sure you have the knack of the machine and that the treatment won’t discolor fabrics or cause dyes to run. Save time by moving furniture just slightly – not out of the room or against the wall, as the old rules dictated – and place the legs of each piece back on top of small wax paper squares after shampooing. The wax paper will protect your carpet and keep the furniture legs from getting wet as the carpet dries. Open the windows to speed the drying process, which can take a day or more. If you’re not the furniture-shifting and machine-renting type, make it easy on yourself. Call in a professional carpet and upholstery cleaner to do the work and take the morning off.
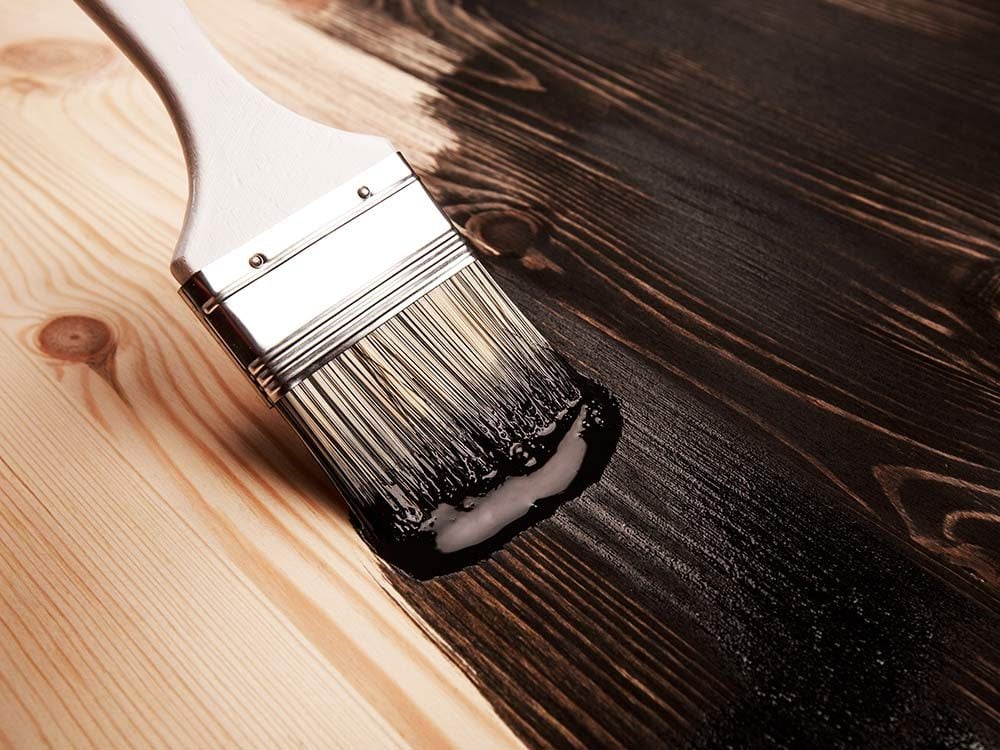
Finish your floors
To protect the floors in your kitchen from another year of wear and tear, wax or apply a sealer following label directions. The simplest method: Use a combination wash-and-wax floor cleaner. Don’t feel guilty about saving time!
No-wax floors don’t need a polishing treatment, but an occasional makeover will keep them looking fresher – and add a protective buffer that could help them last longer. Use a floor cleaner that cleans, shines, or both. It’s best to follow label directions for proper use of each product. If you have wood floors, move furniture and rugs aside, then apply a wood cleaner and either liquid or paste polish to clean and add a new wax coating.
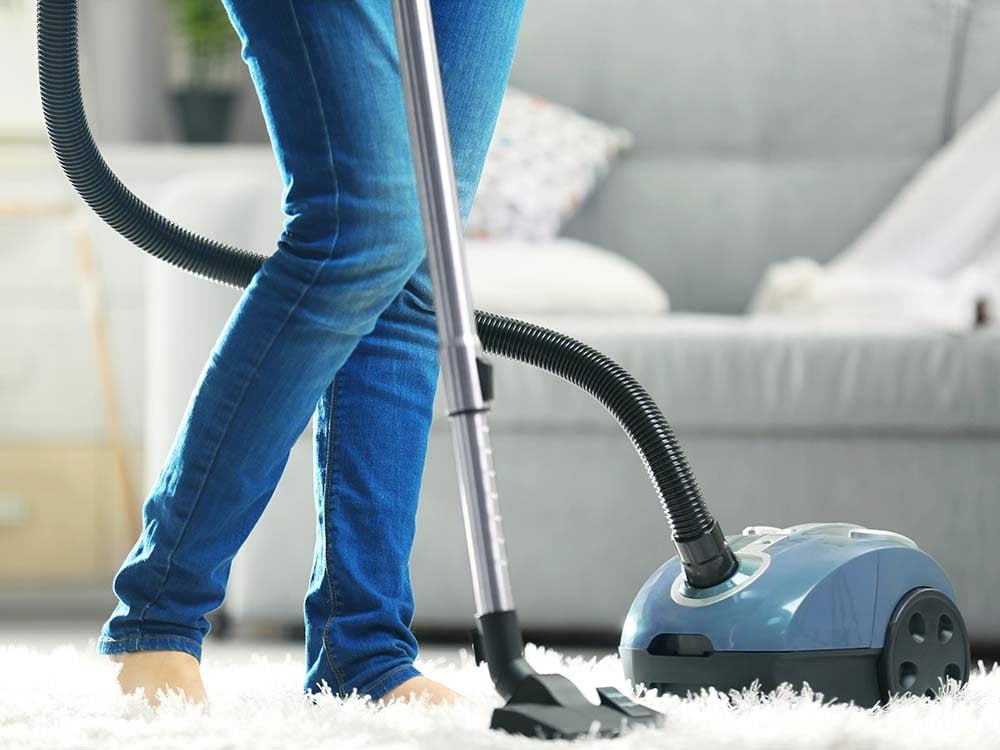
Be smart with the vacuum
The old rules mandated that you go through the labor-intensive task of dragging every stick of furniture off the carpet, just so the vacuum cleaner could cover every nook and cranny. The new rules will save you time, and you’ll still get the corner-to-corner cleaning done: Simply move those big items a little to the left or to the right. Vacuum the area previously occupied by the furniture and then move it back into place.
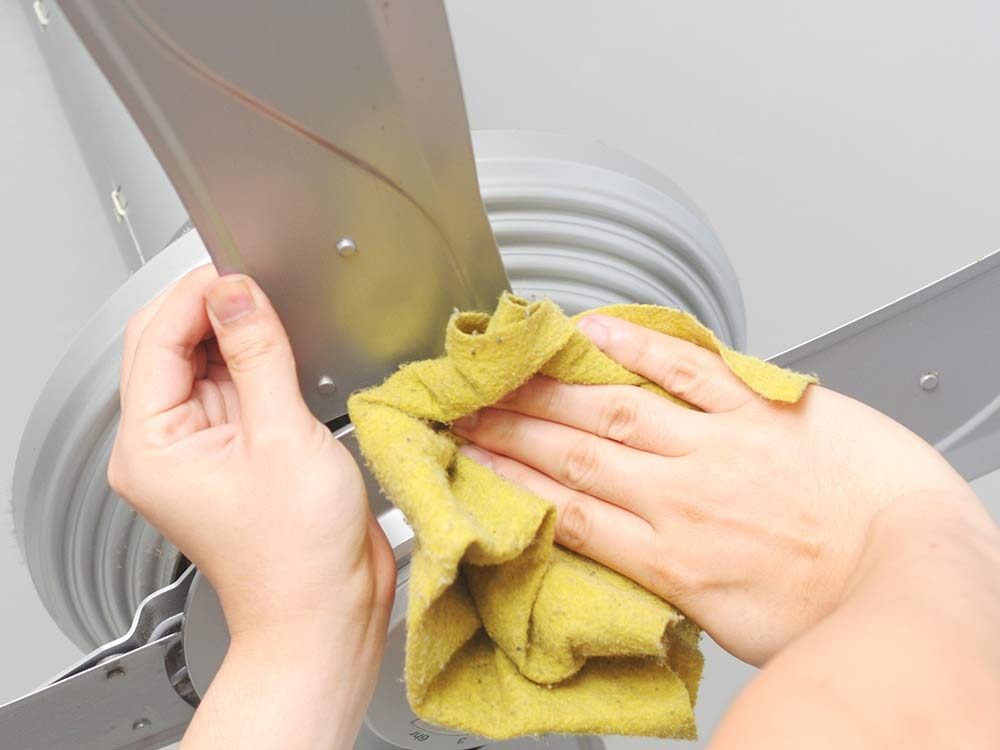
Clean ceiling fixtures
Remove dust and dirt from ceiling fans and air-conditioner vents with a cloth and a vacuum with a soft nozzle attachment.
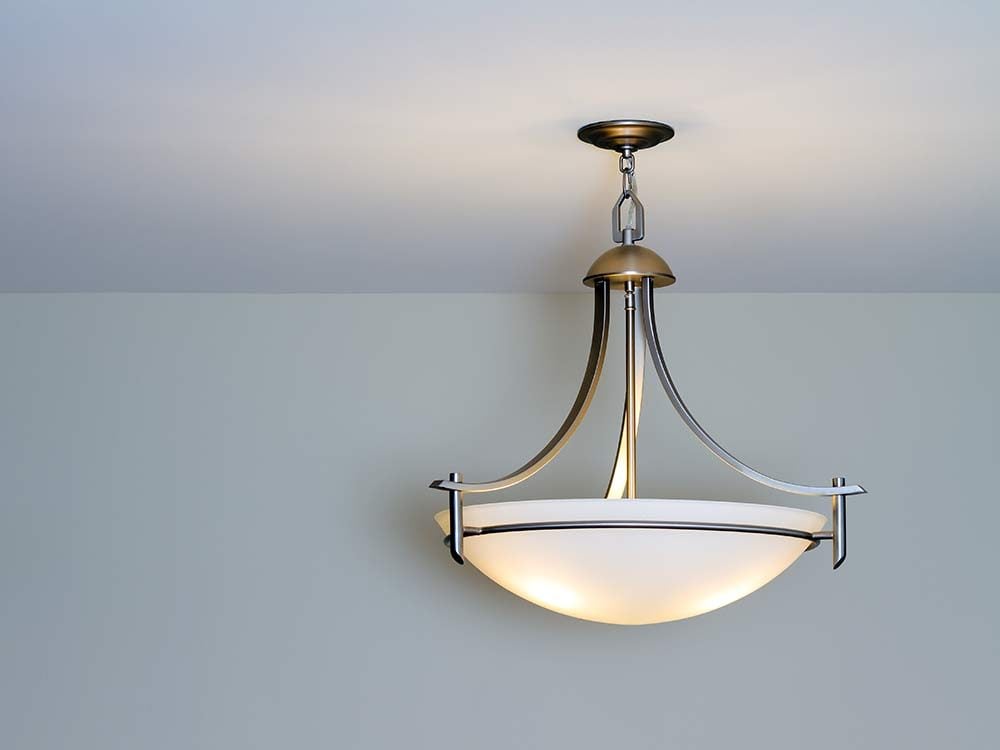
Clean light fixtures
A few minutes with a stepladder, all-purpose cleaner, a sponge, and a polish cloth will give new light to your life. If your home has skylights or tall ceilings, consider investing in a stepladder and extended-reach dust-and-dirt-removal tools, all of which are available at your local hardware store and at home – and janitorial – supply stores.
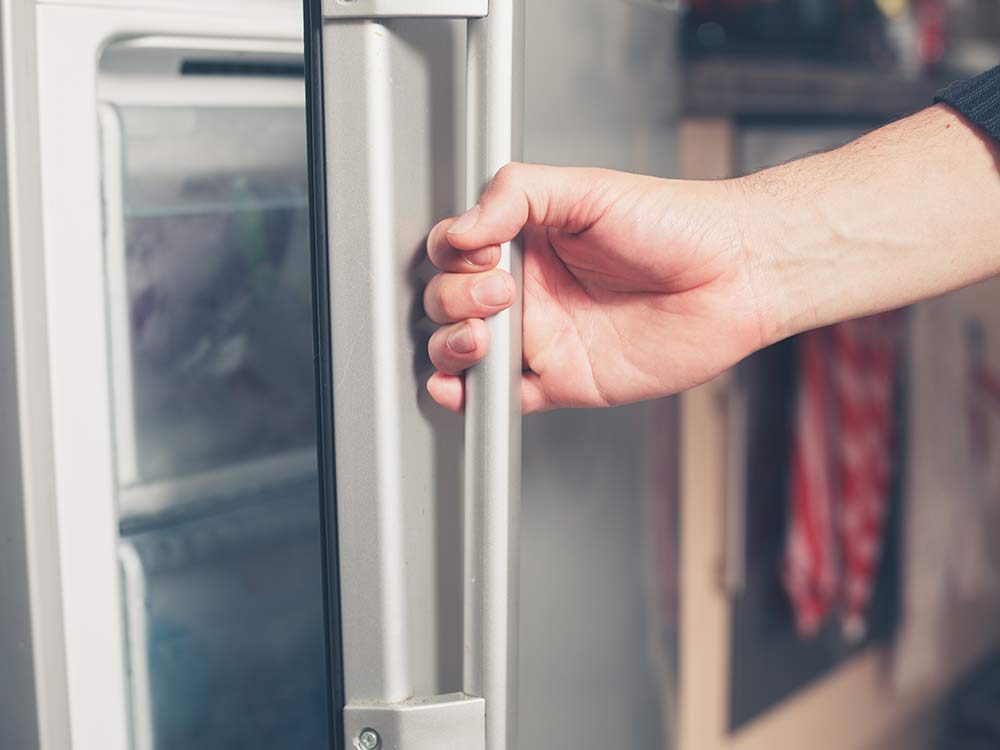
Check your refrigerator’s coil
You should clean the refrigerator’s condenser coil, usually found behind the toe grille, with a long-handled bottle brush and a vacuum cleaner with an attachment hose to remove dust and lint. Built-up dust can shut down the unit by causing it to overheat.
To remove dust from coils attached to the hard-to-reach back side of the fridge, carefully pull the refrigerator out several feet (newer models roll on casters) and vacuum thoroughly; finish by sweeping or vacuuming the floor area you’ve revealed. Expect to rediscover coins, bottle caps, and twist ties that you and the cat knocked over the past year.