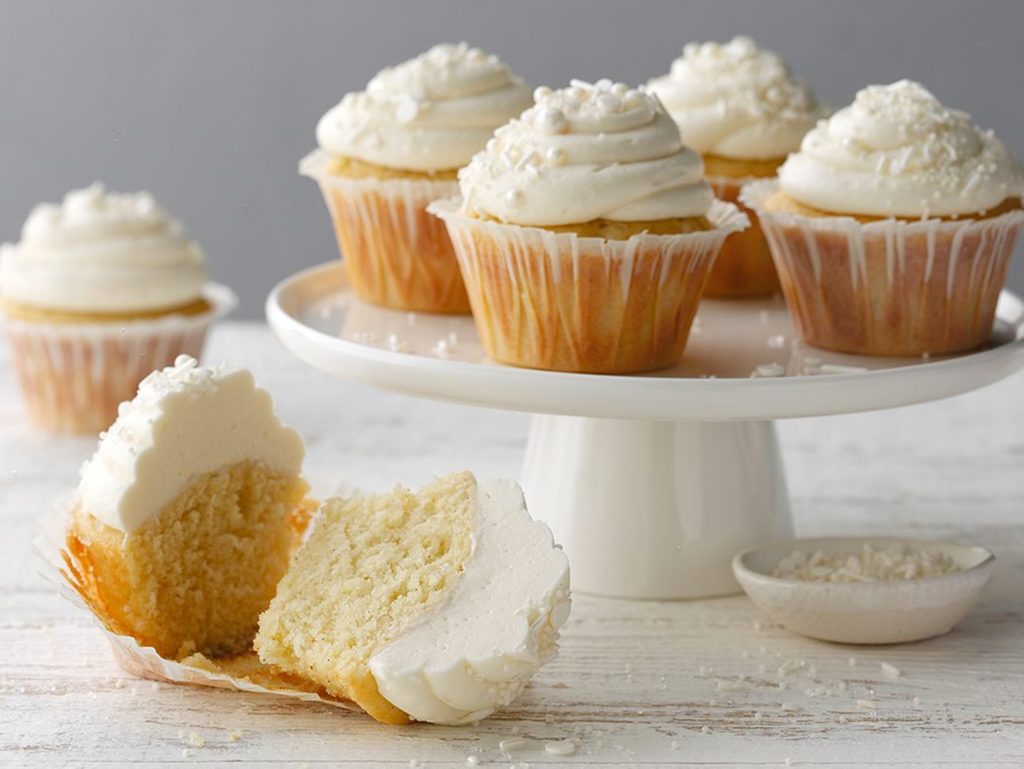
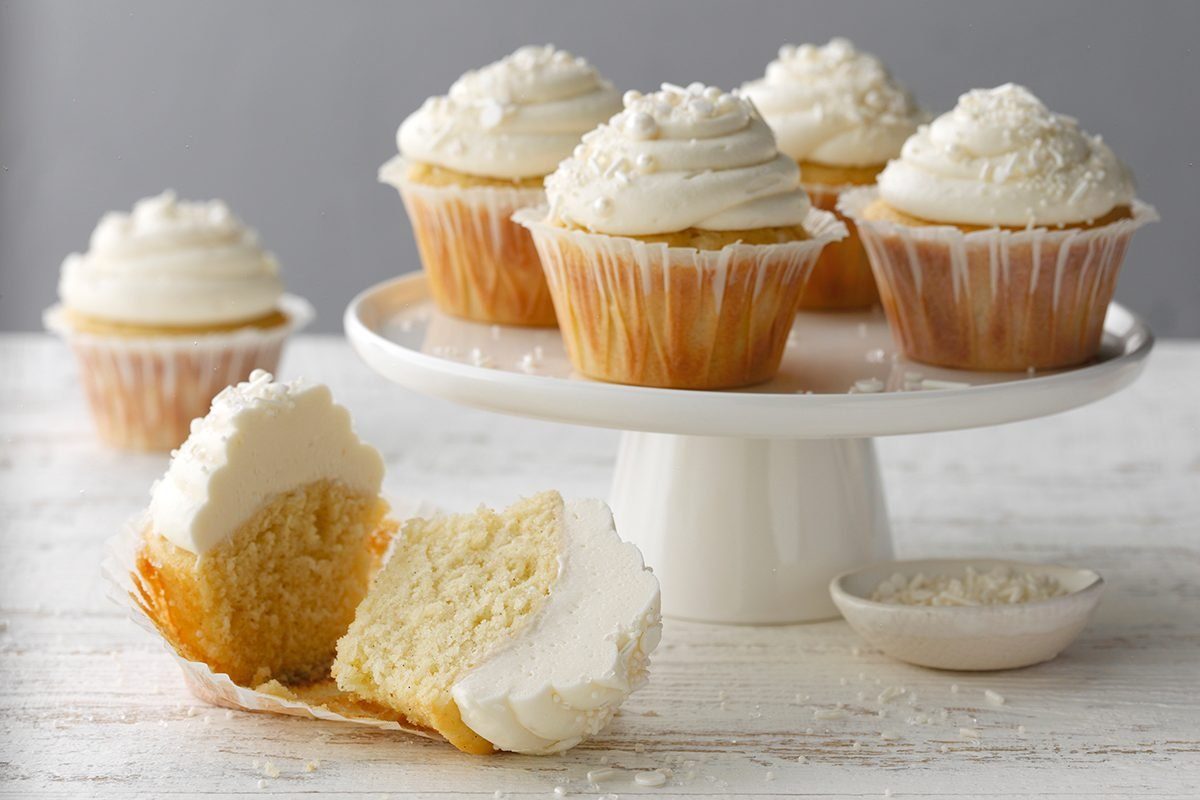
How to Make Vanilla Cupcakes from Scratch

Grab some vanilla beans! It's time to learn how to make vanilla cupcakes for special occasions, birthdays and just because.
Birthday? Bridal shower? Housewarming? Retirement party? All these occasions require a sweet treat. Something pretty, delicious and easy to snack on while chatting. Once you learn how to make vanilla cupcakes yourself, you’re all set when it comes to providing an extra special treat for all these occasions (and, yes, just because you’re craving cake is a good enough occasion for us!).
We’ll show you how to make tender, flavourful vanilla cupcakes with plenty of tips from our Test Kitchen.
How to Make Vanilla Bean Cupcakes
Our Test Kitchen’s favourite vanilla cupcake recipe comes to us from Alysha Braun in Ontario. She says her son adores these cakes. And these cupcakes are definitely something special: They’re not just regular ol’ vanilla, they’re vanilla bean. Here’s what you need to make these treats. (Don’t miss the 20 secret baking tips we learned from Grandma.)
Ingredients
For the cupcakes:
- 3/4 cup unsalted butter, softened
- 1-1/4 cups sugar
- 2 large eggs, room temperature
- 2 vanilla beans
- 2 cups cake flour
- 2 teaspoons baking powder
- 1/2 teaspoon salt
- 2/3 cup 2% milk
For the frosting:
- 1 package (8 ounces) cream cheese, softened
- 6 tablespoons unsalted butter, softened
- 1-1/2 teaspoons vanilla extract
- 3 cups confectioners’ sugar
- Assorted sprinkles and coarse sugar
Test Kitchen-Recommended Cupcake Tools
- Cupcake pan: If you want to bake cupcakes, you’ll need a cupcake pan. It’s one of our cake baking essentials.
- Vanilla beans: This recipe calls for real vanilla beans, not just extract.
- Trigger scoop: An oversized cookie scoop like this makes filling cupcake pans a breeze.
Directions
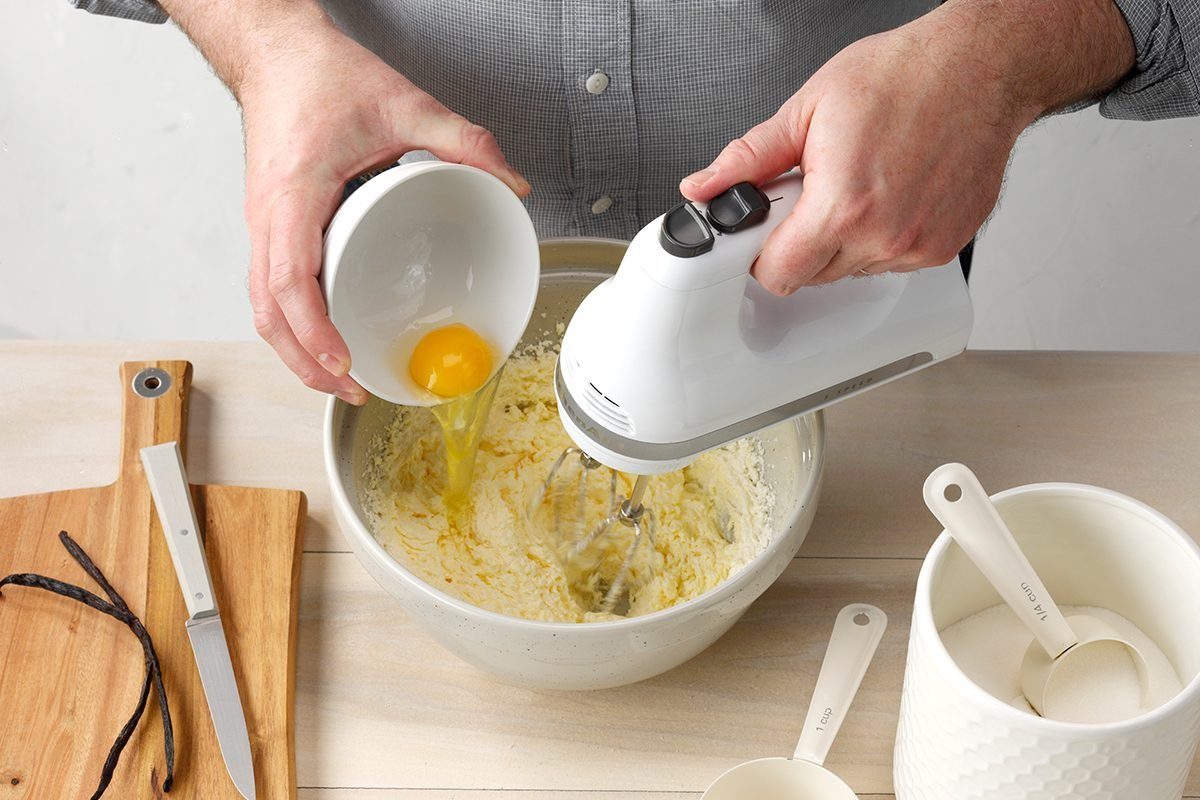
Step 1: Cream butter, sugar and eggs
Start this recipe by creaming together the softened butter and sugar until nice and fluffy—about five minutes. Then beat in the eggs one at a time, fully incorporating after each addition.
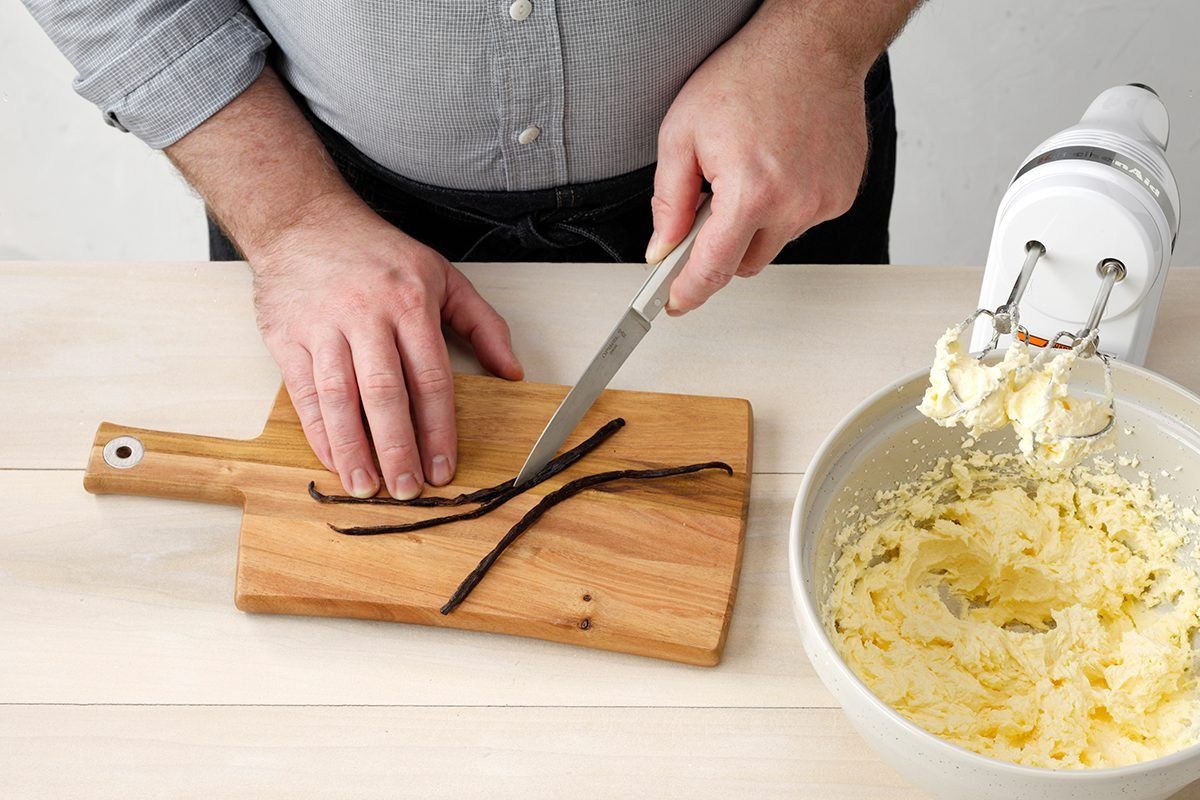
Step 2: Prep your vanilla beans
Most home bakers are very familiar with vanilla extract and likely have their preferred brand. But not every baker has used vanilla beans. This recipe is the perfect excuse to experiment with this ingredient.
To extract the flavour from the bean, grab a sharp paring knife and split the beans lengthwise. Then carefully scrape out the seeds from inside the pod (that’s all the stuff inside). Take the seeds and pop them right into the creamed mixture and blend them in.
If you don’t have vanilla beans on hand, feel free to substitute vanilla extract or vanilla bean paste instead. About two teaspoons should do it.
Editor’s tip: Get your money’s worth from those vanilla beans! The spent pods can be used to infuse brewed coffee with a delicious flavour. You can also use the scraps to make vanilla sugar.
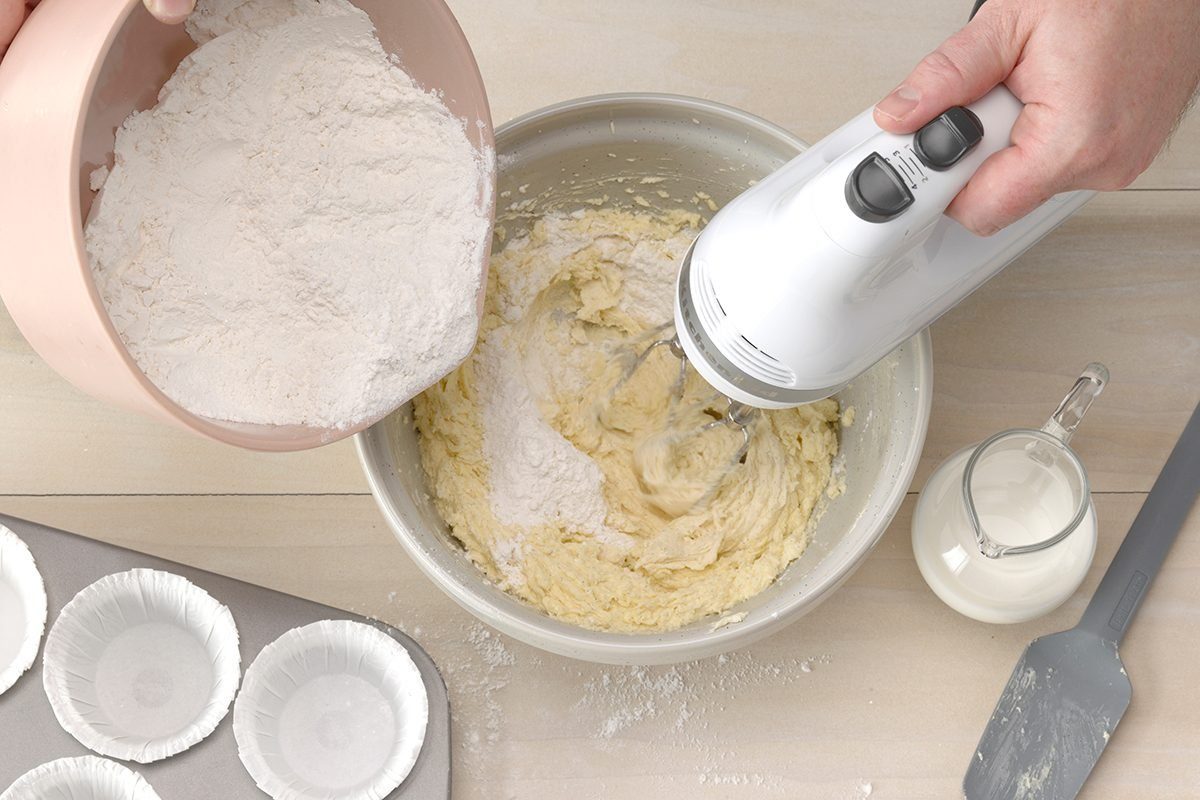
Step 3: Add the dry ingredients and milk
After adding the vanilla bean, it’s time to get your dry ingredients. In a large bowl, whisk together the cake flour, baking powder and salt. Alternate adding this mix and the milk until you have a rich, smooth batter.
Editor’s note: Cake flour gives these cupcakes a nice, light texture. It’s worth snagging a box at the store for this recipe.
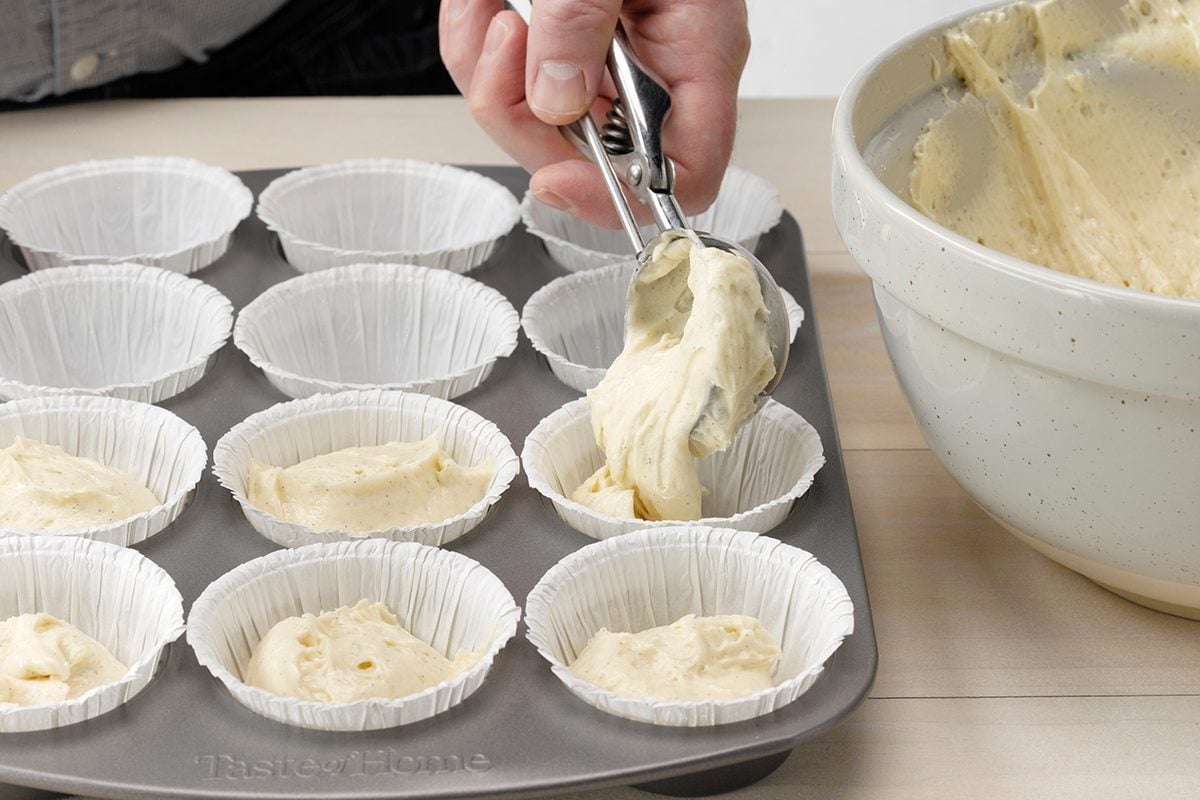
Step 4: Fill cupcake liners
Once you’ve got your batter together, it’s time to fill up your cupcake liners. Aim to fill each liner about two-thirds full. This gives the cakes room to rise in the oven.
You can fill the cupcake liners up with a spoon, but the work goes faster (and you get more consistent measurements) if you use a scoop. It’s handy for cupcakes, muffins and oversized cookies.
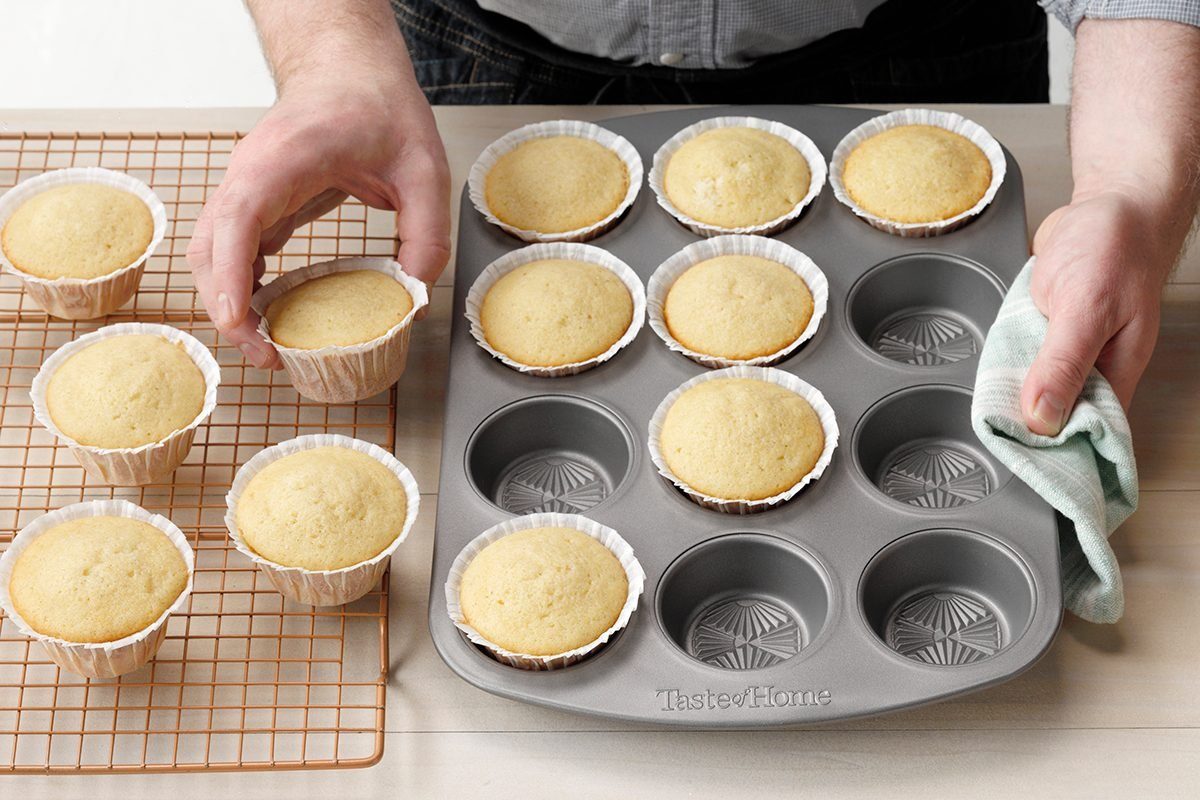
Step 5: Bake and cool
Bake the cupcakes at 375ºF for 18 to 20 minutes. You can test to make sure the cupcakes are done by inserting a toothpick in the center. If it comes away clean (or with a few dry crumbs), the cupcakes are done.
Let your bakes cool for 10 minutes in the pan before removing to cool completely on a wire rack.
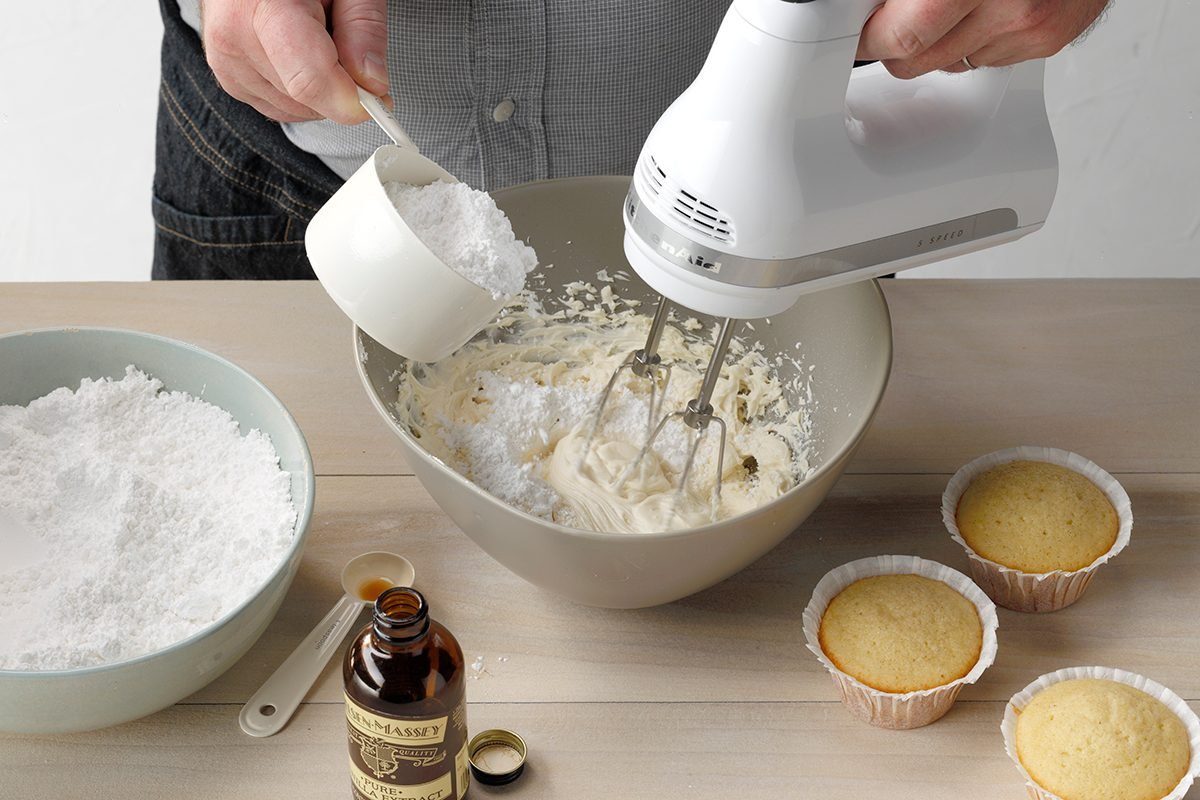
Step 6: Stir up the frosting
While the cupcakes are cooling, you can mix up a quick batch of frosting. Start by blending together the softened butter, cream cheese and vanilla extract. Then slowly add in the confectioners’ sugar until you have a fluffy frosting ready for piping.
Editor’s tip: Cream cheese frosting not your favourite? A simple buttercream also tastes great with this recipe.
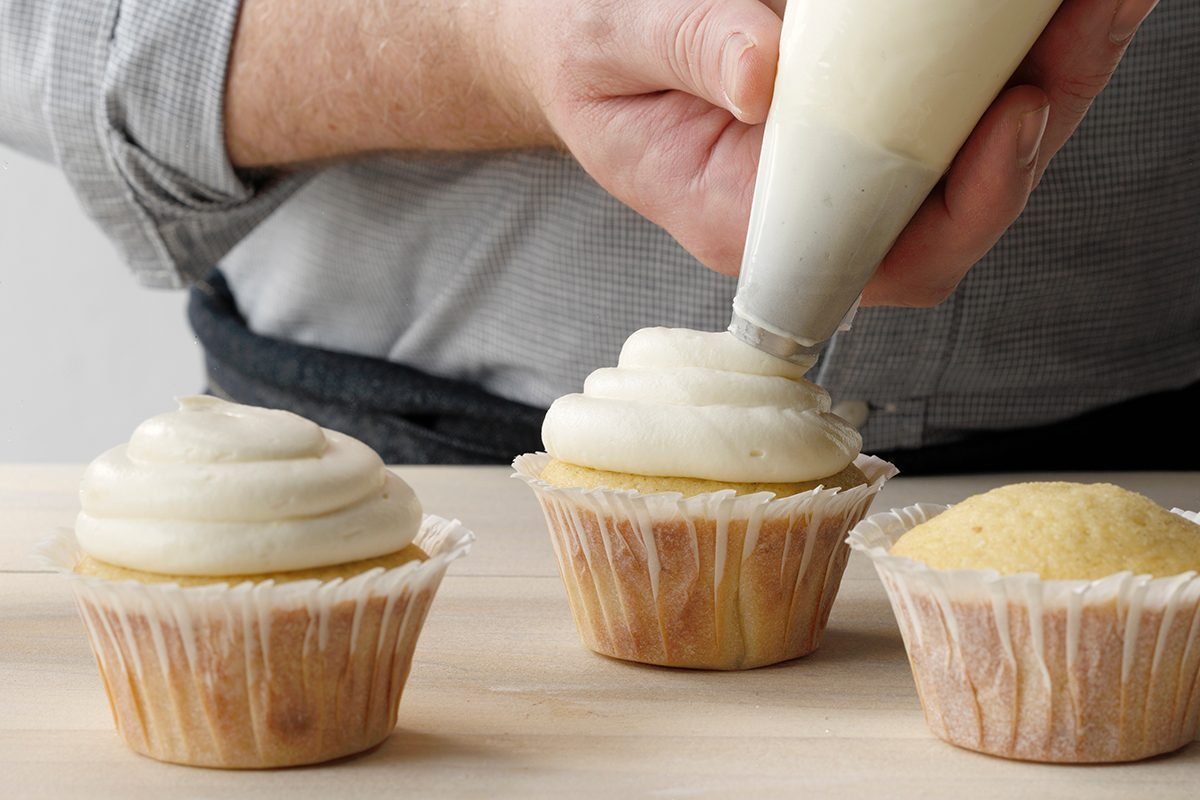
Step 7: Frost the cupcakes
Once the cupcakes are completely cooled, you can frost them. You can use any technique you like but a pastry bag with a piping tip will give you professional-looking results.
No pastry bag on hand? You can use a zip-top bag to frost cupcakes.
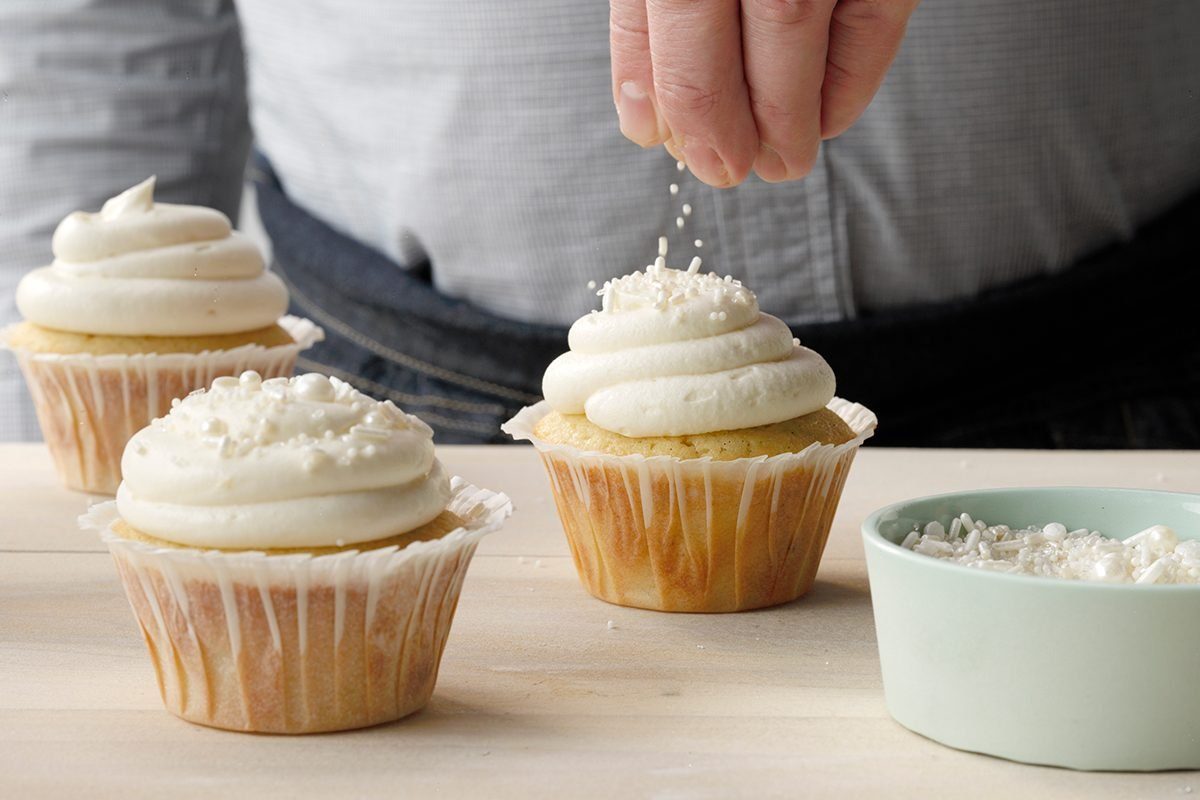
Step 8: Give your cupcakes some finishing touches
Sure, you can stop with just frosting, but what are cupcakes without a little extra pizazz? Sprinkles are always a welcome touch. Tone-on-tone jimmies and nonpareils are a classy way to add some flair. Or you can go big with some fun and funky edible decorations.
How to Store Cupcakes
After you’ve had your fill of cupcakes, you can store any frosted leftovers in the fridge. Just be sure to eat them within two or three days.
If you’d rather freeze them, you can seal unfrosted cupcakes in an airtight container or zip-top bag. Pop ’em in the freezer and they’ll keep for up to two months. When you’ve got a cupcake craving, just set them on the counter to defrost. Once they’re up to room temperature, you can frost with a fresh batch of frosting.
Next, check out our recipes for 30 winter desserts that will make you feel cozy this season.