

How to Remove Rust From Brake Rotors

Rusty rotors peeking out from behind your expensive alloy wheels? Here's how to remove rust from brake rotors.
Our editors and experts handpick every product we feature. We may earn a commission from your purchases.
How to Deal With Rusty Rotors: A Step-By-Step Guide
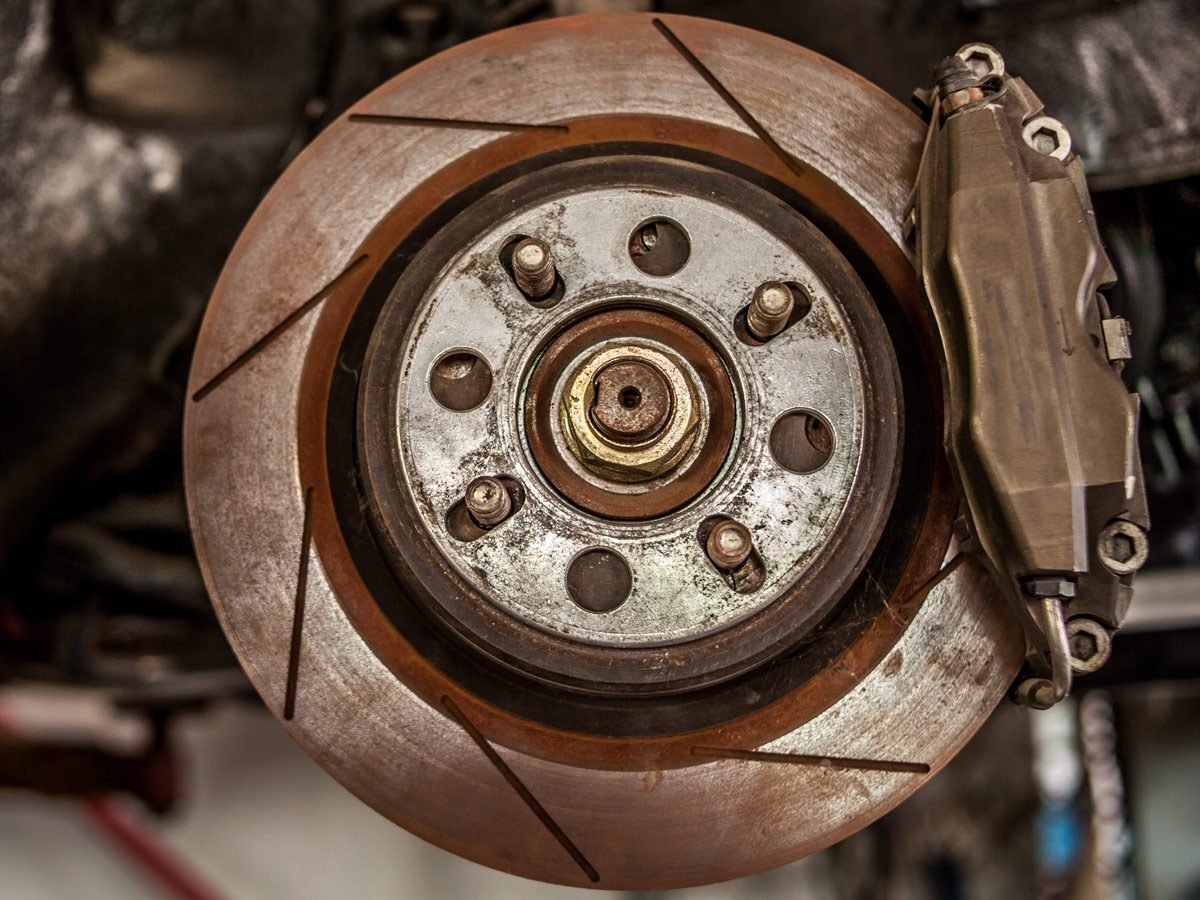
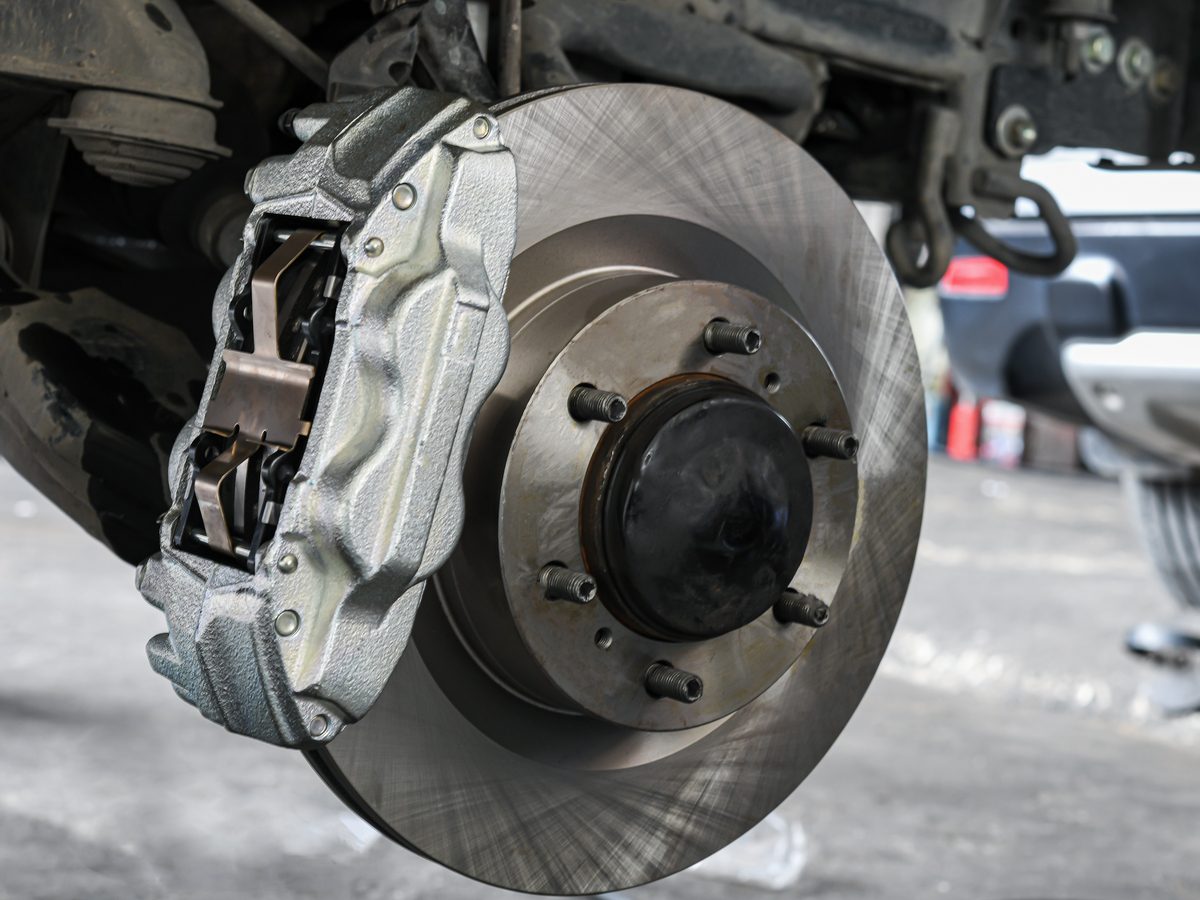
The popularity of alloy wheels puts brake rotors on full display. Rotors, however, must be made from heavy, heat-resistant, metal—unprotected metal that easily rusts* under the harsh conditions of a wheel well. The unsightly discolouration showing through their expensive alloy wheels leads many people to ask how to remove rust from brake rotors. You can clean up rusty rotors in several ways, depending upon how bad it is. We’ll walk you through the process from easiest to most labour-intensive to help you get the job done.
The most important safety tip you must observe: No lubricant (such as WD-40) or permanent coating should ever be applied to the braking surface of the rotor. Period.
*Rust appears on the surface while corrosion is actual damage that goes deeper than the surface. If the rotors have corrosion, they will need resurfacing or replacement.
Tools you’ll need to remove rust from brake rotors:
- 6-inch C-clamp
- Combination wrench set (standard for domestics/ metric for imports)
- Floor jack
- Large bucket or basin
- Length of pipe for handle extension (optional)
- Lug wrench or impact wrench and socket
- Tray to catch runoff
- Wheel chocks
- Wire-bristled brush
Materials required:
- Brake cleaner spray
- Commercial cleaner or distilled white vinegar
- Non-oily rags
- Steel wool
Here are 20 auto tools every home mechanic should own.

Step 1: Drive the car
You will likely start to see some rust forming on the rotors if the vehicle sits in one place for a few days. Remove this superficial rust by simply driving. Take the vehicle out for a spin that includes some stop-and-go driving, then check the rotors. If the corrosion remains visible, take it to the next level. Find a deserted street or an empty parking lot. Start the vehicle in motion, getting up to 15 kph or so, then brake hard. Repeat this process a few times and check the rotors again. If you’ve still got rusty rotors, then move to the next step.
Find out the likely causes of these strange car sounds.
Step 2: Rotor cleaning prep
Always place chocks behind the wheels of the axle you are not working on.
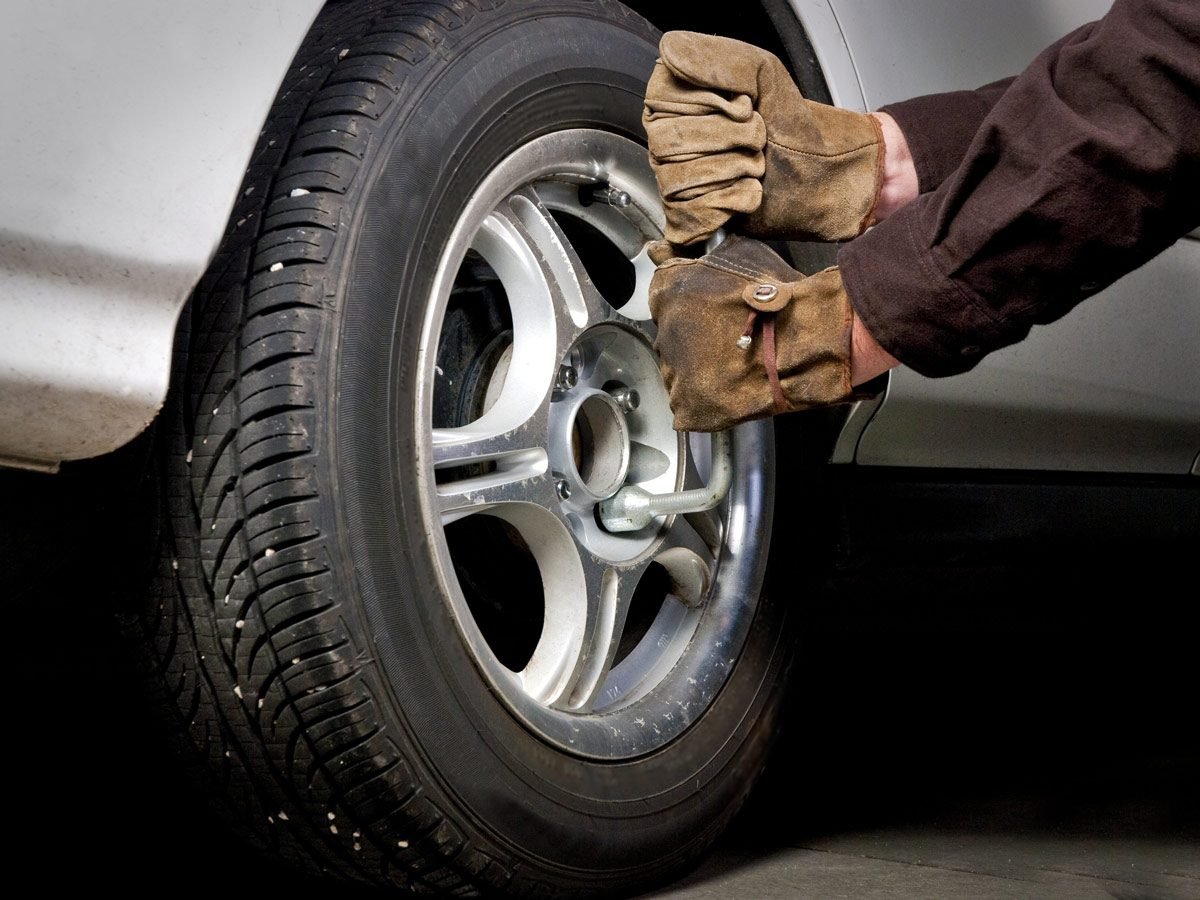
Loosen the lug nuts on the wheel you are working on, and then use a floor jack to bring the wheel off the ground. We highly recommend using a jack stand in addition to a floor jack as a secondary safety measure. Remove the wheel to expose the rotor.
Here’s expert advice on how to use a torque wrench.
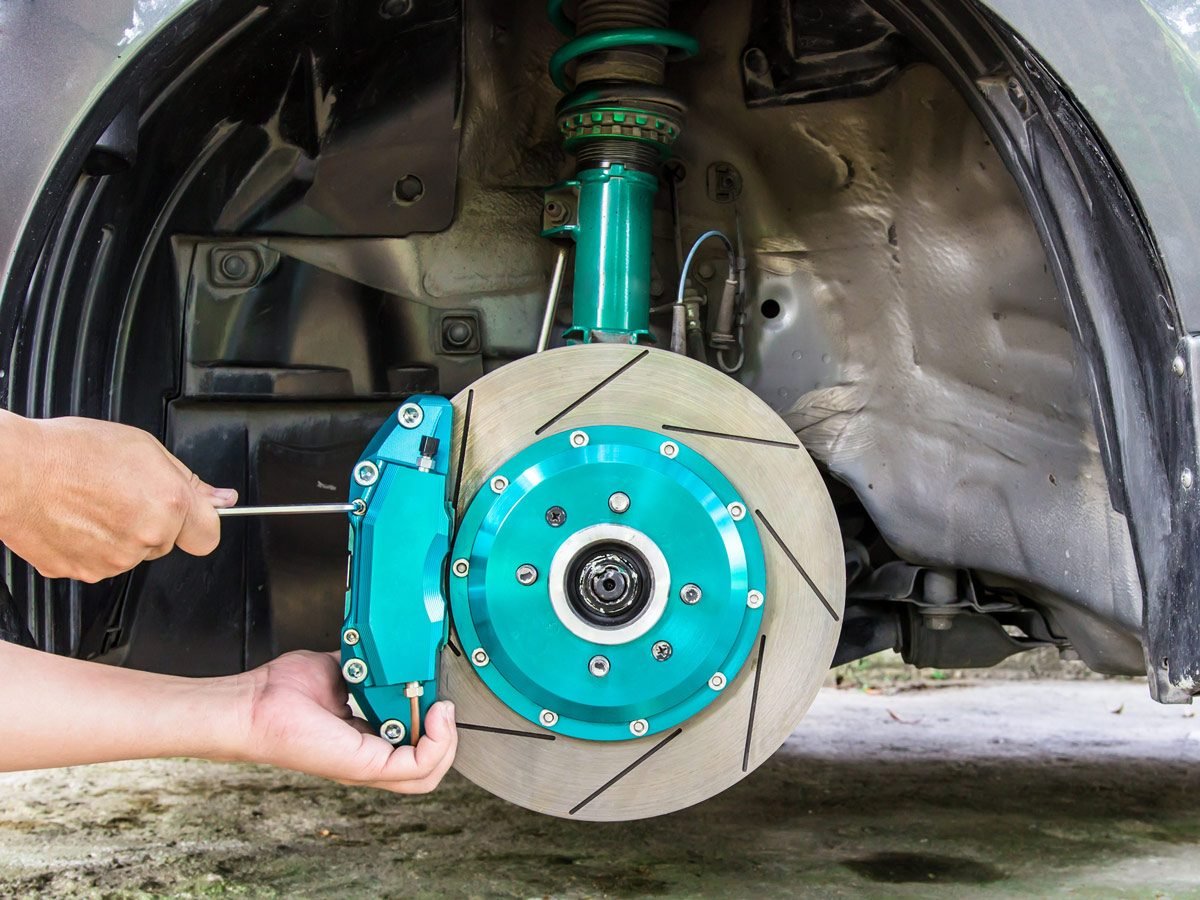
Step 3: Remove the caliper and pads, if necessary
The rotor can be cleaned with the pads and caliper in place, but it may be easier to do if you remove them. Here’s how: Use a box-end wrench to loosen the bolts holding the caliper assembly to the guide pins on the caliper bracket and remove them. Lift the caliper assembly free of the rotor and secure it in a position in the wheel well where it can hang without causing damage to the brake line. Old wire clothes hangers work very well for this job, but caliper hangers are also sold in most auto stores. Use a box-end wrench to loosen and remove the bolts securing the caliper bracket (which holds the pads). Remove this and set aside.
Here’s what to do if your car shakes when braking.
Step 4: Inspect the pads
As long as the brakes are apart, we recommend that you take a moment to inspect the pads for glazing on the surface (a crystalline appearance). It’s also a good time to measure the thickness of the brake pads. Anything less than 4 mm of depth should be replaced. Also, check the caliper piston boot and guide pin boots for tears. Any loss of integrity found on these boots exposes the moving parts to dirt and corrosion that can cause them to seize. This must be addressed right away.
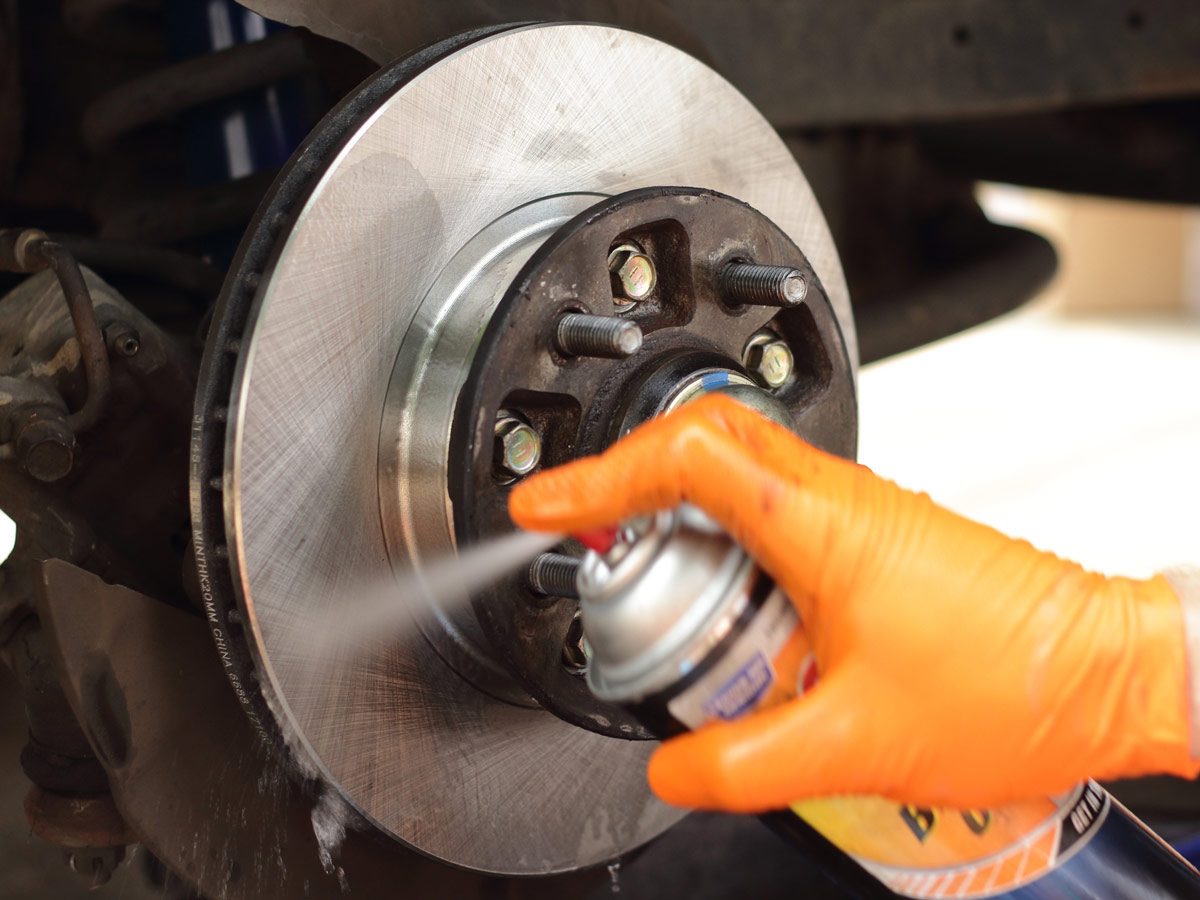
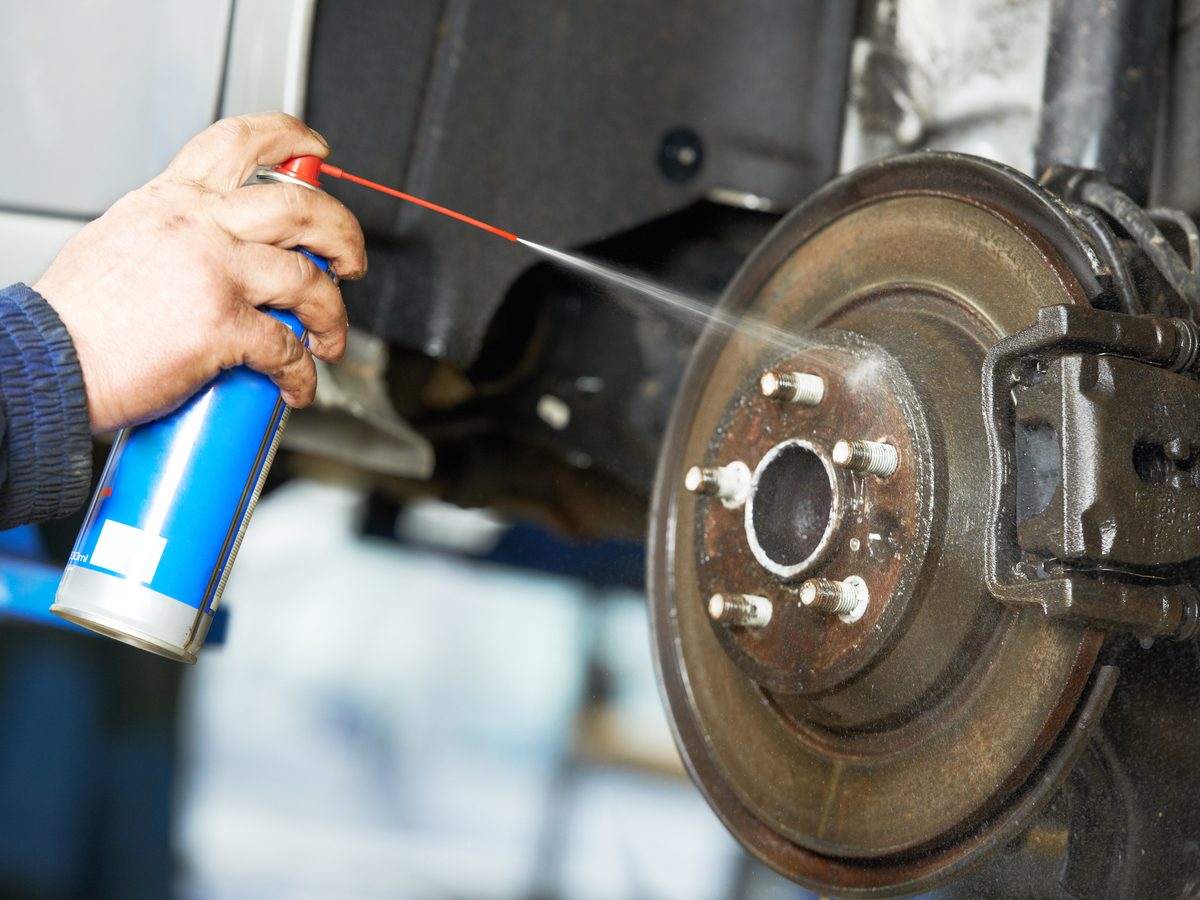
Step 5: Use brake cleaner to remove rust from the rotors
Put down a tray to catch any runoff, then spray the rotor with brake cleaner. Let the rotor dry, then wipe it with a clean rag (no oil on the rag). If some rust remains, apply more brake cleaner and work the surface with steel wool or a wire brush. Wipe off the rotor and finish with a final shot of cleaner. This should be done in a well-ventilated area.
Here’s the best car maintenance schedule to follow.
Step 6: A note about the caliper assembly
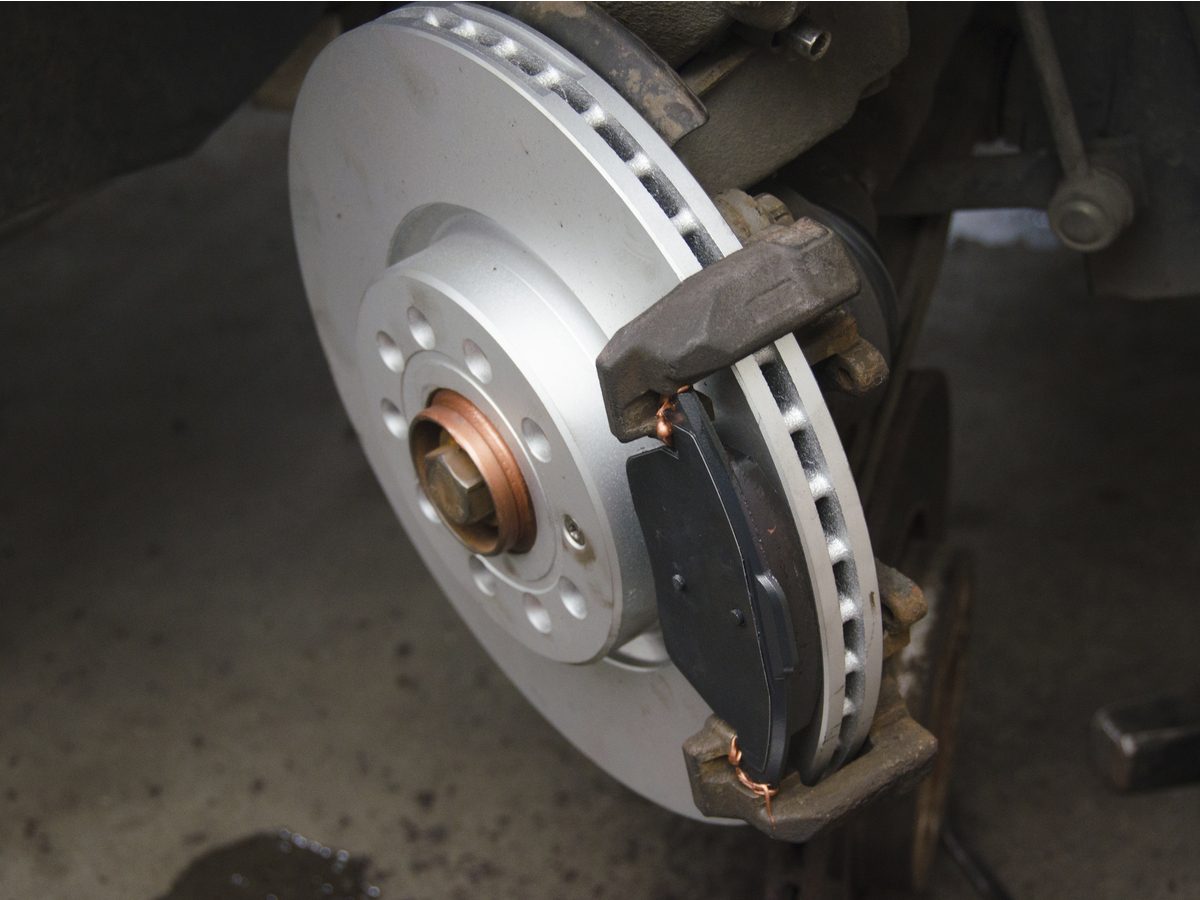
As mentioned before, the caliper assembly may be left in place, but you will have to turn the rotor to access the area covered by the pads. Brake cleaner will not harm the pad lining, but excessive application may affect the adhesion of the lining to the pad backing, so don’t go overboard.
Find out what it could mean if your brakes are grinding.
Step 7: Bath time
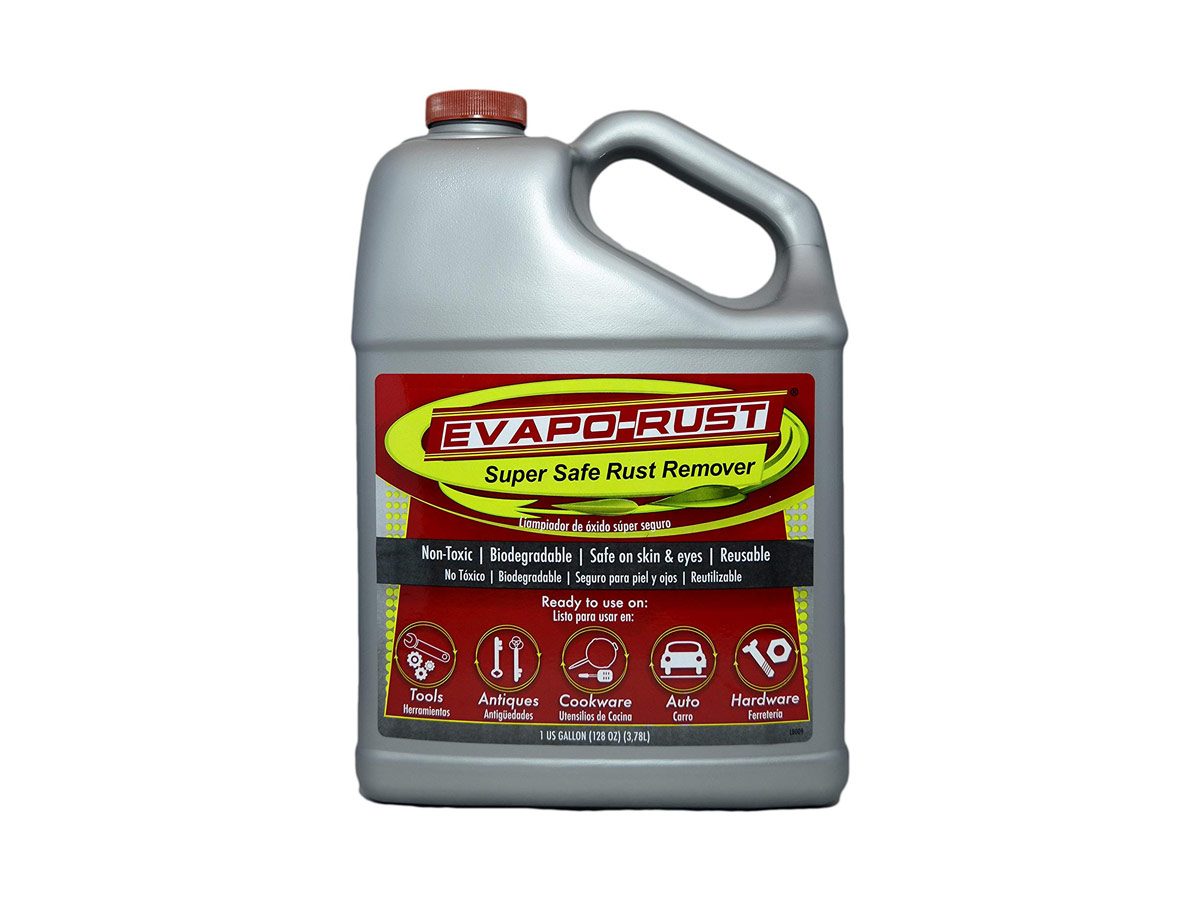
If brake cleaner and elbow grease doesn’t do the trick on those rusty rotors, remove the rotors (if the caliper assembly and bracket are removed, this may be as simple as using an impact screwdriver to loosen an anchor screw (not present on all vehicles), and then sliding the rotor off the lugs. Try commercial cleaners, such as CLR and Evapo-Rust, for stubborn rust removal. These products attack the rust without affecting the metal beneath. A more eco-friendly alternative is vinegar, although it may not work as well as the commercial cleaning products. If needed, scrub with steel wool or a wire brush, being careful not to score the surface of the rotor. Rinse and wipe dry.
Step 8: Reassemble
Once the rotors are clean, work backward to reassemble the brakes and remount the wheel. A large C-clamp may be required to retract the piston in the caliper assembly so it will fit over the brake pads. And, the lug nuts should be torqued only after the vehicle is down off the jacks.
Step 9: A Preventative Measure
Because removing rust from rotors is a cosmetic exercise (normal use of the vehicle keeps it in check), painting the hub will improve the appearance and prevent the non-braking surface of the rotors from becoming unsightly.
Before mounting a new set of rotors, apply brake caliper paint to the centre section of each. Tape off the braking surface before painting to protect it from contamination, and paint only the dome that fits over the hub. After painting, use some brake cleaner on a cloth to wipe away any residue from the tape.
Now that you know how to deal with rusty rotors, check out the best rust proofing options on the market.