How to Change Your Own Brake Fluid

Save money at the mechanic by learning how to change your own brake fluid.
Some car makers recommend replacing the brake fluid in your car every two years or 40,000 kilometres. Others don’t mention it at all. But it’s easy to do a little DIY car maintenance and test your brake fluid. Just dip a test strip into the fluid and compare the colour to the chart on the packaging.
You can’t do a complete brake fluid flush yourself, but you can do the next best thing—a fluid swap. This procedure won’t replace all the old fluid with fresh, but you’ll introduce enough new fluid to make a difference.
What You’ll Need to Change Brake Fluid:
Avoid last-minute shopping trips by having all your materials ready ahead of time. Here’s a list:
- Baster
- Brake fluid test kit
- Brake fluid
How to Change Brake Fluid Yourself, Step by Step:
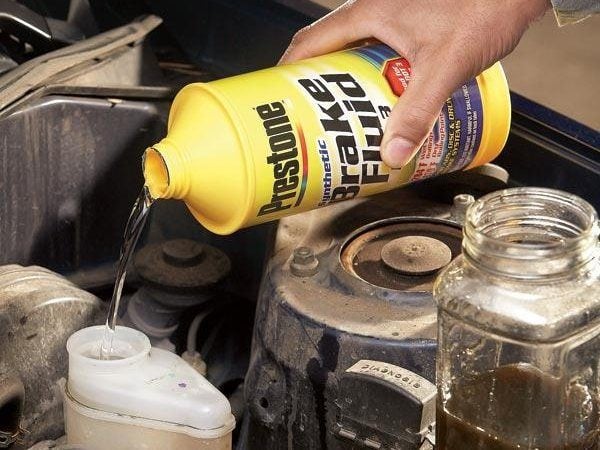
Use a baster to suck out the dark brown brake fluid (brake and power steering fluids are incompatible, so use a different baster for each). Squirt it into a recycling bottle. Refill the reservoir with fresh brake fluid as shown. Then drive the vehicle for a week to mix the new fluid with the old. Repeat the procedure several times over the next few weeks until the fluid in the reservoir retains its light honey colour.
Note: The brake fluid may damage the baster’s rubber bulb, so don’t suck the fluid all the way into the bulb.
Now that you know how to change brake fluid yourself, find out the 20 automotive tools no home mechanic should be without.