

How to Care For Your Car Battery: The 10-Minute Car Battery Check-Up
 Updated: Feb. 28, 2021
Keep your car battery working at peak performance (and avoid an expensive service charge) with these tips for a 10-minute seasonal car battery check-up.
The 10-Minute Car Battery Check-Up
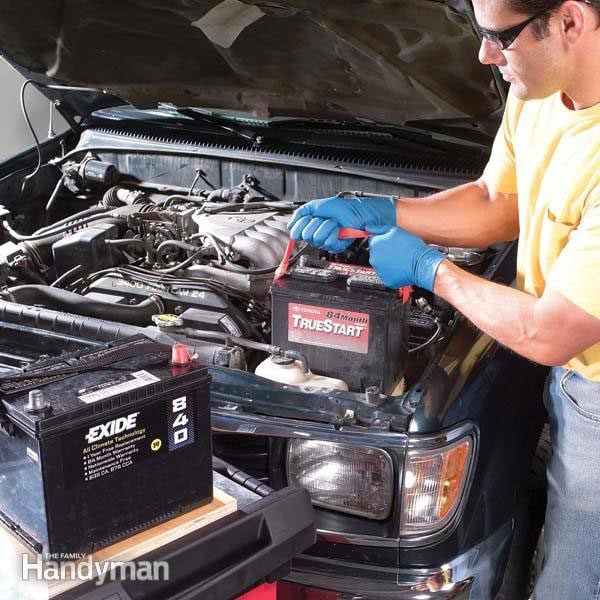
Avoid an expensive service or tow charge (and the worry of being stranded!) by keeping your car battery working at peak performance. This article will show you how to perform a simple step-by-step 10-minute seasonal battery check-up so you know whether your battery is performing well. This article will also explain how to replace your battery if it’s failing, so you’re not left stranded out in the middle of nowhere with a car that won’t start.
Tools and materials required:
- Safety glasses
- Paintbrush
- Wrench set
- Post cleaner or side terminal
- Hydrometer
- Cable puller
- Rubber gloves
- Petroleum jelly
- Baking soda (Don’t miss these other brilliant baking soda hacks.)
- Heavy-duty straps
(Keep in mind that you can skip the battery service if you make sure the mechanic does it during periodic servicing, but you’ll want to keep up with the regular maintenance.)
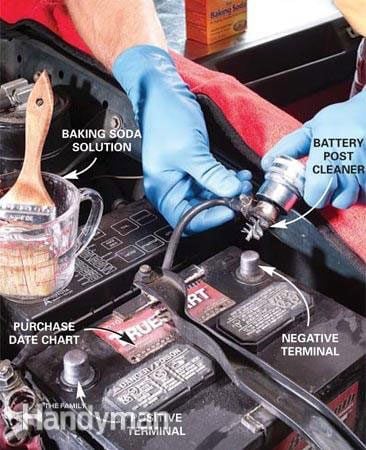
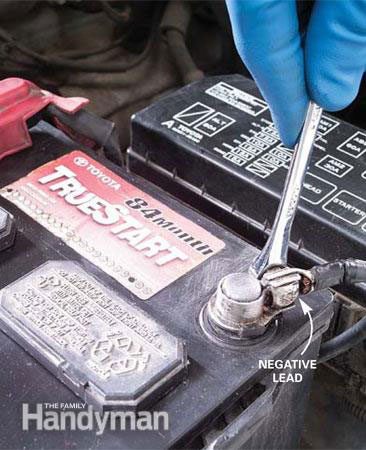
Step 1: Clean the cables and external surface of the car battery
First, clean the top of the car battery and any corrosion from the cables using a tablespoon of baking soda, a cup of water and a nonmetallic brush. Flush with cool water. Next, disconnect the cables, starting with the negative one to prevent your wrenches from arcing on a nearby ground. Loosen the battery cable clamp bolts and gently give them a twist. Use a cable puller if they’re stuck. Never pry on the battery posts. If you have a side post terminal, use a 5/16-in. box wrench to loosen the cables. With the cables removed, further clean off the corrosion around the battery terminals and cables with a post cleaner.
If it’s necessary, here’s how to replace corroded battery terminals.
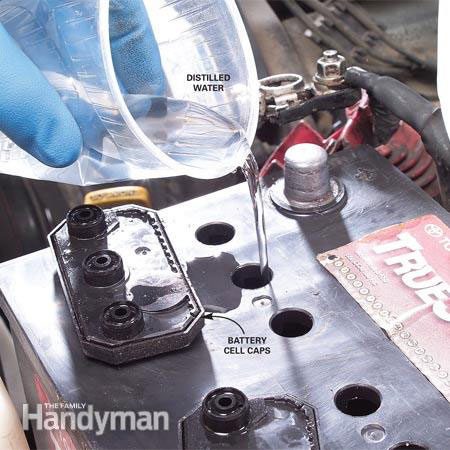
Step 2: Check the level of the electrolyte
Gently pry off the covers of the car battery cells. The water and acid mixture in the battery (electrolyte) should be about 1/2 in. deep or to the bottom of the fill hole. If it needs water, use clean distilled water, being careful not to overfill the cells, and then inspect the battery case for cracks. If you find a crack, replace the battery. (Use these tips for buying a new car battery.) If you added water, let the water mix with the electrolyte for a few hours before the next step. (You may need to reconnect the battery to maintain your memory functions.)
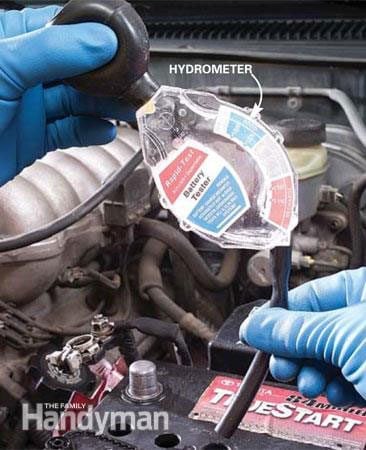
Step 3: Check the condition and charge of the battery
Test the electrolyte in each cell. Squeeze the ball and draw the solution into the tester. Carefully hold the tester level and write down the reading. Squirt the solution back into the same cell. The testers are calibrated assuming a battery is at 80 degrees F add .04 to each reading for every 10 degrees above 80 and subtract .04 for every 10 degrees below. If you get a cell reading that differs from the others by .05 or more, replace the battery. A fully charged battery should have a reading of 1.265 or higher. If all the readings show fair or low (1.200 is low) but are consistent, recharge the battery. Here are more tips for extending the life of your car battery.
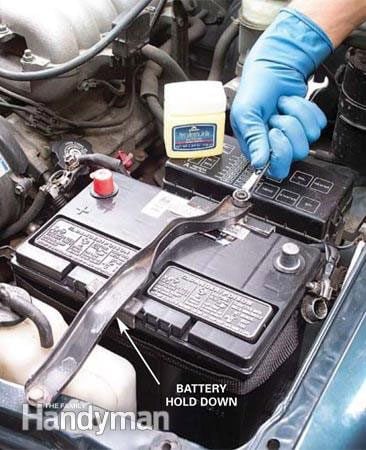
Step 4: Prepare to drop in the new battery
Remove the battery hold-down clamp; then remove the cables, starting with the negative one, then the positive one.
Note: Always replace the battery with one that has a higher rating than the original.
Warning: Always wear eye protection and rubber gloves when working on batteries, and never smoke around them.
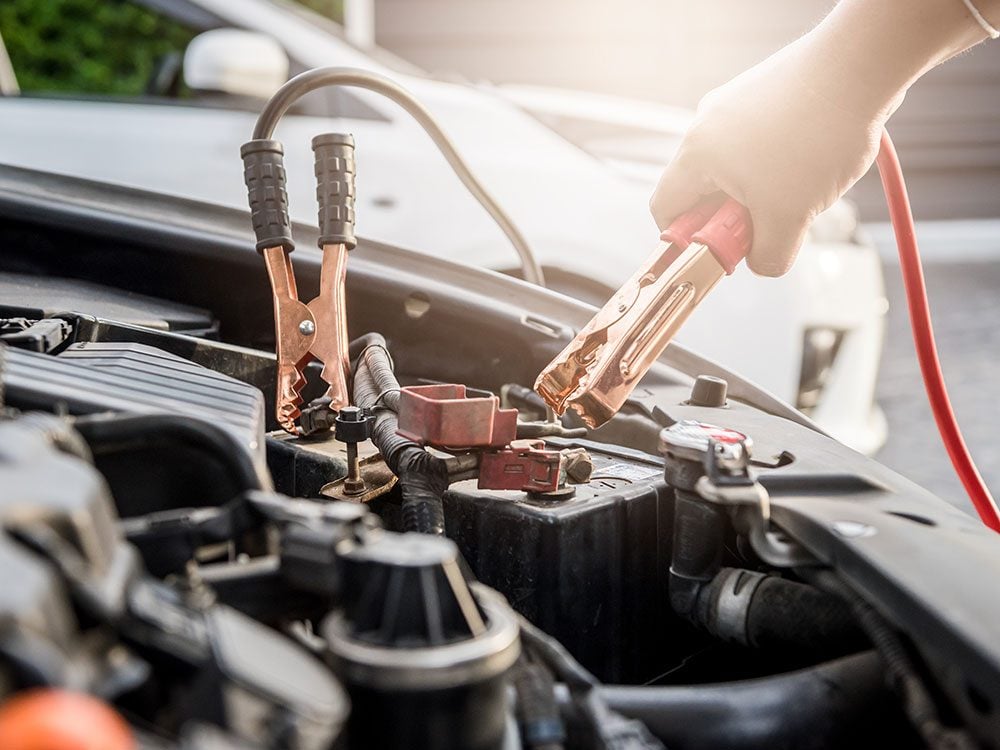
Got a dead battery? Here’s how to jump-start a car with a booster pack.
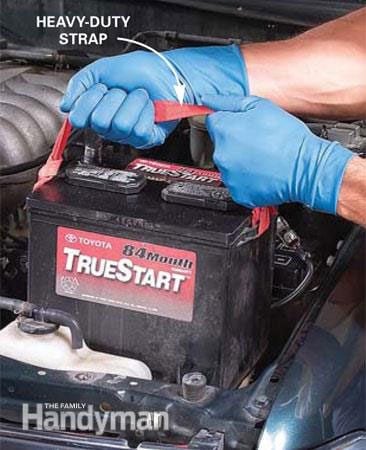
Step 5: Replace the battery
Tie a heavy-duty strap to the ears on the side of the battery and gently lift it out. Be careful; battery acid is dangerous. Don’t drop it. Once the battery is out, clean the battery tray, and replace it if it’s badly corroded. Batteries are heavy and need solid support.
Here’s what to do the next time your car won’t start.
Step 6: Secure the new battery
Carefully lift the new battery into place. Connect the hold-down clamp, then connect the cable to the positive terminal first and the negative last (for negative ground systems). Smear a little petroleum jelly onto the terminal before fastening the cable clamps to the posts. The grease will help slow corrosion. Most batteries are at least 75 percent charged when you buy them and should be ready for you to start your car and drive. Check with your supplier to see if your new battery needs charging before you use it.
Here’s how to recharge a dead car battery quickly—and safely.
Bonus: These Are the Telltale Signs of a Low or Failing Battery
Watch for these telltale signs of a low or failing battery:
- Your headlights look dim at idle and then brighten when you rev the engine.
- The starter turns slowly, barely starting the car. But you may have alternator wiring problems that prevent the battery from fully charging. If that’s the case, schedule a service appointment. Check your fan belt. If it’s loose, frayed, cracked or glazed, have it serviced or replaced. (Here are more often-overlooked services that can extend the life of your vehicle.)
A low battery can be caused by:
- Frequent short trips.
- Too many accessories left on or added.
- Look for a purchase date chart on the battery (it may be handwritten). The battery case will also have a decal stating its expected life, such as 60 or 84 months. If it’s near the end of this expected service life, replace it.
Here are seven car maintenance jobs you can do yourself.
Bonus: Using a Battery Maintainer
You’ve emptied the gas, sealed the exhaust and prepared the engine for seasonal storage. But before you throw the tarp over your roadster or classic car for the long winter sleep, think about how you’re going to care for the battery.
Batteries lose their charge when they sit idle, and when that happens, you could wind up with a worthless battery in the spring. To keep batteries healthy, they should be charged every six weeks. But leaving a standard battery charger connected for the whole season isn’t a good idea—that will overcharge the battery and shorten its life. (Here are more ways you’re shortening the life of your car.) Instead, invest in a battery maintainer.
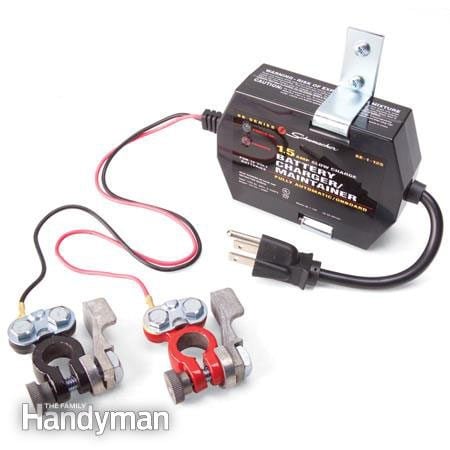
Battery maintainers are designed to be left on for the entire off-season. They monitor battery voltage and automatically adjust the charge to avoid under- and overcharging.
Battery charger/maintainers and quick-release terminals are available at most auto parts stores or online.
Here are more tips for storing your classic car for the winter.