

DIY Tutorial: How to Replace Engine Gaskets
 Updated: Jan. 22, 2020
Armed with these tips from the auto pros at NAPA Canada, you'll be able to replace your gaskets in no time.
How to Replace Engine Gaskets: A Step By Step Guide
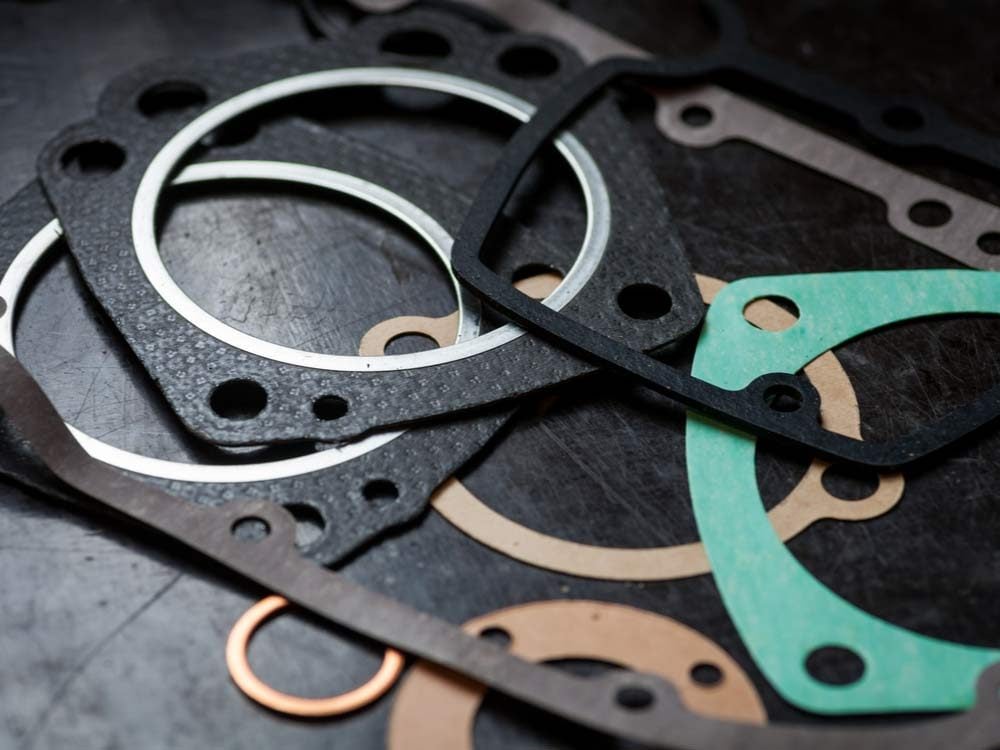
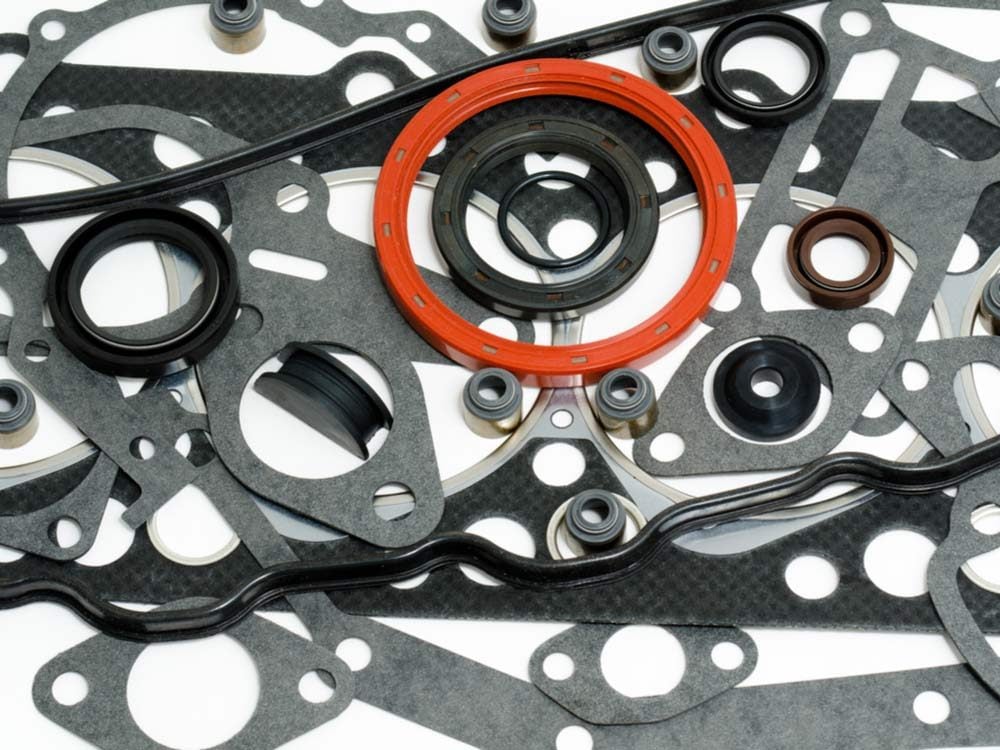
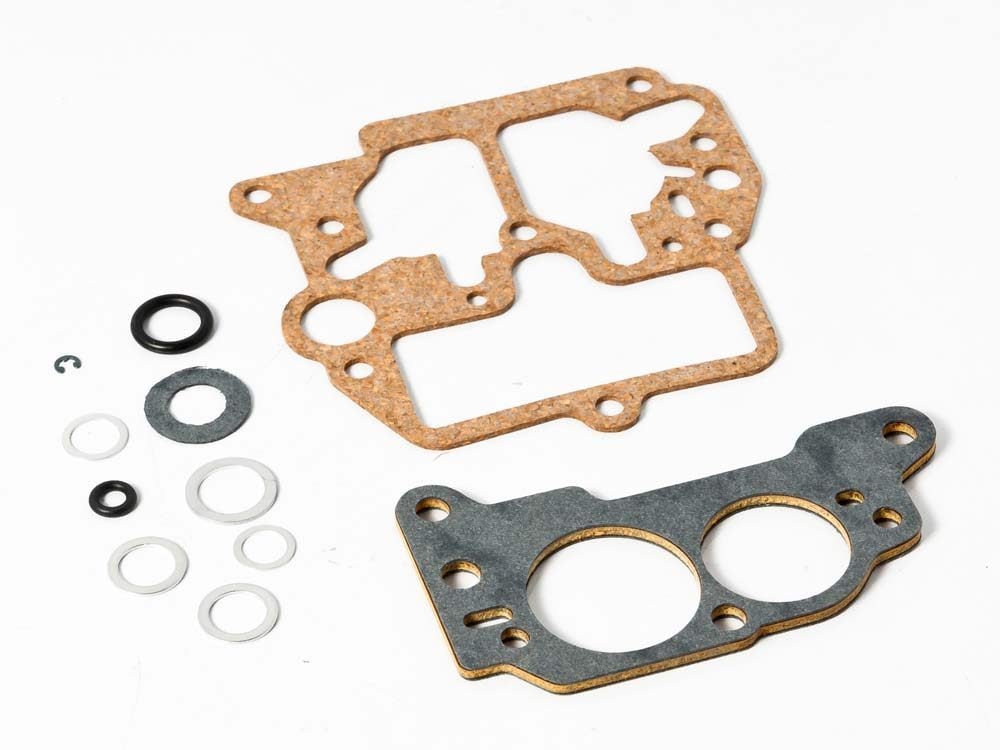
The two most common gaskets in use today are composite gaskets and silicone (formed-in-place) gaskets. Composite gaskets are combinations of cork, rubber, paper or felt, designed and cut specifically to fit individual application. They’re often applied with a gasket dressing or adhesive to help with assembly and sealing. Silicone gaskets are made of a silicone compound that’s applied directly to the mating parts and allowed to cure in place after assembly.
To replace your engine gaskets, you will need:
- Putty knife
- Torque wrench
- Aerosol brake cleaner
- Gasket material (composite or silicone)
- Chemical gasket remover
- Straight edge
- Threadlocker (medium strength)
Before you begin:
- Have a first-aid kit handy
- Follow the manufacturer’s instructions for all products
- Use safety stands under the frame or drive-on ramps
Check out more essential auto tools no home mechanic should be without.
How to Replace Silicone Engine Gaskets
- Allow the engine to cool completely.
- Clean all mating surfaces. Use a chemical gasket remover to avoid excessive scraping from your putty knife on the light alloy metals. Flush oily parts with a residue-free brake cleaner.
- Inspect the mating surfaces of valve covers, timing covers and oil pans for dents, creases and warpage.
- Apply silicone gaskets at 45-degree angles to the part, forming a 1/8-inch bead. Encircle all bolt holes.
- Assemble parts immediately. Be careful not to “squeeze out” silicone material during torquing. Always use a torque wrench where required. For best results, tighten all bolts in the proper sequence.
- Wait one hour to allow the silicone to vulcanize.
- Operate the vehicle and check for leaks.
How to Replace Composite Gaskets
- Read the gasket and sealant instructions.
- Clean all mating surfaces with chemical gasket remover and scrape away the softened material. If you’re cleaning an aluminum surface, be careful not to damage it during scraping.
- Inspect all mating surfaces. Check for flatness using a straight edge. Repair or replace any distorted bolts. If excessive warpage is present, replace the warped part.
- Apply appropriate sealant to the gasket and mount it to the cover. Sealant should then be applied to the second sealing surface of the gasket. Damaged surfaces may require additional layers of sealant to ensure a leak-free seal.
- Mount the cover and torque it to the vehicle manufacturer’s specifications using an X-pattern for a uniform clamping load.
- Operate the vehicle and check for leaks.
Find out the common car problems you’ll regret ignoring.
Selecting Sealant
To choose the sealant that’s right for your application, consider such things as product features, ease of application, temperature and pressure range, and flexibility. Since high-temperature resistance and greater flexibility are preferable for late-model cars, silicone is a popular composite-gasket sealant.
Selecting Silicone
Today’s high-performance, hot-running engines require superior sealing and gaskets. These engines, with components of dissimilar metals with varying expansion rates, can be very difficult to seal. Computer-controlled engines also require many sophisticated sensors, which can be contaminated by improper chemical applications. To meet the needs of these high-tech engines, today’s gasketing chemicals are designed for a specific job.
Next, find out 100 more car repairs you can do on your own.
For more great tips on how to maintain your car and to find the parts you need, visit NAPA Canada.