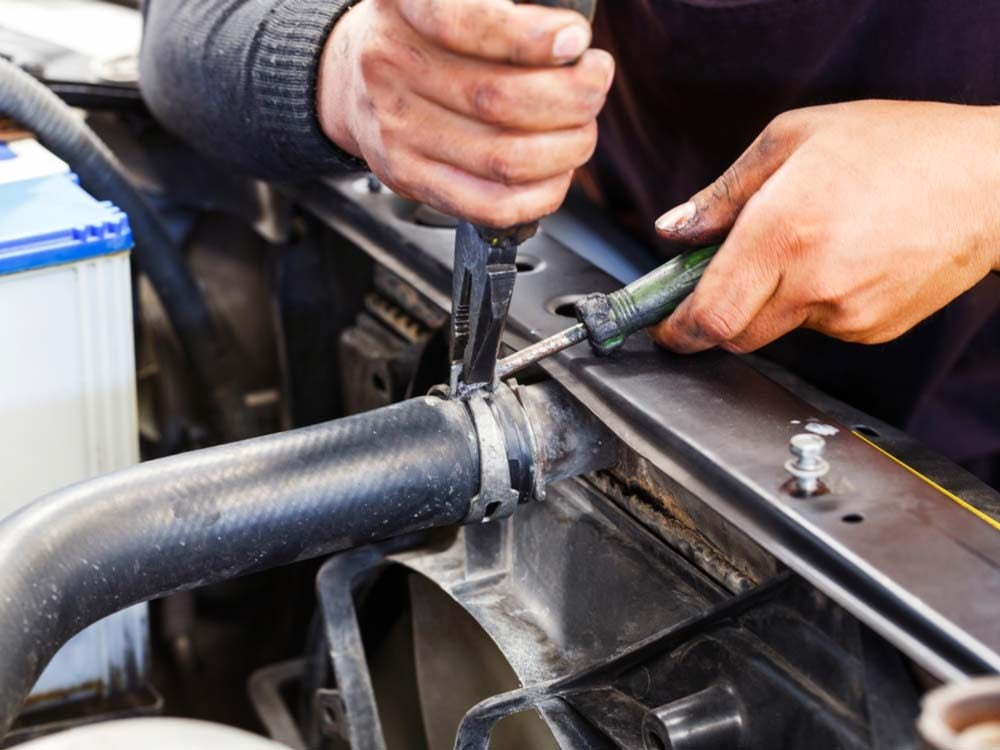
How to Replace a Coolant Hose in 10 Steps
 Updated: Sep. 28, 2018
Although most hoses are basically installed the same way, these step-by-step instructions from the auto experts at NAPA Canada will make the process even easier for you.
What You’ll Need to Install a Coolant Hose
- Screwdriver
- Sharp knife
- Tin snips
- Wire brush
- Heat gun (depending on the clamp used)
1. Before you begin, make sure you aren’t running the engine without proper ventilation. (Safety note: If you need to raise your vehicle, use safety stands under the frame or drive-on ramps.)
2. Remove the hoses being replaced. Drain the cooling system. Most hoses should gently twist off after you loosen the clamp.
3. Make sure the fitting is not distorted or corroded. It’s best to clean the fitting neck with a wire brush before installing a new hose.
4. Changing a coolant hose also means installing new hose clamps. When installed properly, these clamps maintain a constant tension so they never need to be retightened.
5. Make sure the hose is shouldered well-beyond the fitting edge and the clamp is positioned between the hose end and edge of the fitting.
6. Slip the clamp onto the hose end and then slide the hose onto fitting.
7. Make sure the hose clamp is positioned so the tightening device is easy to reach.
8. Slight twisting or bending of hose may be required. However, make sure the hose does not become pinched, or put into an abrasive or high heat situation without a protective sleeve. Proceed and tighten the hose clamp.
9. Re-fill the coolant system. Be sure to check the strength of the engine coolant and replace it if it isn’t strong enough. Start the engine and let it run until the engine has heated up. Additional coolant may need to be added.
10. Do a final visual inspection to ensure there are no leaks. (For detailed instructions pertaining to your specific vehicle, consult an appropriate repair manual.)