

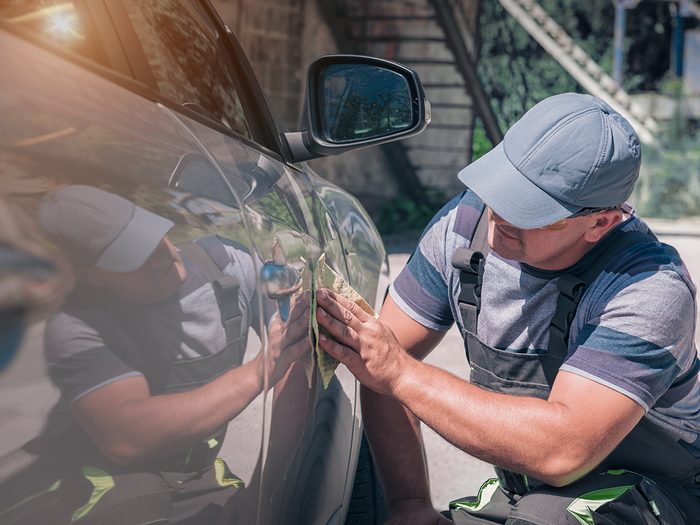
How to Fix Paint Chips on a Car in 4 Easy Steps

If you ignore chips and dings in your car's paint, they'll turn into a much bigger problem: Rust. Here's how to repair those irritating little imperfections before it's too late.
DIY paint chip repair: Step-by-step instructions
Remember that gravel truck travelling at 100 km/h that suddenly switched lanes in front of you and bounced a few marble-size rocks off your hood? Now you’ve got to fix those paint chips that could grow to quarter-sized rust spots in a few years. Invest $10 in paint chip repair right away and you’ll save yourself big money later on—not to mention the embarrassment of driving a premature clunker.
The fix we show here is for fresh paint chips on a car that haven’t started to rust yet. If you see a rust spot, or have a dent along with your chip, you’ll need to do a more challenging fix than we show here. Keep in mind that this repair will be visible under close scrutiny, but if you buy the right touch-up colour, it’ll be unnoticeable from a few feet away.

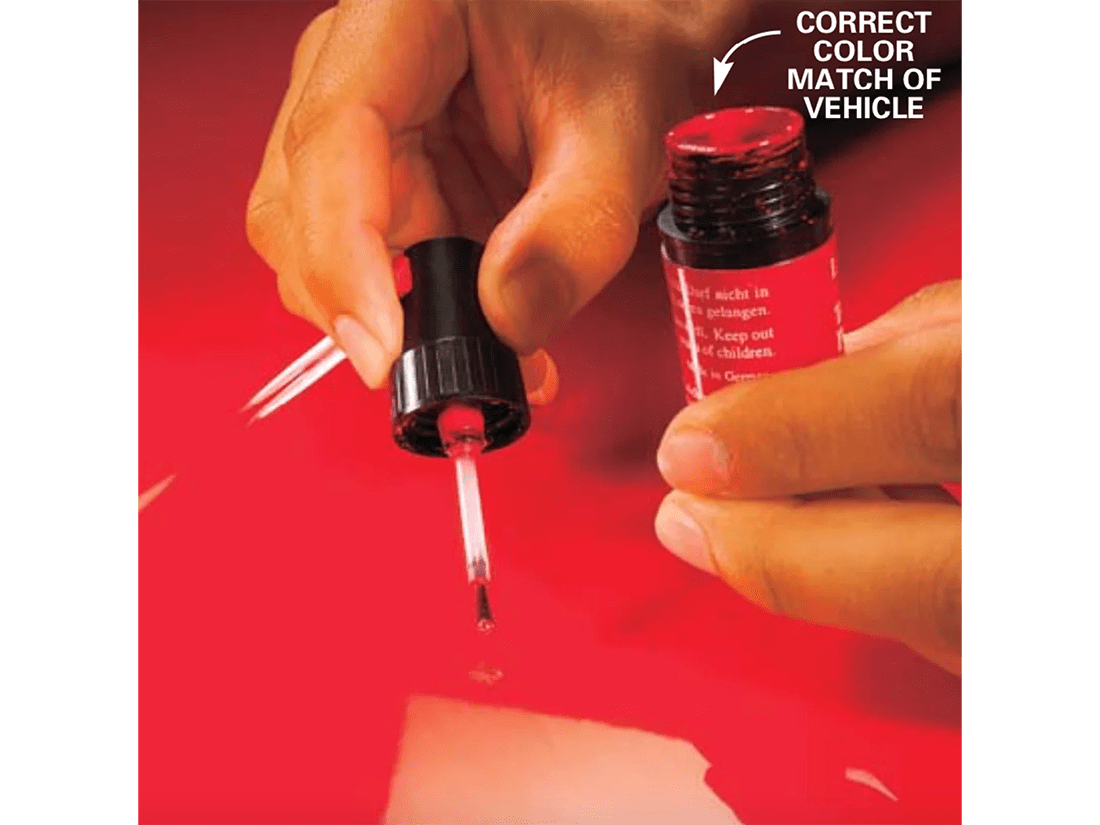
What you’ll need for DIY paint chip repair
At an auto parts store, you’ll find a display of auto touch-up paints. Look up your car’s year, make and model in the booklet at the display. You’ll find a list of factory colours that cars like yours were painted that year. If you have a white vehicle and there is only one white listed for it, just buy that one. If you don’t know the colour number for your car, you’ll have to find it on your vehicle identification plate. This can be challenging. The plate may be located under the hood on the cowl, near the radiator shield or on the jamb of the driver’s door. Some owner’s manuals will tell you where to look, or a quick call to your dealer will help. (Here’s how to find a car’s engine code in the vehicle identification number.)
Once you find the number, buy a small bottle of touch-up paint. If you can’t find the correct colour at the display, check with the dealer. (Find out the most popular car colours in Canada.) Dealers often carry colours for the cars they sell. Also, buy a small can of auto primer. Now just follow our photo sequence to fix that chip, and remember, don’t do this repair in the direct sun or if the temperature is below 10° C.
Tip: If you can only find spray paint with the right colour number, you can use it by spraying a bit of paint into the cap and applying it with a fine artist’s brush.
Here’s what you’ll need to fix paint chips on a car:
- Auto body touch-up paint
- Denatured alcohol
- Polishing compound
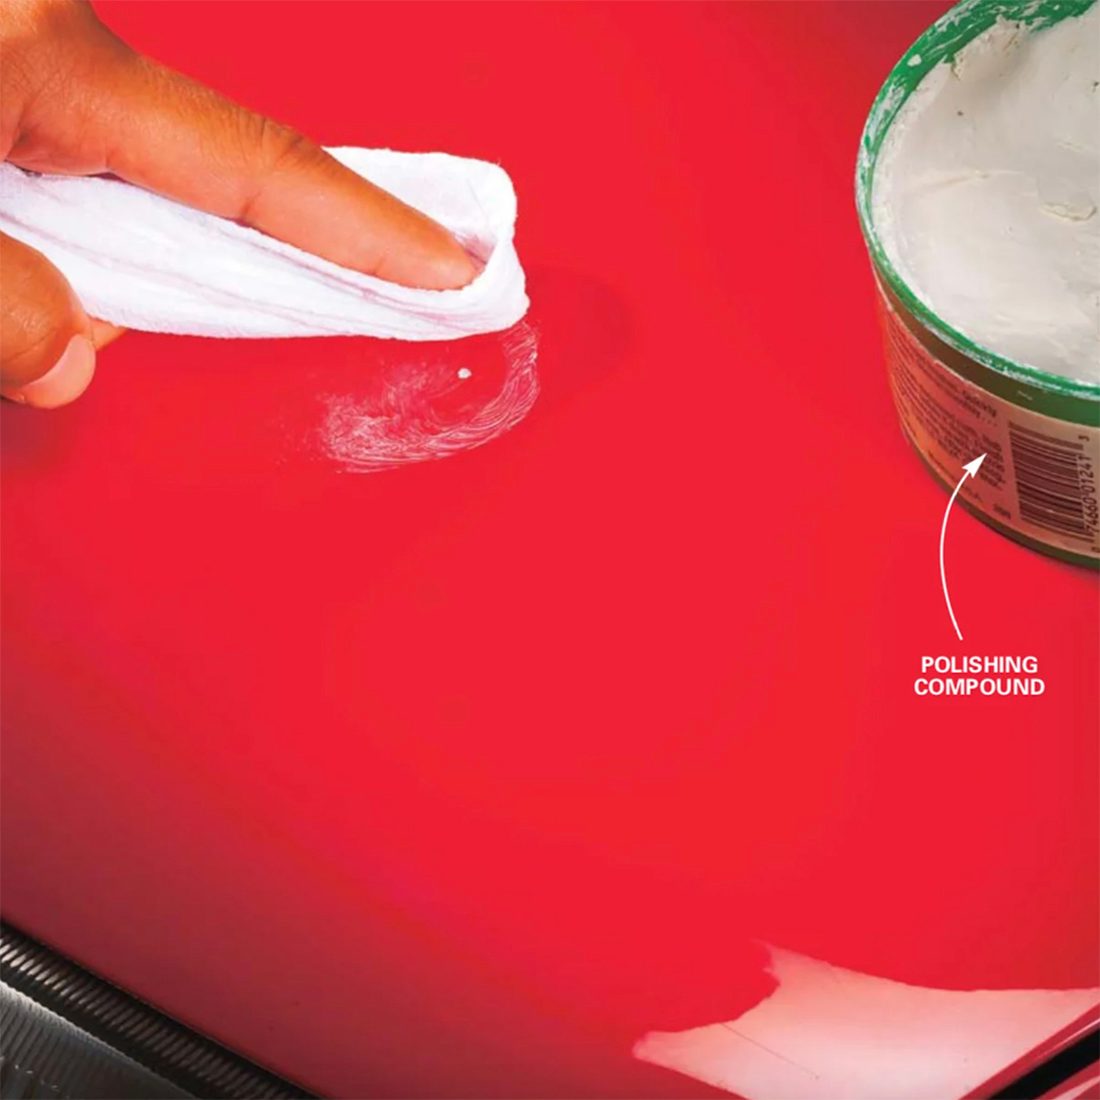
Step 1: Clean the paint chips
This is a typical rock chip that you can fix with this procedure. In fact, even if the chip is about one-fourth the size of a dime, you can still repair it. Clean the chip with soap and water and then dry it with a soft cotton cloth. Rub a dab of automotive polishing compound over the chip to gently soften any ragged edges. Just a dozen swirls or so will do the job. Too much rubbing could damage the clearcoat over the paint and make a cloudy mess.
Has your car suffered a scratch as opposed to a chip? Find out how to repair car paint scratches here.
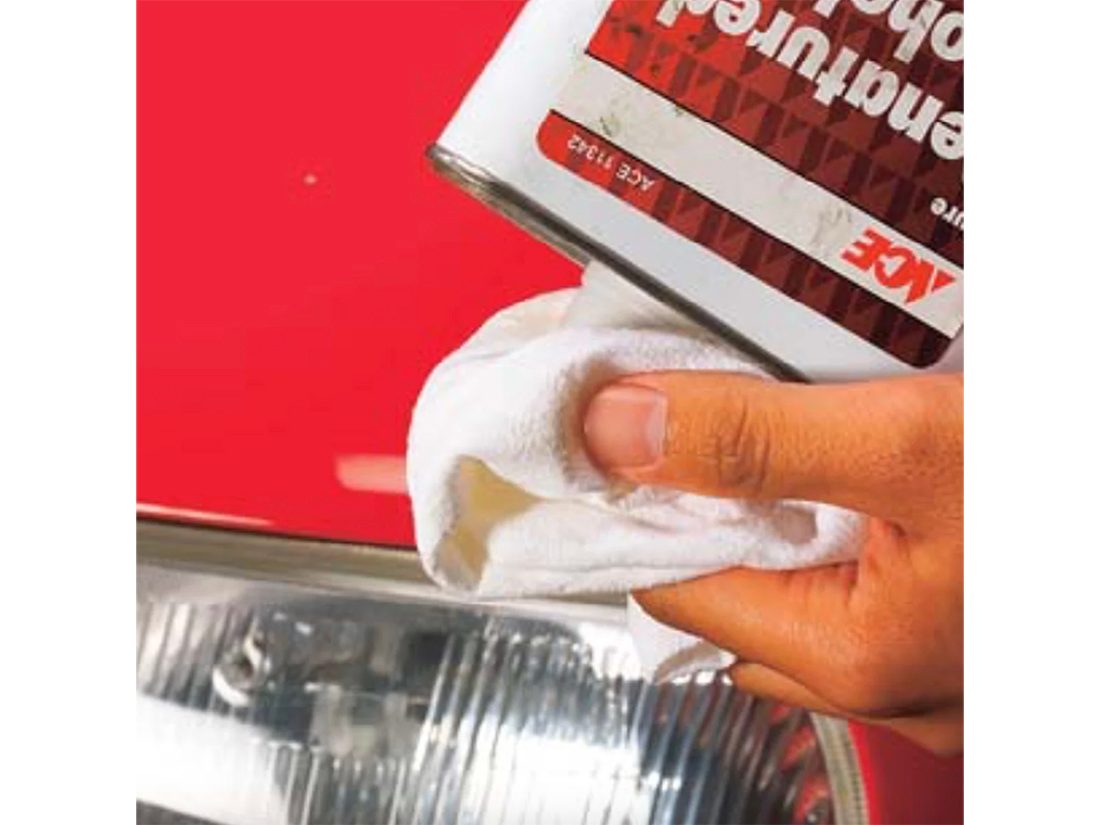
Step 2: Clean with alcohol
Clean the finish with denatured alcohol. Don’t flood it with alcohol—just a few wipes with a soft cloth will do. The alcohol will remove any wax or remaining grime.
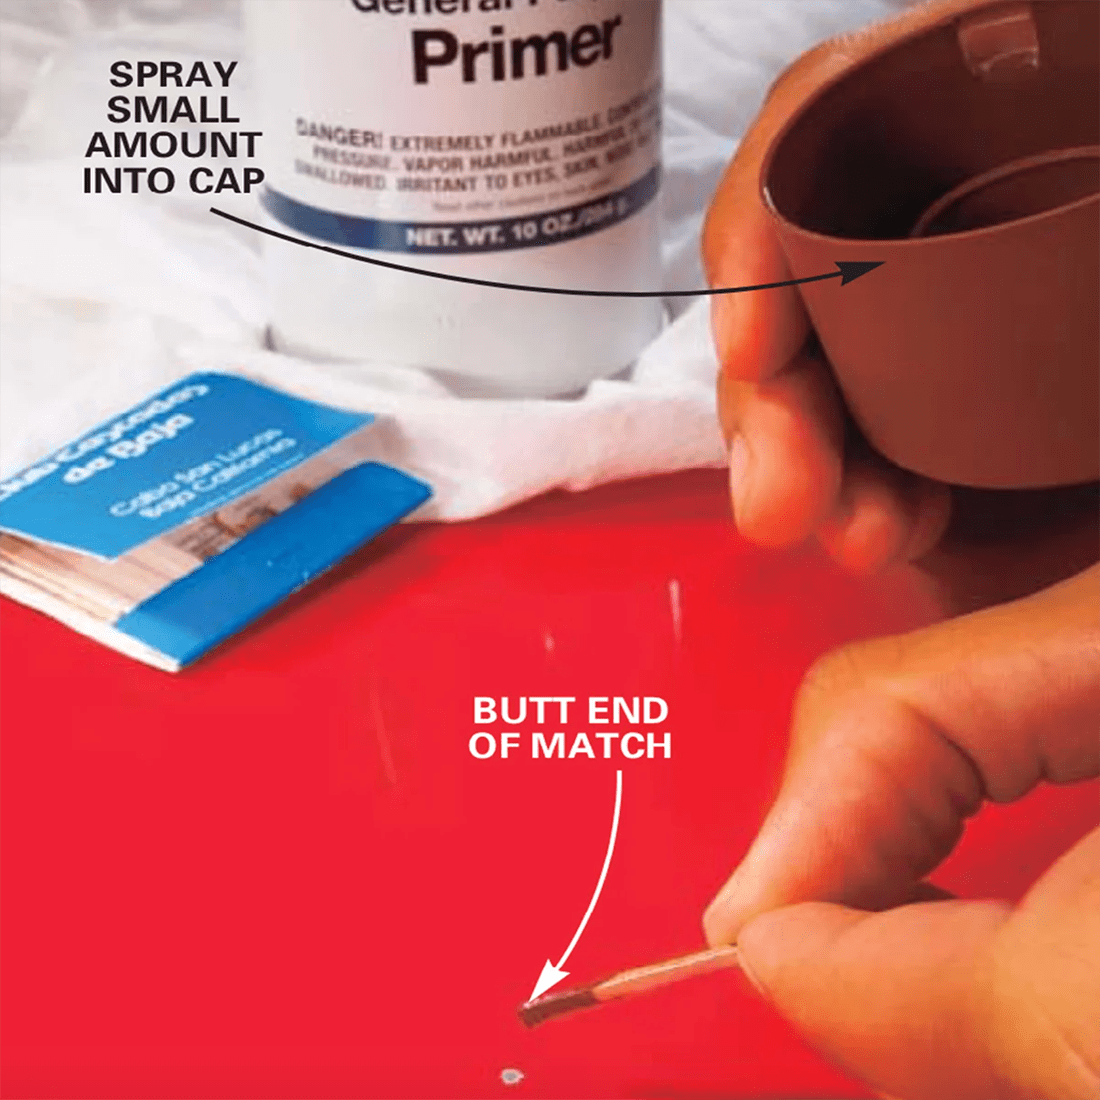
Step 3: Apply the primer
Apply a spot of primer with the butt end of a paper match. Fill the area within the chip, just touching the edges of the surrounding paint. Let the primer dry for at least a half hour.
Check out the best rust-proofing options on the market.
Step 4: Paint the chip
Put a small amount of paint over the primer coat. Always test the colour on a piece of paper to make sure it matches. The test will also give you a feel for how much paint to load onto the applicator brush. Apply a second coat about one hour later. Let the paint cure for several days and rub it out again gently with polishing compound to feather the edges of the repair.
Now that you’ve got these paint chip repair tips under your belt, find out how to get the best results from car wax.