

How to Inspect an Accessory Belt Drive System
 Updated: May 04, 2020
Did you know that cooling system failure is one of the main causes of roadside breakdown in Canada? Looking at just the drive belt isn’t the answer—the entire accessory belt drive system should be inspected. Here’s how.
Why You Need to Inspect Your Vehicle’s Accessory Belt Drive System
While it’s easy to take your vehicle’s accessory belt drive system for granted, it certainly isn’t wise: if the system fails, you’re basically stuck on the side of the road. The full accessory belt drive system needs to be inspected: the belt, the automatic belt tensioner, pulleys and all other critical parts within the drive. Fixing only part of the problem isn’t enough and could result in potential roadside breakdown, leading to more costly repairs.

How to Inspect Your Belt Drive System
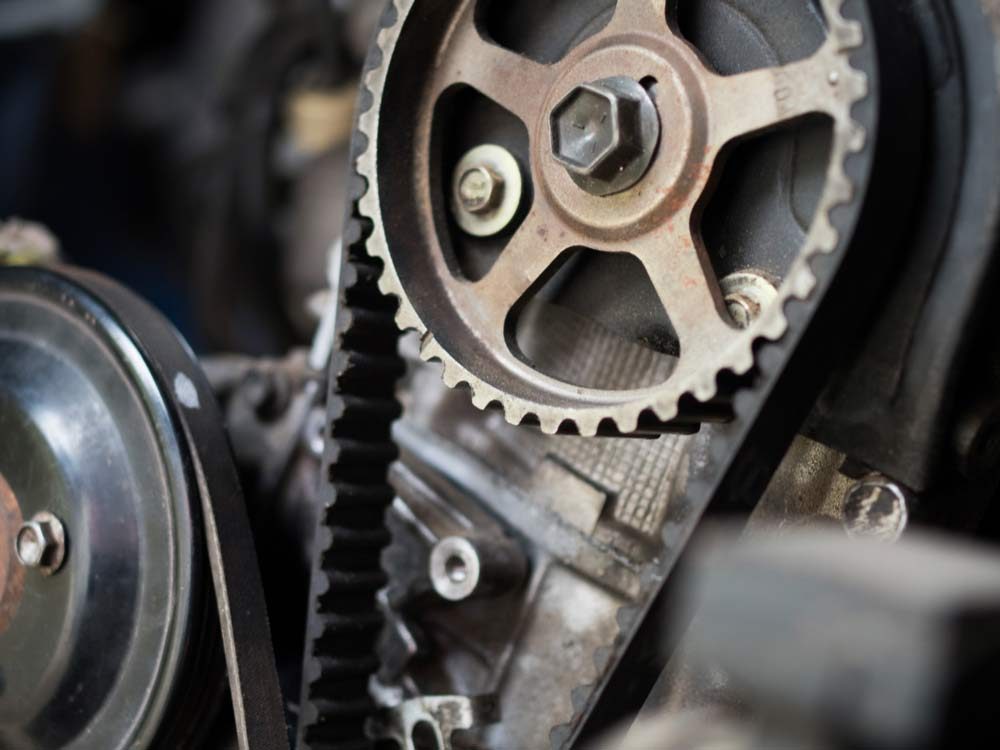
A belt cycles over 350 million crank shaft revolutions over 160,000 kilometres—nearly one hundred million belt revolutions:
- An indicator of wear on belts is material loss. Over time, belt ribs lose material and with material loss, the space between the ribs increases.
- Changes in belt alignment can cause wear that results in the belt seating further down in the pulley. This reduces the “wedging force” necessary for the belt to transmit power.
- Misalignment can result in the belt riding directly on top of pointed pulley tips, again leading to “wedging force.”
- Belt slip from a worn belt that has stretched in length can cause the belt tensioner to bottom out, resulting in significant system tension reduction. A persistent check engine light may be an indicator of this problem. (Here’s why you should never ignore your check engine light.)
- Begin checking belts at 80,000 kilometres to ensure that the belt rib isn’t showing wear. Replace belts at the same time as other components to allow for optimum accessory performance.
Find out the 10 most overlooked services that could extend the life of your vehicle.

How to Remove and Install Your Belt Drive System
Do you have the right tools and equipment?
Before you remove and install a belt, you’ll need the following:
- 3/8-in. extension and ratchet
- Torque wrench (Check out more essential auto tools no home mechanic should be without.)
Are you aware of proper maintenance procedures?
When working on your vehicle, we recommend you follow these safety rules:
- Have a first-aid kit handy.
- Be careful when working around hot or sharp objects.
- Follow the manufacturer’s instructions for all products.
- Don’t run the engine without proper ventilation.
Step-by-step instructions:
- To remove the old belt, insert the square end of your socket into the corresponding square hole in the belt tensioner. To release the tension, pull the handle in the direction of the arrow. While holding it back, slide the belt off any of the pulleys. Slowly release the tensioner.
- Weave the belt out from around the pulleys and the fan until it’s free from the vehicle.
- Now it’s time to route the new belt. Once the new belt is crudely wrapped around each pulley, to reinstall, it’s much easier if the last part you have to slip over is on the backside of the belt (non-ribbed side).
- Pull the tensioner the same direction as you did to remove the old belt. With your free hand, slip the last bit of belt over the pulley.
- Belt should be seated into all pulley grooves and belt spans, free of contact with engine components.
For more great tips on how to maintain your car and to find the parts you need, visit NAPA Canada.
Now that you know how to inspect the belt drive system, check out 100 more car maintenance jobs you can do on your own.